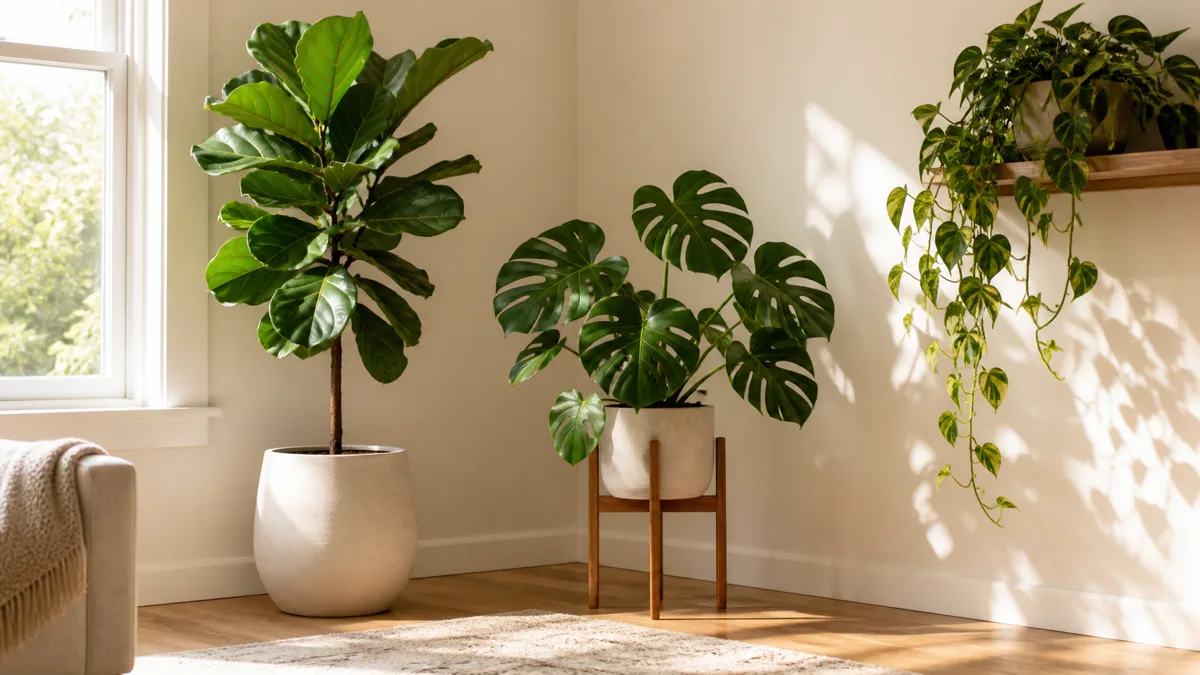
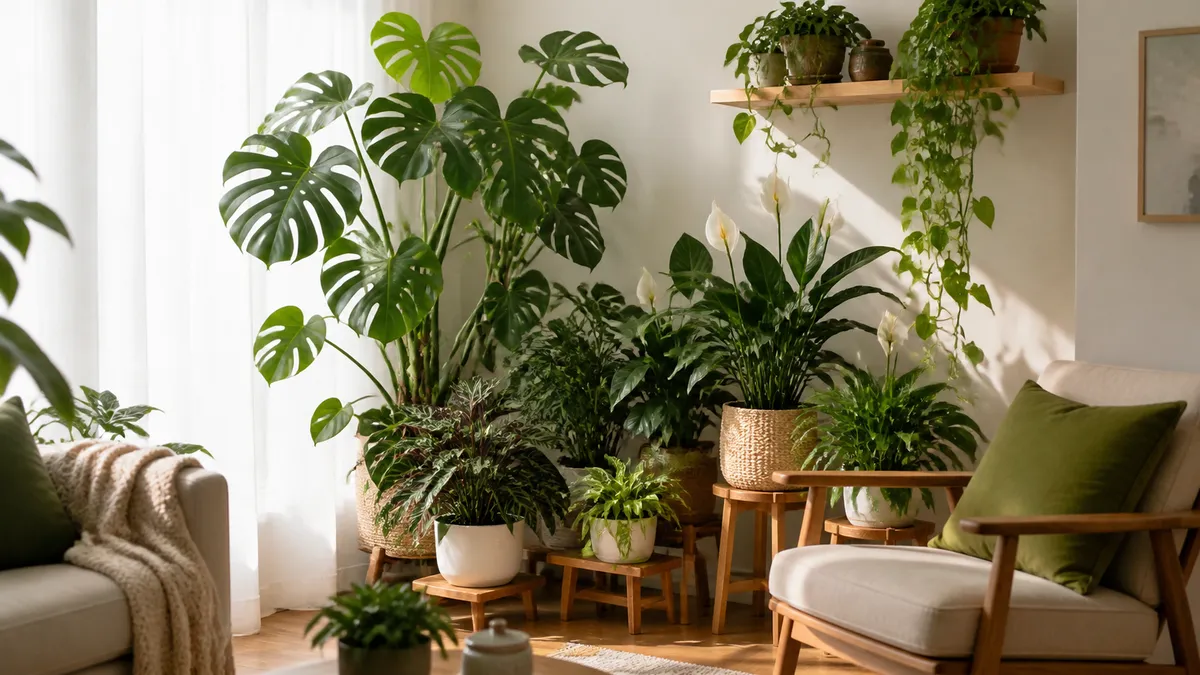
Buying houseplants is easy. Making them look like they belong together in a room takes a different set of decisions entirely.
A plant aesthetic is not about owning more plants. It is about placing, potting, and grouping the ones you already have so the whole room reads as one coherent visual statement.
These fifteen ideas cover every major approach, the rules that hold each one together, and a weekend reset plan to pull it all into shape.
Four style directions, five foundational rules, and six practical techniques to turn a random plant collection into a room that looks intentional. Jump to the style or the skill you want first.
What Makes a Plant Aesthetic Look Curated Instead of Cluttered
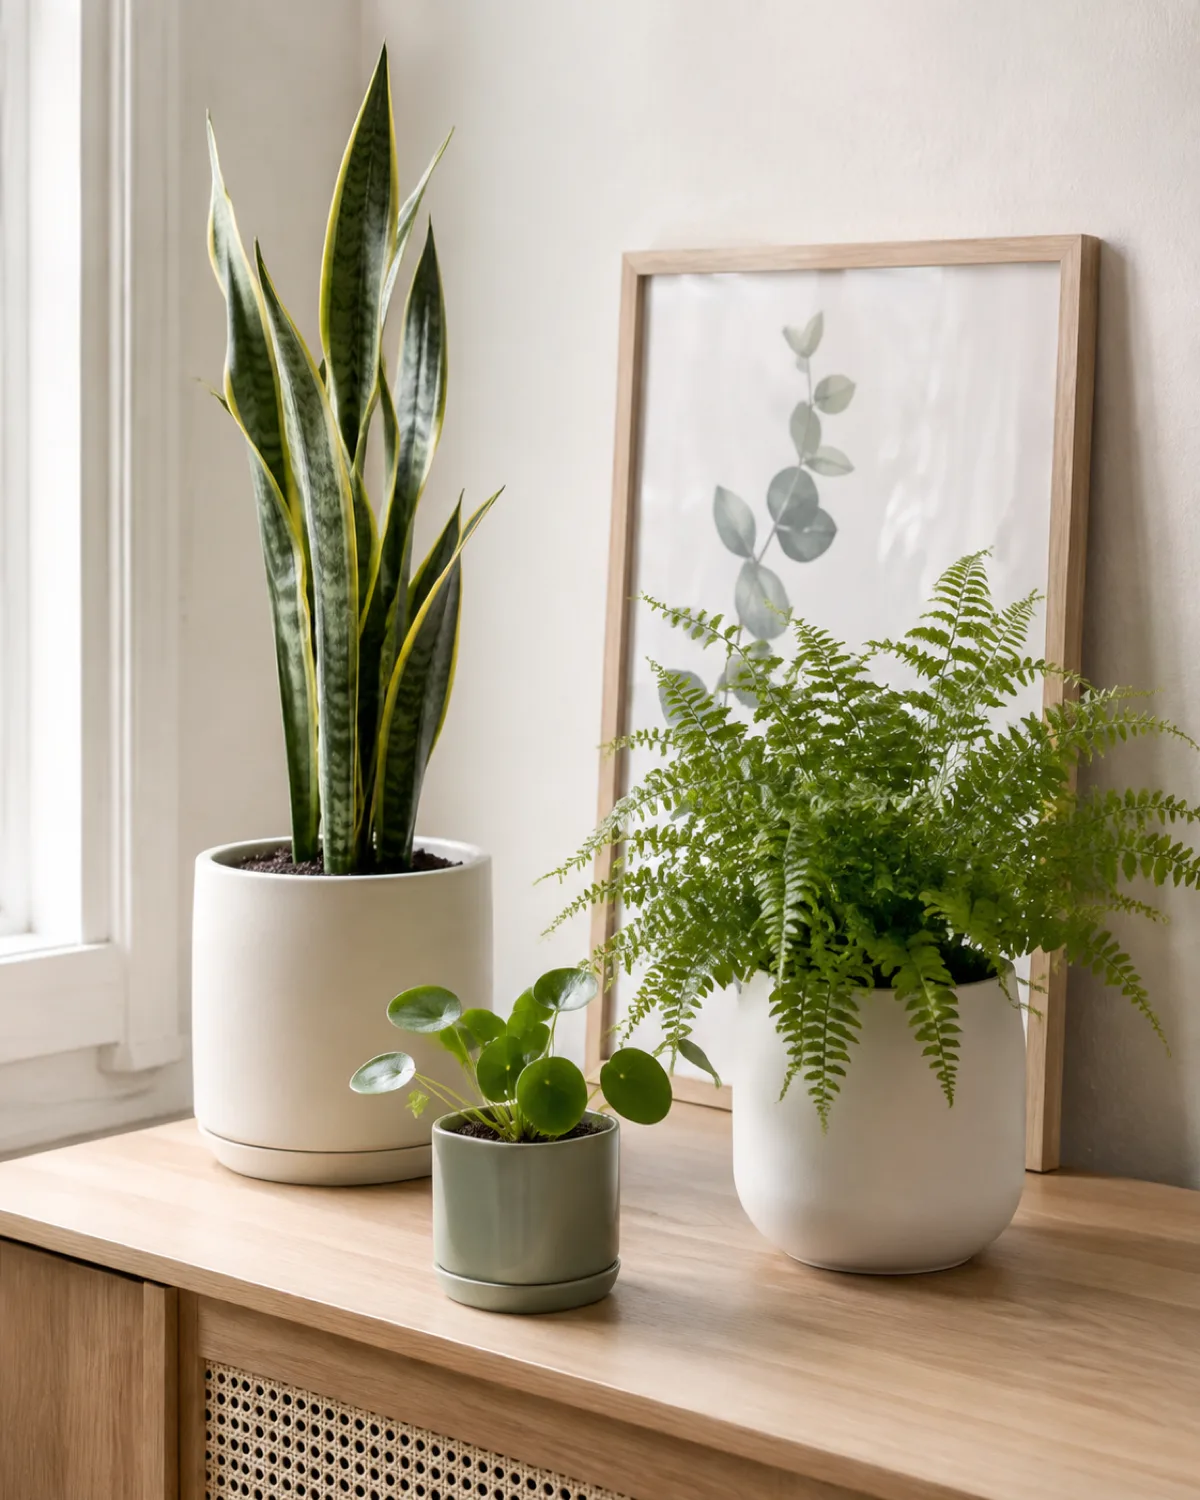
The word that separates a curated plant aesthetic from a cluttered shelf is negative space. A room filled with plants feels overwhelming when every surface holds a pot and every pot touches its neighbor. The same number of plants arranged in three distinct clusters with breathing room between them reads as a designed space.
Odd numbers are the first rule. Three plants on a console table look like a deliberate grouping. Two look like a pair waiting for a third, and four look like a grid. Five works when the surface is large enough to handle it, but three is the safest default.
- Visual weight distribution matters more than total plant count. One large monstera anchoring a corner does more work than seven small pots scattered across a room.
- Consistent pot palette ties different species together. Two or three pot materials repeated across a room create cohesion even when the plants themselves look nothing alike.
- Negative space between clusters lets each group register as its own vignette. Wall, shelf, or floor showing through the arrangement is not wasted space. It is part of the composition.
The test is simple. Photograph the arrangement from the doorway. If the eye jumps from cluster to cluster in a comfortable rhythm, the spacing works. If everything blurs into one green mass, pull groups apart and remove the weakest pots from each cluster until the shape reappears.
Every plant aesthetic starts with a style direction. Start here, then layer the techniques from the later sections to refine it.
The Minimalist Green Aesthetic
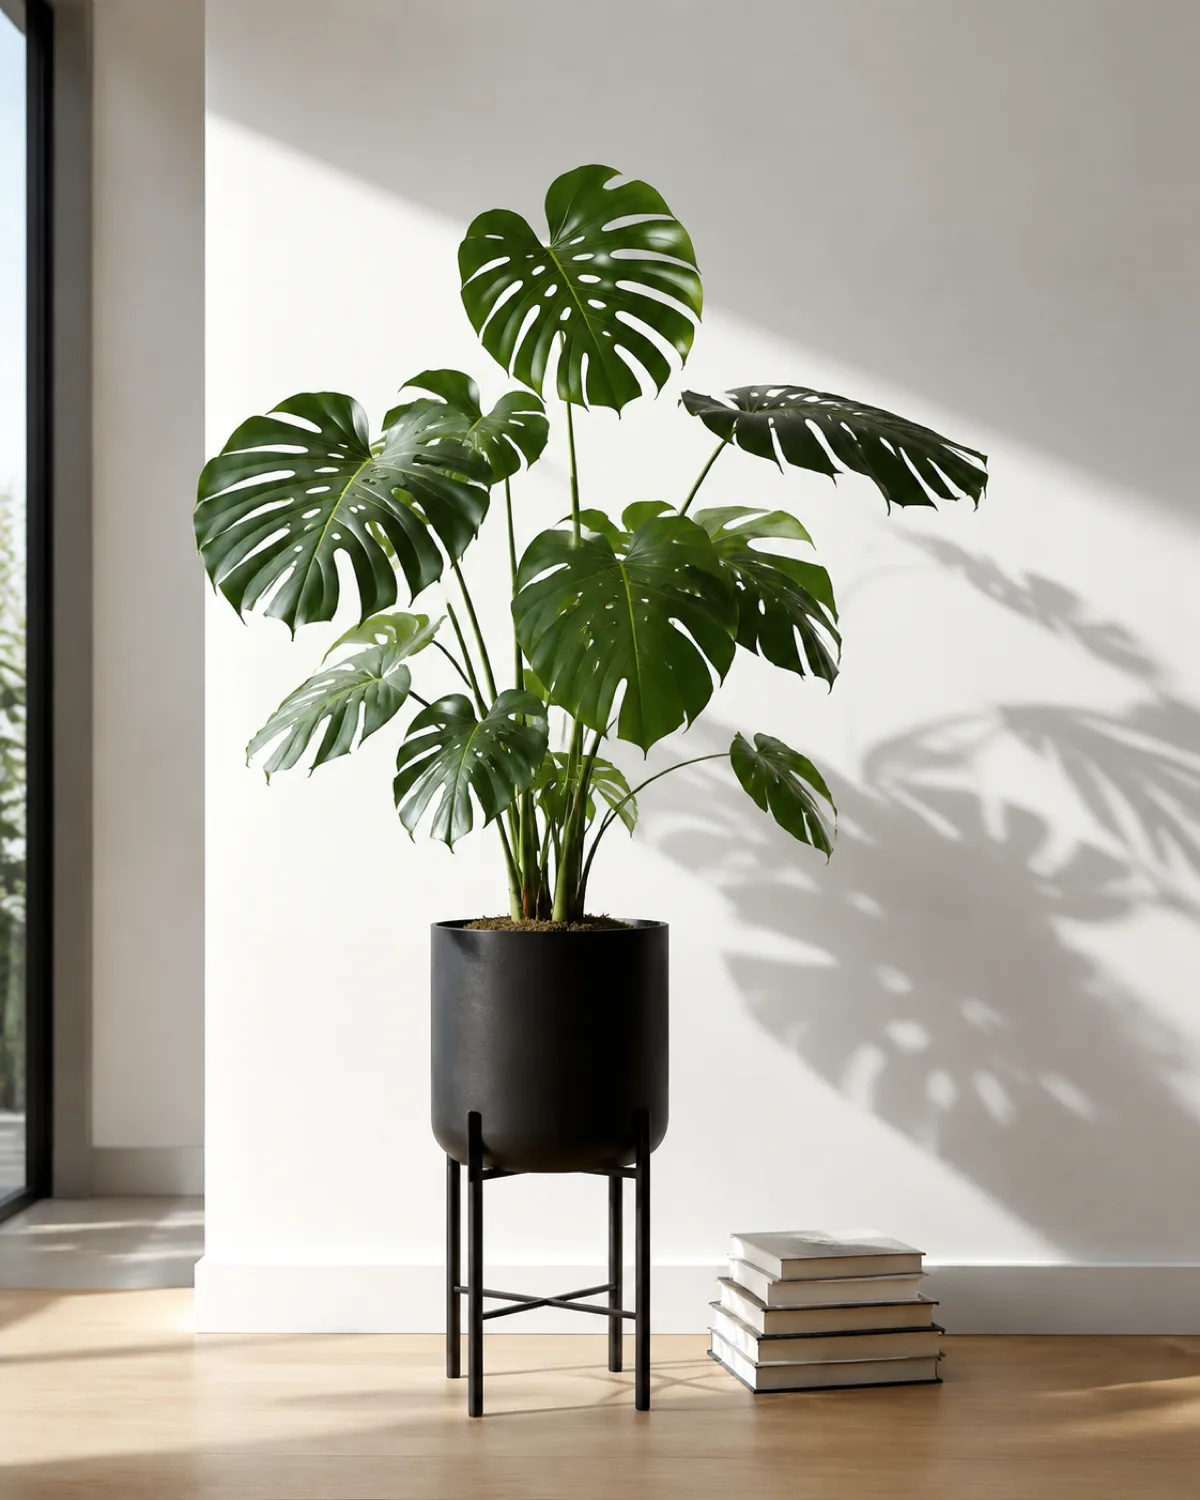
A minimalist plant aesthetic strips away everything except the plant's own architecture. One large fiddle-leaf fig in a matte black pot on a slim stand against a white wall is a complete statement. Nothing else competes for attention.
The trick is choosing species with strong sculptural form. Plants with architectural silhouettes hold a minimalist composition by themselves.
- Monstera deliciosa — split leaves cast complex shadows that double as wall art when sidelit
- Snake plant — rigid vertical lines that read like a design object
- Fiddle-leaf fig — large violin-shaped leaves on a clean trunk
- ZZ plant — glossy symmetrical stems that arc outward in a vase-like shape
The pot matters as much as the plant. Choose matte finishes in white, concrete grey, or black. No patterns, no glazed color. The pot should disappear into the room so the leaves do all the talking.
One common minimalist mistake is placing a single plant dead center on a surface. Off-center placement with more space on one side creates tension and movement. Center placement reads as a lobby or a waiting room.
The Jungle Maximalist Aesthetic
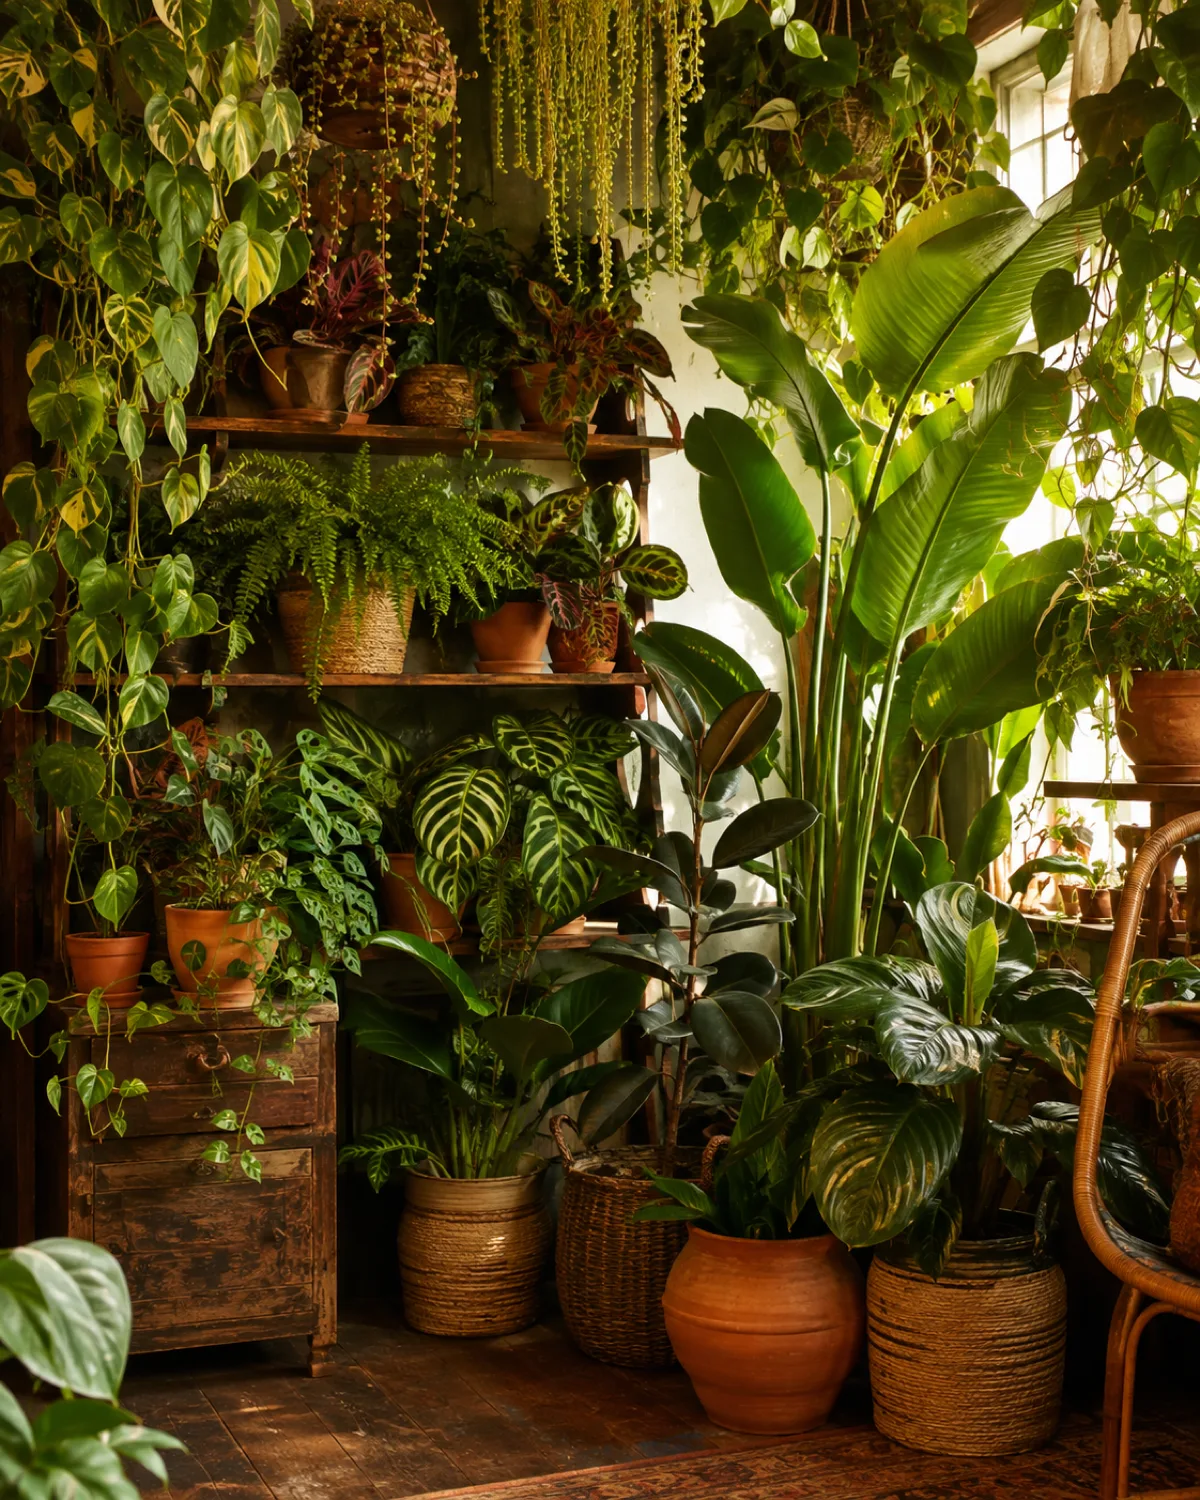
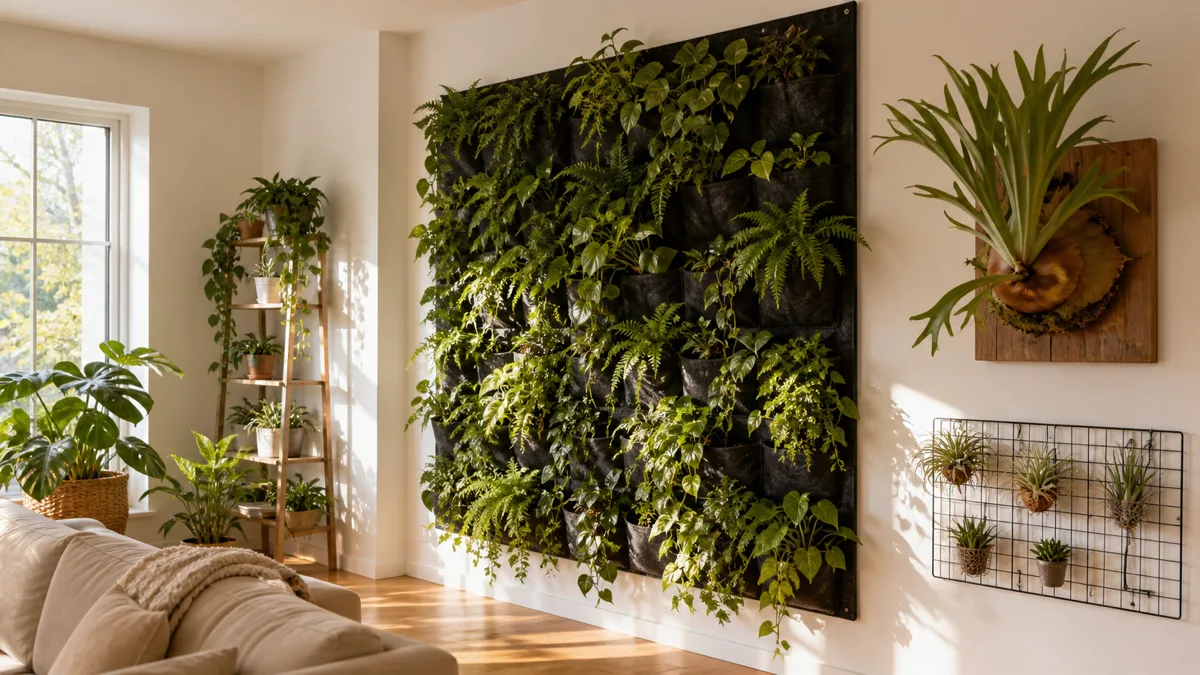
The jungle aesthetic is the opposite end of the spectrum and it requires more discipline than it looks like it does. The goal is dense green coverage at every height level — floor, tabletop, shelf, and ceiling — where foliage overlaps and fills the peripheral vision from every angle in the room.
The word that separates jungle from chaos is layering. Start from the floor and work upward.
- Floor level — large statement plants that anchor the scene. Bird of paradise, rubber plant, or a tall indoor plant in a woven basket.
- Mid level — shelves, stands, and side tables filled with medium plants. Calathea, fern, begonia.
- High level — hanging plants and trailing species from ceiling hooks, macrame hangers, or high shelves. Pothos, string of pearls, string of hearts.
The pot mix is part of the look. Vintage terracotta, woven baskets, and a few ceramic pieces in earth tones create the collected-over-time feel that a jungle aesthetic needs. Matching everything too closely kills the organic vibe.
One reality check that maximalist aesthetics require: more plants means more care. A twenty-plant room needs a watering schedule, a humidity strategy, and a weekly leaf-check habit. The aesthetic breaks the moment half the collection starts looking neglected.
The Boho Plant Aesthetic
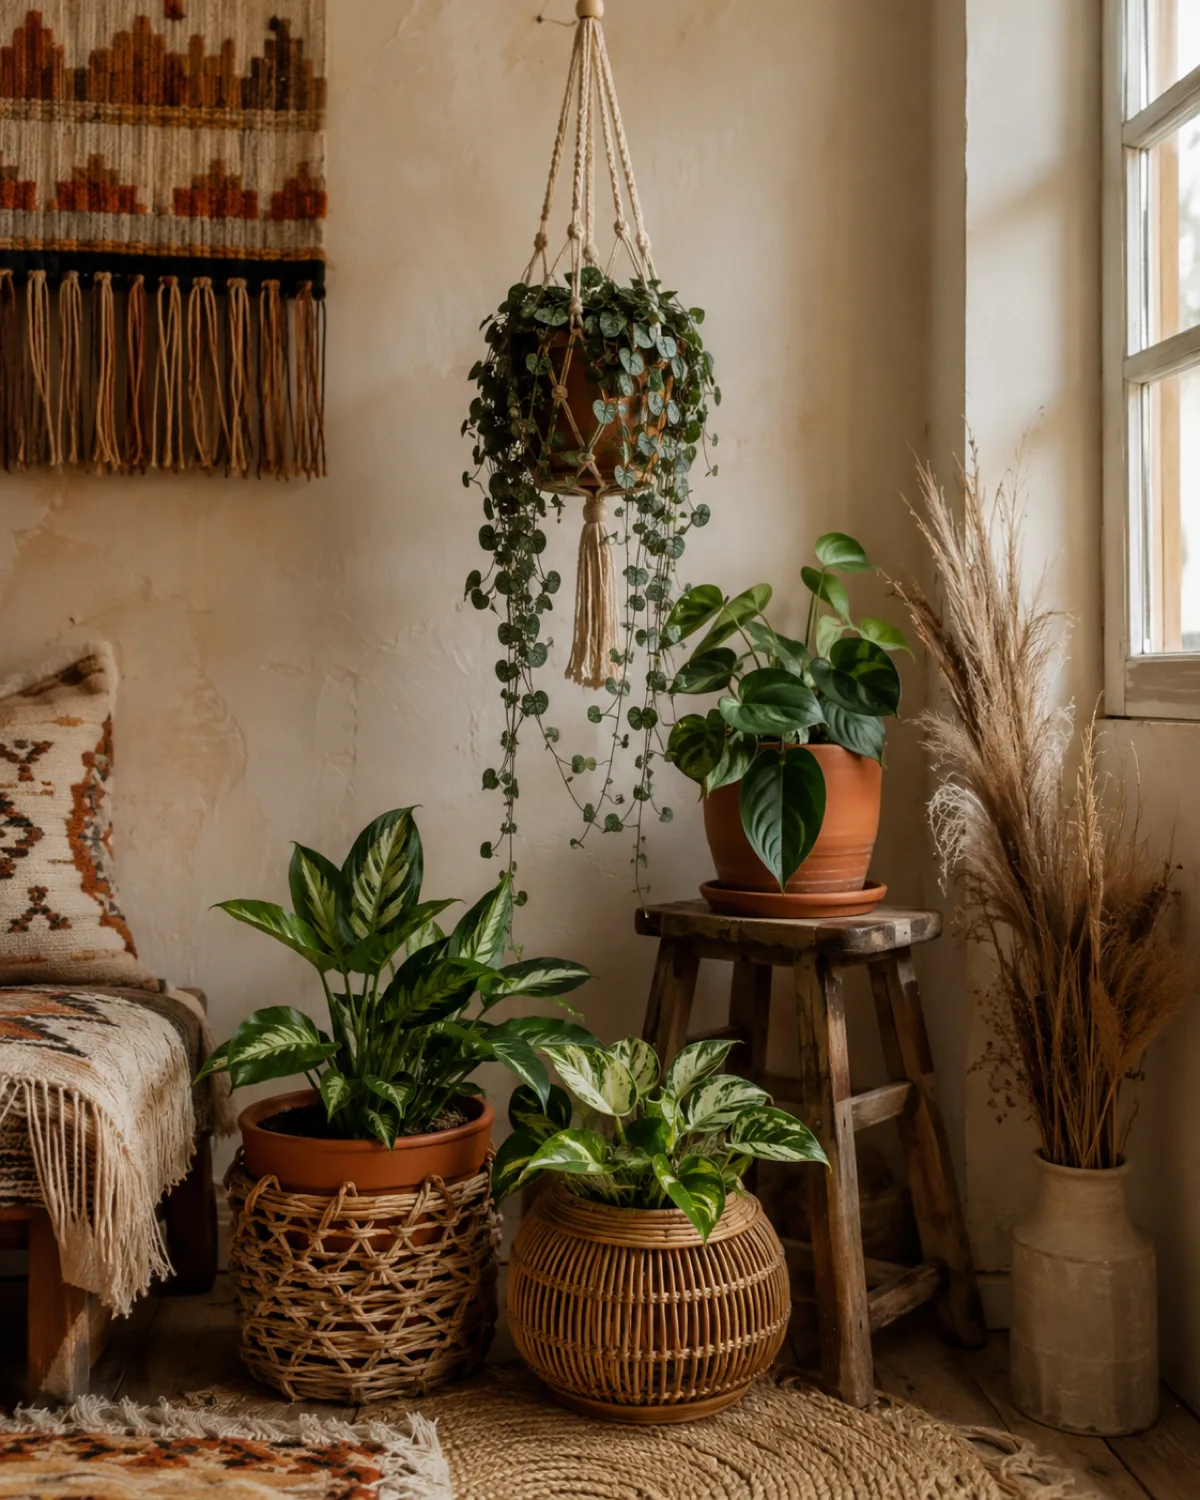
Boho and jungle overlap in their love of abundance, but boho leans harder into texture, warmth, and handmade materials. The plants are part of a larger composition that includes macrame, woven textiles, dried flowers, and natural wood.
The material palette drives the look. Terracotta, rattan, jute, and unfinished wood repeat across pots, hangers, rugs, and furniture. The colors stay in the warm-earth range — rust, sand, cream, olive — with green foliage providing the contrast.
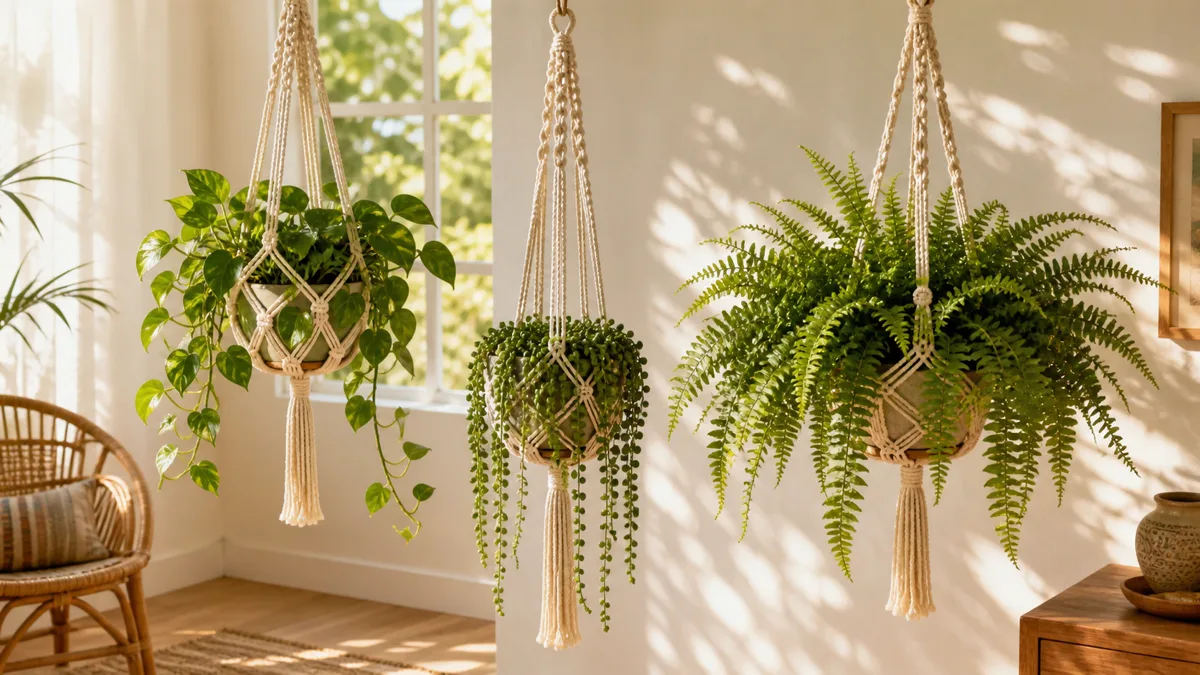
- Macrame hangers at different heights near a window create the signature layered look
- Trailing plants with textural variety work best. Mix the fuzzy leaves of a tradescantia with the glossy vines of a pothos and the delicate threads of a string of hearts.
- Dried accents beside living plants — pampas grass, dried eucalyptus, or preserved ferns — fill gaps without adding watering obligations
- Vintage furniture as plant stands — a worn wooden stool, a rattan side table, a wicker trunk. The imperfection is part of the character.
One boundary to watch: boho abundance slides into visual noise when every surface holds something. Leave one surface in each sightline completely empty. That pause gives the eye a place to rest before it takes in the next cluster of texture.
The Scandinavian Plant Aesthetic
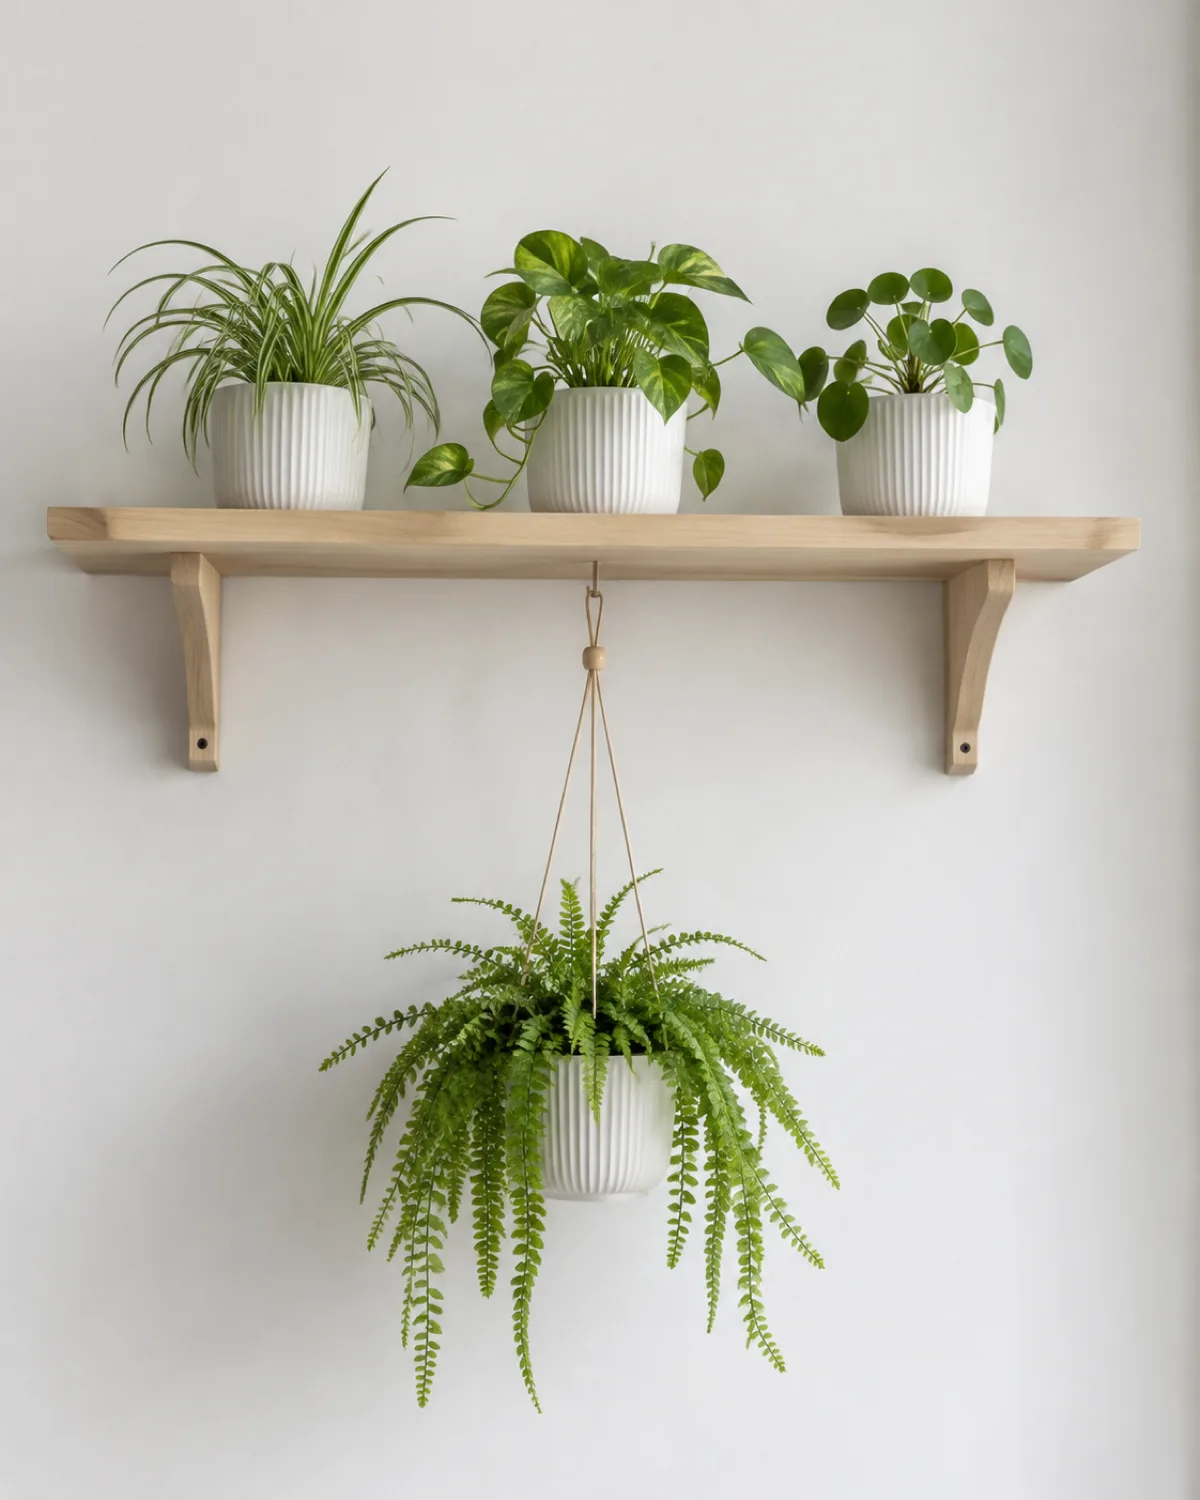
Scandinavian plant styling treats each plant as a functional element that earns its place through form and light interaction. The palette is restrained — white, light wood, and green. No bold colors, no busy patterns, no more plants than the room actually needs.
The materials stay limited. Light birch or pine wood, white or off-white ceramic, and simple geometric planters. If you can see wood grain in the shelf and clean glaze on the pot, the Scandinavian look is working.
- One hanging planter per room is usually the maximum. It should be a simple white or natural-fiber pot with a trailing fern or spider plant.
- Matching pots matter more here than in any other style. Three identical white ceramic pots in a row on a shelf is the core Scandinavian plant vignette.
- All-green or all-variegated — pick one palette per shelf. Mixing neon variegation with deep solid green looks busy in a minimalist context.
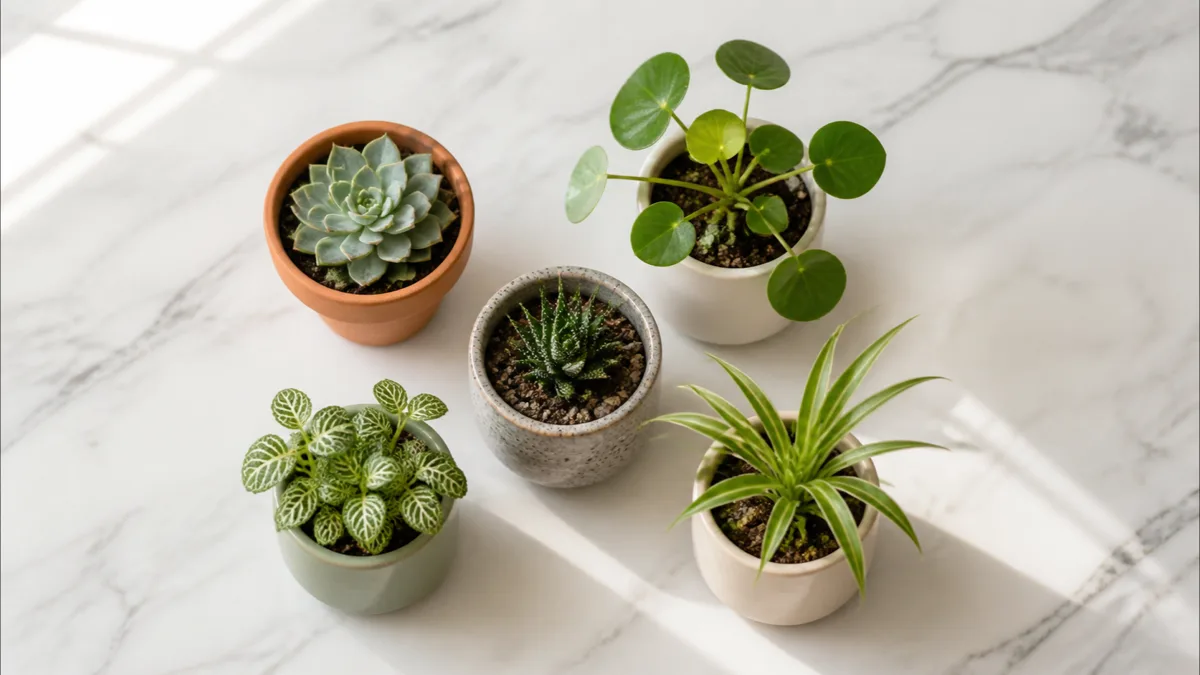
- Pilea peperomioides is the unofficial Scandinavian plant. The geometric disc leaves, the compact form, and the tidy growth habit fit the aesthetic perfectly.
The Scandinavian approach works especially well in small spaces. A single shelf with three well-chosen plants in matching pots adds life to a room without claiming any floor space or visual bandwidth.
These apply no matter which direction you choose. Minimalist or maximalist, boho or Scandi, these five principles keep the result looking deliberate.
Building a Cohesive Pot Collection
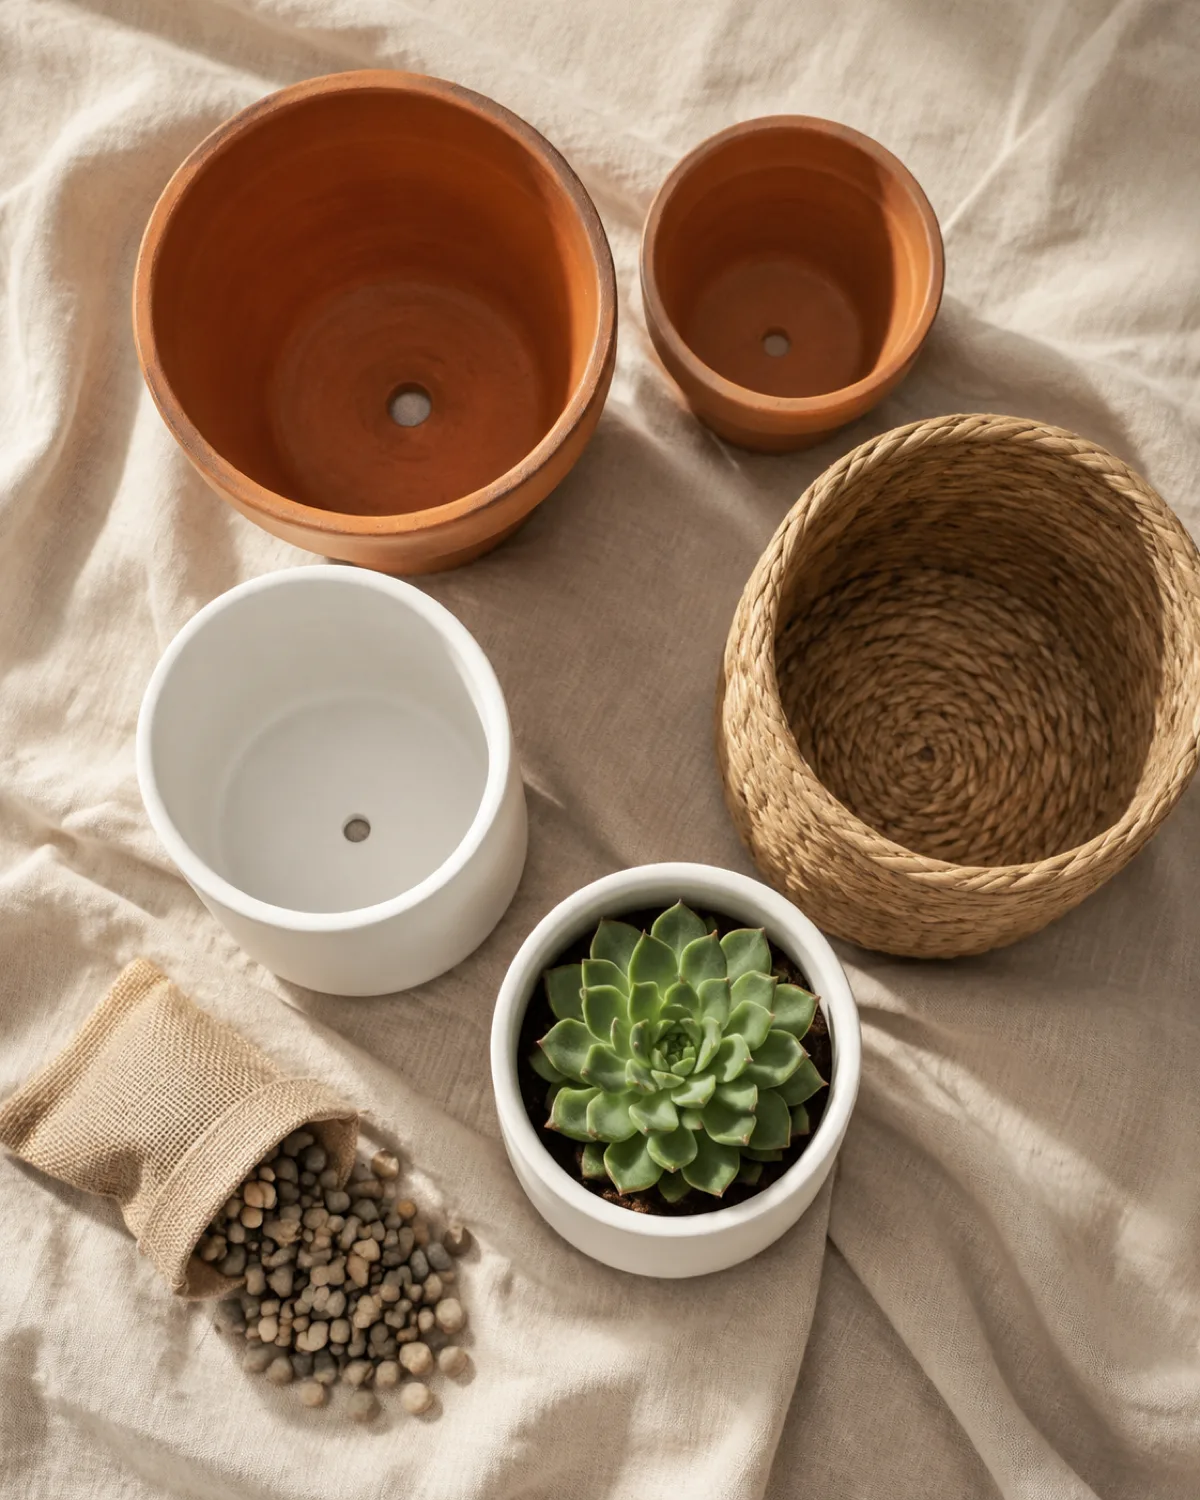
The pot collection makes or breaks a plant aesthetic faster than the plants themselves. Ten different species in three coordinated pot styles look intentional. Three identical species in ten mismatched pots look like a clearance aisle.
The formula is two to three materials, repeated in different sizes. That is the entire system.
- Terracotta plus white ceramic — the most forgiving combination. Terracotta brings warmth, white brings calm, and they coexist in any room style from boho to Scandi.
- Woven baskets as cachepots — hide plastic nursery pots inside seagrass, jute, or rattan baskets. The texture adds visual interest without adding another hard material to the mix.
- Thrift-store unification — mismatched ceramic pots from secondhand shops can become a cohesive set with one coat of matte white or sage spray paint. The shapes differ, but the color locks them together.
Drainage is non-negotiable regardless of aesthetics. A beautiful pot without a drainage hole needs either a drill bit or an inner grow pot that lifts out for watering. Standing water at the bottom rots roots within days.
Pot diameter should be roughly proportional to the plant's spread. A plant that spans eight inches looks right in a pot three to four inches wide. Drowning a small plant in an oversized pot wastes soil, holds too much moisture, and makes the plant look lost.
How Trailing Plants Create Visual Flow
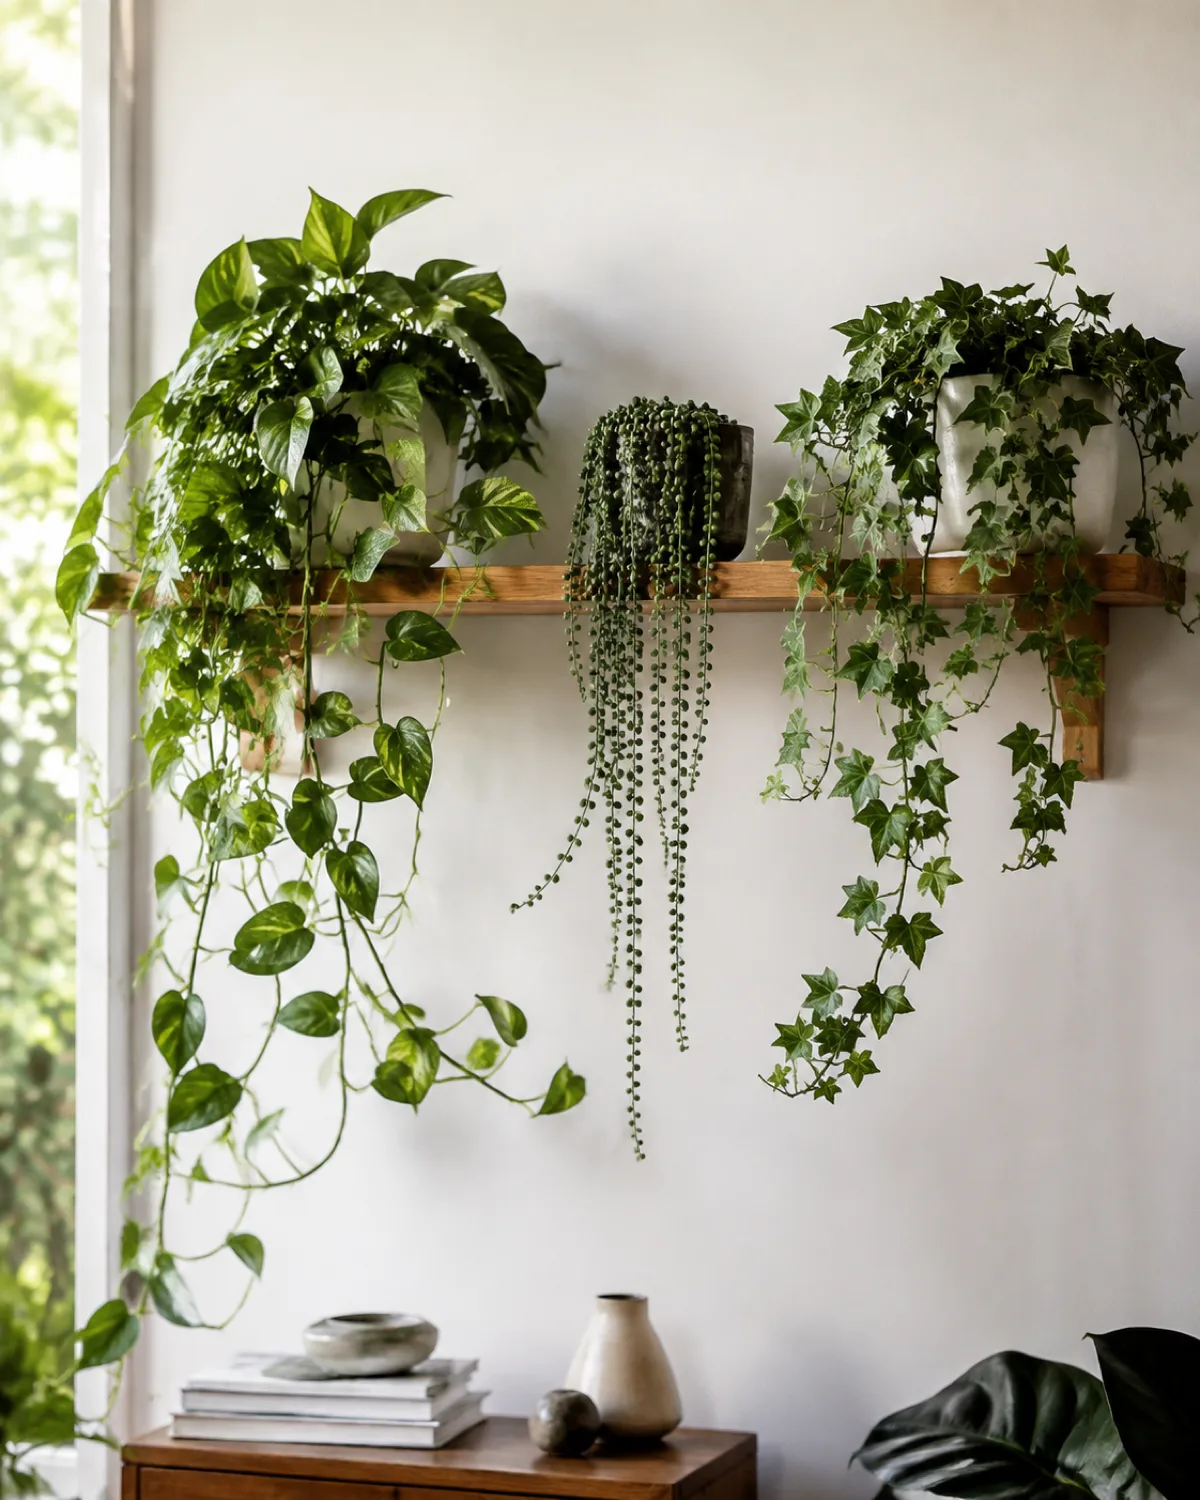
Trailing plants are the connective tissue of any plant aesthetic. They guide the eye along a horizontal path — across a shelf, down a bookcase, around a window frame — in a way that upright plants cannot.
A single pothos draped along a shelf edge turns a static row of books into a living display. The vine softens the hard lines and adds a sense of movement without requiring a separate plant stand or dedicated floor space.
- Horizontal flow — place the trailing plant at one end of a shelf and let the vines run along the edge toward the other end. The eye follows the green line and takes in everything on the shelf along the way.
- Vertical cascade — a string of hearts from a high hook draws the eye upward, adding height to a room without using floor space. Longer strands create more drama.
- Geometry softener — English ivy cascading over the edge of a bookcase breaks up the rigid rectangles of shelving. The organic curves contrast with straight lines in a way that makes both look better.
Pruning length is the control lever. Twelve-inch vines look wispy and delicate. Three-foot vines look dramatic and deliberate. Decide which effect the space needs before you let the plant grow wild, and trim to maintain that length.
Rotate trailing direction periodically. A pothos that always trails left creates a lopsided composition. Every few months, drape the longest vines in the other direction to rebalance the visual weight.
Using Height Layers to Add Depth
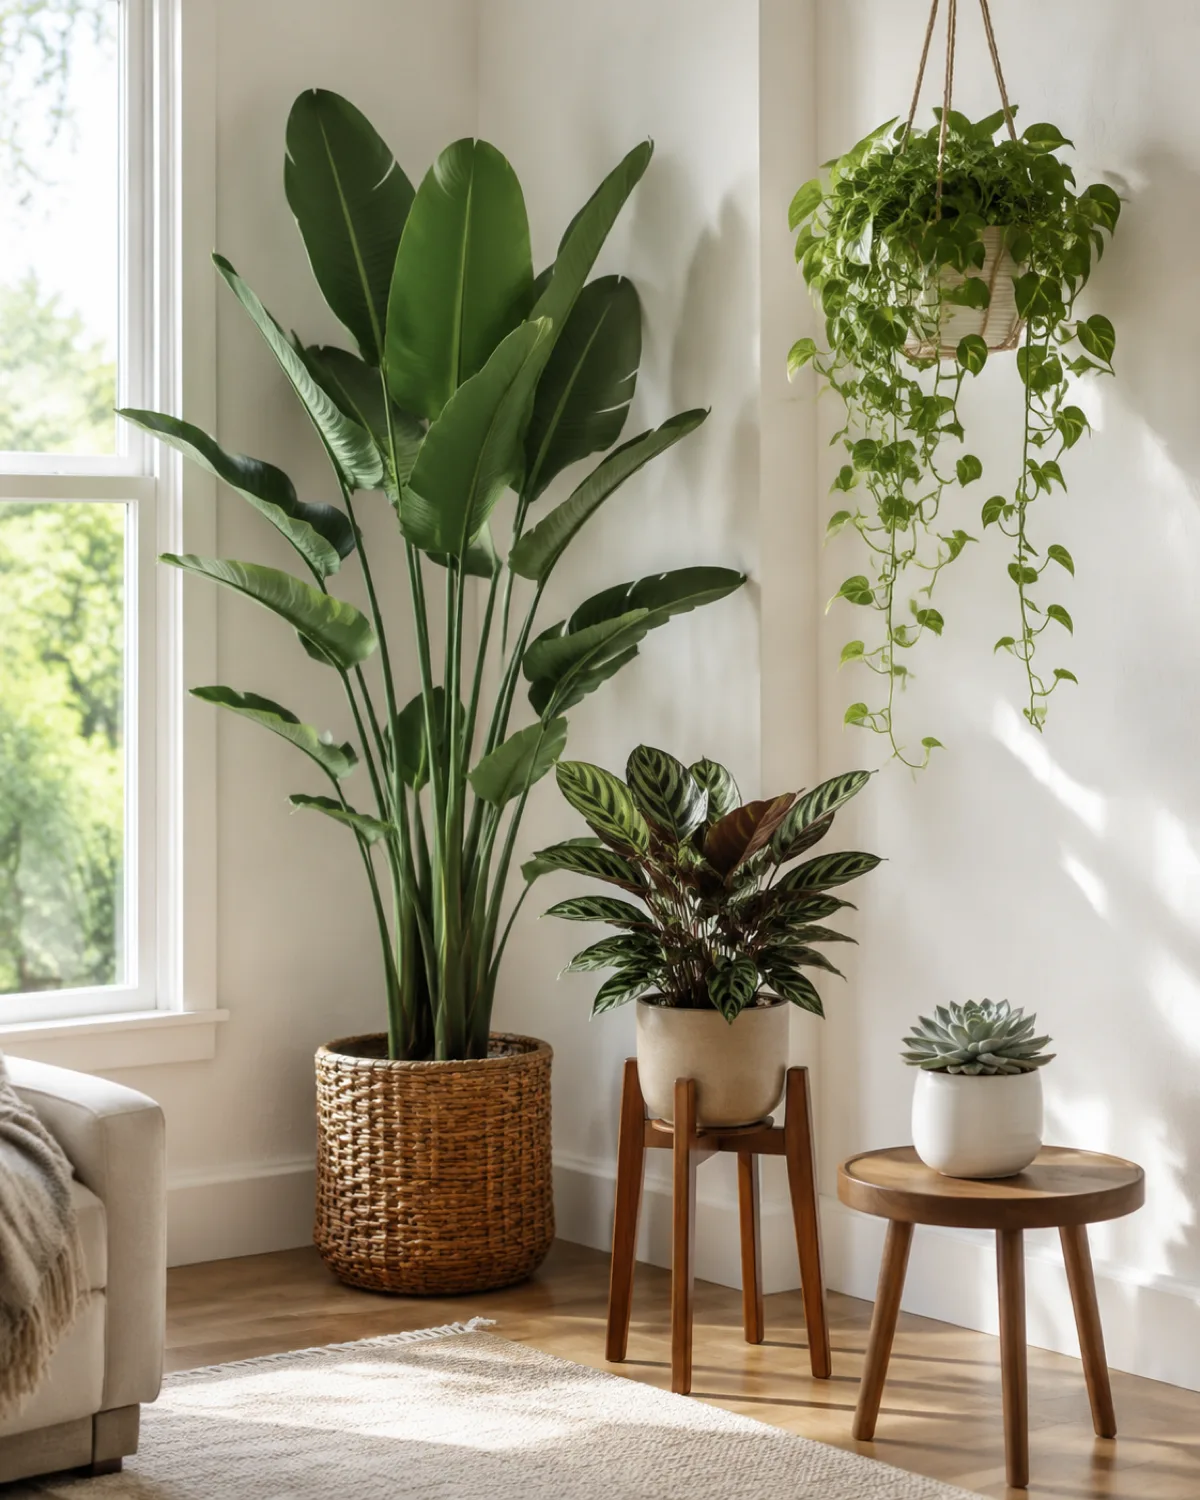
Height layering is the single technique that makes the biggest difference between a flat display and one with depth and dimension. A room where all plants sit at the same level — whether that is the floor, a table, or a shelf — always looks like storage, no matter how beautiful the individual plants are.
The four-tier system creates instant depth.
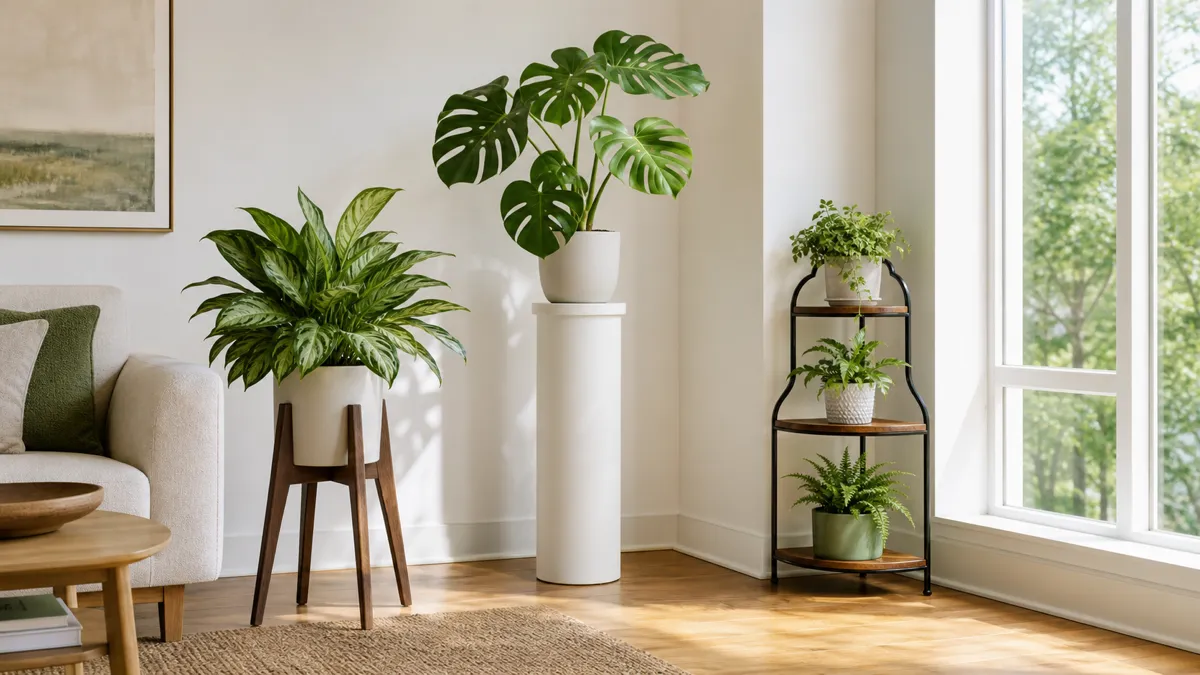
- Floor (0-24 inches) — tall plants like bird of paradise, rubber plant, or fiddle-leaf fig in large pots or baskets. These anchor the composition.
- Mid (24-42 inches) — plants on stands, side tables, or low shelves. Calathea, peace lily, anthurium.
- High (42-66 inches) — wall-mounted shelves, tall bookcases, window ledges. Smaller plants and trailing species.
- Ceiling (above 66 inches) — hanging planters, ceiling hooks, high macrame hangers. Trailing species only.
Gaps between tiers matter as much as the tiers themselves. Each layer needs visual space above and below so the eye can register it as a separate level. Crowding all four tiers into a two-foot vertical span defeats the purpose.
The riser trick is worth knowing. A stack of books, a wooden crate turned upside down, or a small ceramic pedestal lifts a medium plant into a tier it could not reach on its own. One riser can solve a dead spot in the height map without buying a new stand.
Color and Texture Mixing That Actually Works
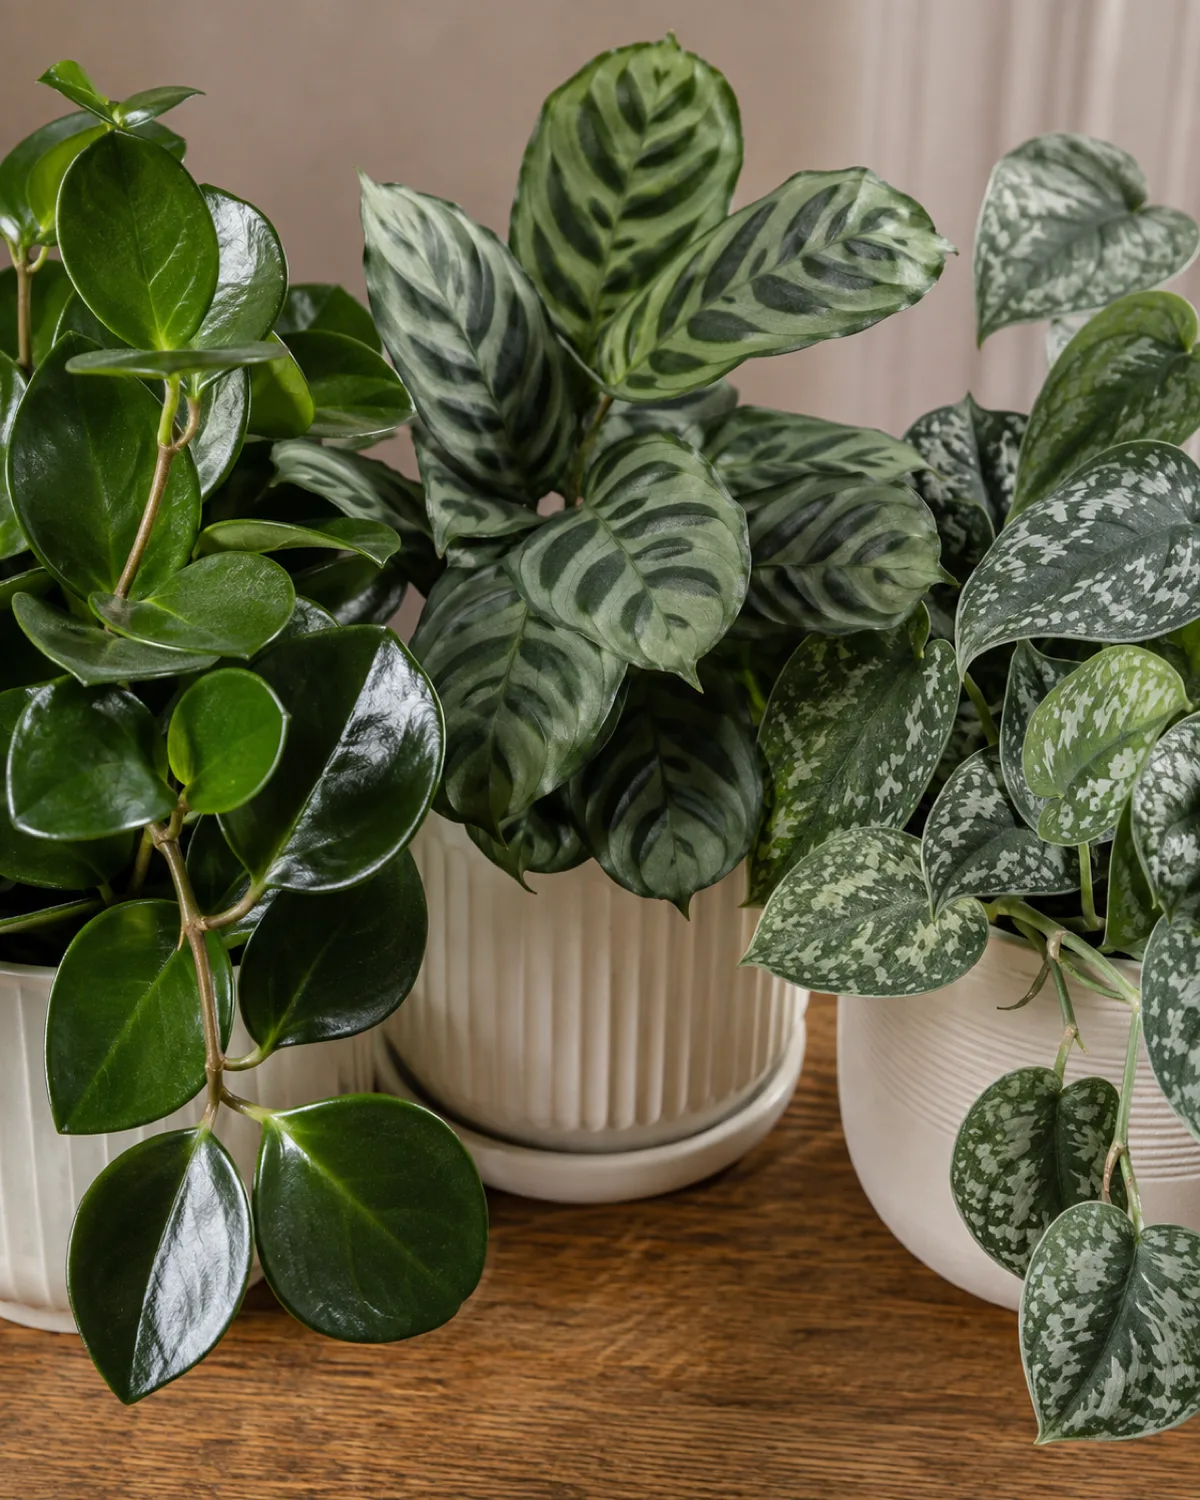
Color mixing in a plant aesthetic is more about restraint than variety. The 60-30-10 rule from interior design applies directly to foliage.
- 60% medium green — the baseline. Pothos, ferns, spider plant, parlor palm. These form the background that makes the other colors register.
- 30% deep green or dark — ZZ plant, rubber plant, dark-leaf philodendron. These add weight and anchor the composition.
- 10% accent — variegated pothos, croton, pink tradescantia, silver scindapsus. These are the visual punctuation marks. Too many accent plants in one display cancels out the pop.
Texture mixing works differently. Instead of limiting variety, you actively seek contrast by placing opposite textures side by side.
- Glossy hoya leaves next to matte calathea ribbing
- Fuzzy African violet rosette next to smooth pilea discs
- Needle-thin asparagus fern fronds next to broad alocasia paddles
The combination of color restraint and texture contrast is what gives a plant display visual richness without visual chaos. An all-variegated shelf looks frantic. An all-matte shelf looks flat. The mix of three textures in coordinated greens lands in the middle.
Styling Plants With Books, Ceramics, and Found Objects
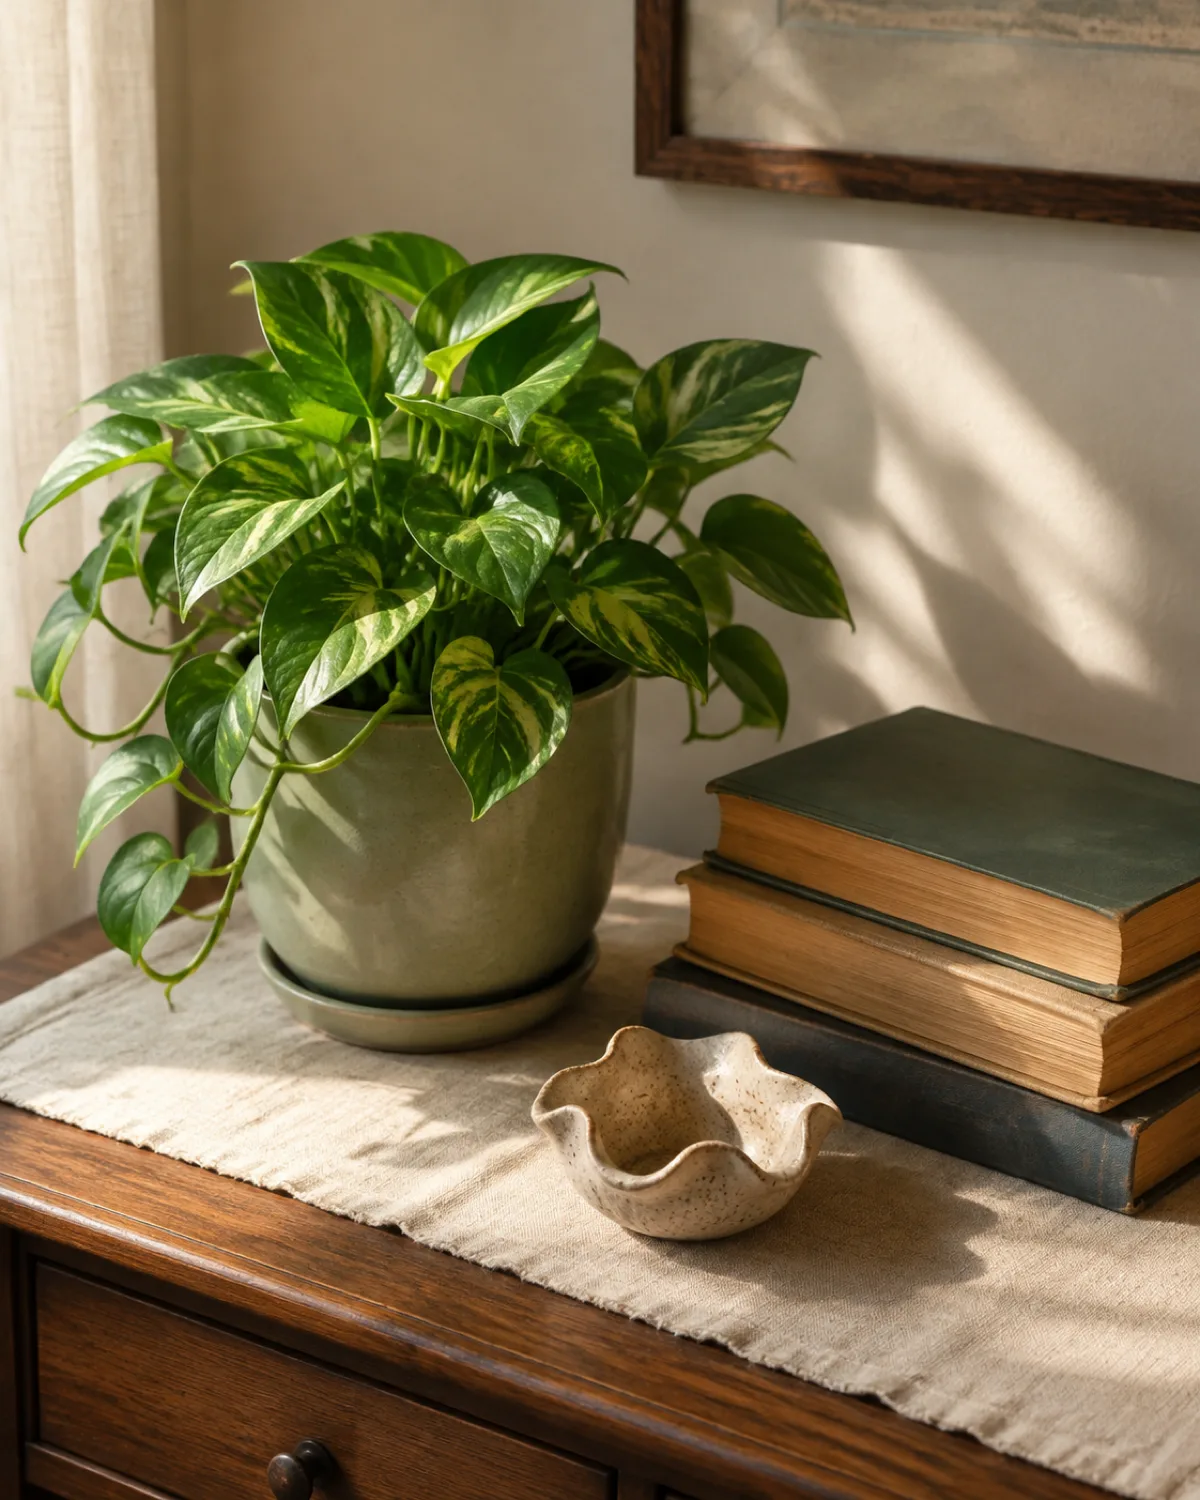
Plants alone on a surface can look sparse or unfinished. Adding two non-plant objects to the grouping turns it into a vignette — a small composed scene that reads as intentional decor rather than a pot that happens to be sitting there.
The rule of three is the simplest composition framework. One plant plus one vertical object (a book stack, a candle, a small sculpture) plus one horizontal object (a ceramic dish, a tray, a framed photo laid flat) creates a triangle of different heights that the eye moves through comfortably.
- Books work in almost every vignette. A stack of two or three hardcovers in neutral tones provides both height variation and a surface texture that contrasts with the organic shapes of foliage.
- Ceramics and handmade objects add personality. A small bowl, a vase, or a sculptural piece in a complementary tone grounds the plant in its surroundings.
- Natural materials read better than plastic beside a living plant. Stone, wood, linen, and clay keep the composition cohesive. A plastic object in a plant vignette feels like a collision of contexts.
One important restraint: the plant should dominate the vignette. Props sit lower and smaller than the foliage. If the book stack towers over the plant or the sculpture competes for attention, the vignette shifts from plant aesthetic to general decor with a plant in the background.
Lighting That Flatters Both Plants and the Room
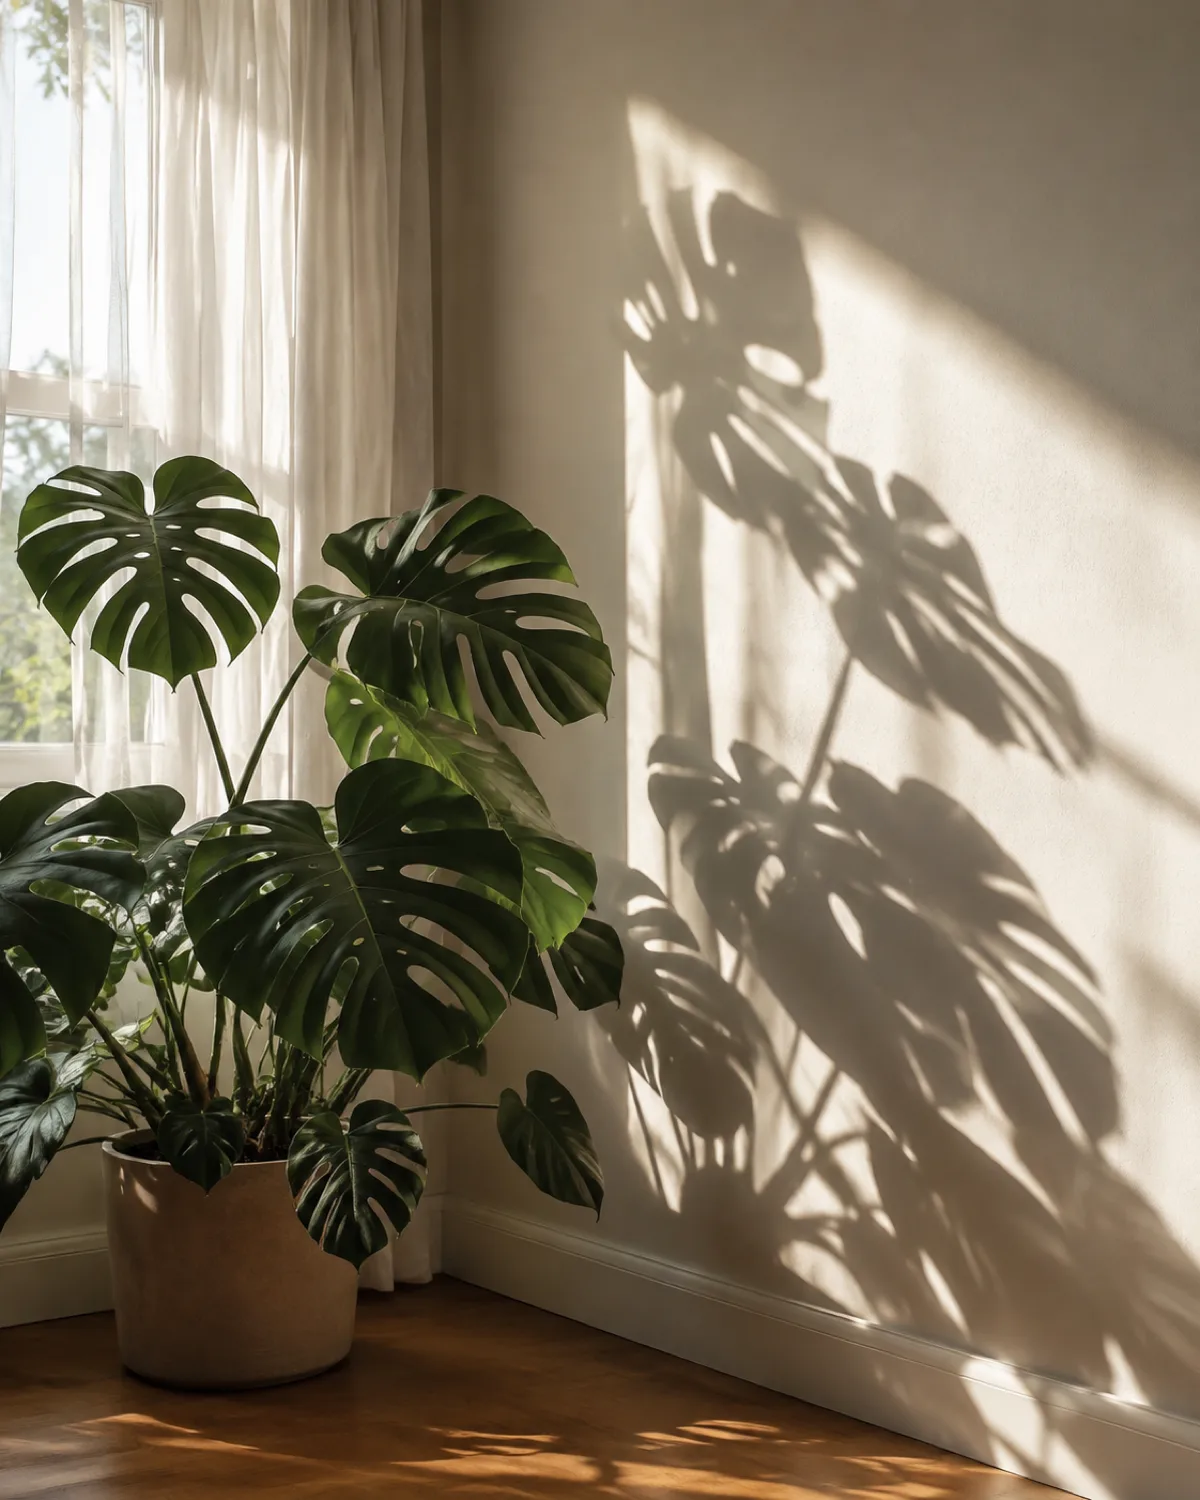
Lighting is free decor that most plant owners never use deliberately. A monstera positioned eighteen inches from a window with sheer curtains casts leaf-shadow patterns on the adjacent wall that change throughout the day. That shadow display is as much a part of the aesthetic as the plant itself.
Morning sidelight through east-facing windows creates the most dramatic leaf shadows because the sun angle is low and the light is warm.
- Sheer curtains diffuse direct sun into a broad wash that projects leaf silhouettes clearly without burning the plant
- Clip-on grow lights tucked behind foliage in low-light corners provide the supplemental photons the plant needs while staying invisible from the room's main sightline
- Warm-white LED string lights woven through a shelf cluster add an evening ambiance layer that turns an ordinary plant shelf into a focal point after sunset
One thing to avoid is harsh overhead downlight aimed directly at variegated foliage. Top-down lighting washes out the color patterns that make variegated plants interesting. Sidelight and underlight preserve the contrast between light and dark zones on a leaf.
Natural light placement serves double duty. A plant positioned for the best light also happens to cast the most interesting shadows, grow the healthiest foliage, and stay in proportion. Chasing aesthetics and chasing good light are usually the same move.
Save for Later
15 Plant Aesthetic Ideas for Every Style and Space
- 1Curated means negative space, odd numbers, and consistent potsThree plants with breathing room between them look more intentional than twelve pots touching on a shelf.
- 2Minimalist aesthetic needs one statement plant and a matte potMonstera, snake plant, or fiddle-leaf fig on a stand against a white wall. The plant is the art.
- 3Jungle maximalist layers floor to ceilingDense green at every height. Trailing from hooks, tall on the floor, medium on shelves. Intentional chaos.
- 4Boho layers macrame, terracotta, and dried accentsWarm earth materials with trailing plants at multiple heights. Texture variety is the point.
- 5Scandinavian keeps it to white pots and light woodMatching ceramics, limited palette, one plant per functional zone. Each plant earns its place.
- 6Two to three pot materials is the whole systemTerracotta plus white ceramic plus woven basket. Repeat in different sizes across the room.
- 7Trailing plants guide the eye across a shelfPothos, string of pearls, or ivy draped along edges create visual flow that connects static objects.
- 8Four height tiers create depth in any roomFloor, mid-level stand, high shelf, hanging planter. Gaps between tiers let each layer register.
- 960-30-10 green ratio prevents visual chaosSixty percent medium green, thirty percent deep, ten percent variegated or colored accent. Too many accent plants cancel each other out.
- 10Props complete a vignette but the plant dominatesOne plant plus one book stack plus one small object. The plant stays tallest. Natural materials read better than plastic.
- 11Sidelight creates leaf shadows that double as wall artPosition plants near sheer curtains for morning shadow play. Avoid overhead downlight on variegated leaves.
- 12Seasonal swaps refresh the look without buying new plantsRotate rooms quarterly, swap pot sleeves, add seasonal props. Same collection, new arrangement.
- 13One statement plant plus propagation jars is a budget aestheticA floating shelf with three small plants in unified pots plus a windowsill row of glass cuttings. Under fifty dollars.
- 14Oversized pots and dusty leaves break any aestheticPot proportional to plant spread. Clean leaves monthly. A neglected plant ruins the best-styled shelf.
- 15A two-hour weekend reset keeps the whole thing aliveAudit placements, regroup by light, swap pots, clean leaves, photograph for perspective. Repeat seasonally.
kultivy.com
Seasonal Styling Swaps Without Buying New Plants
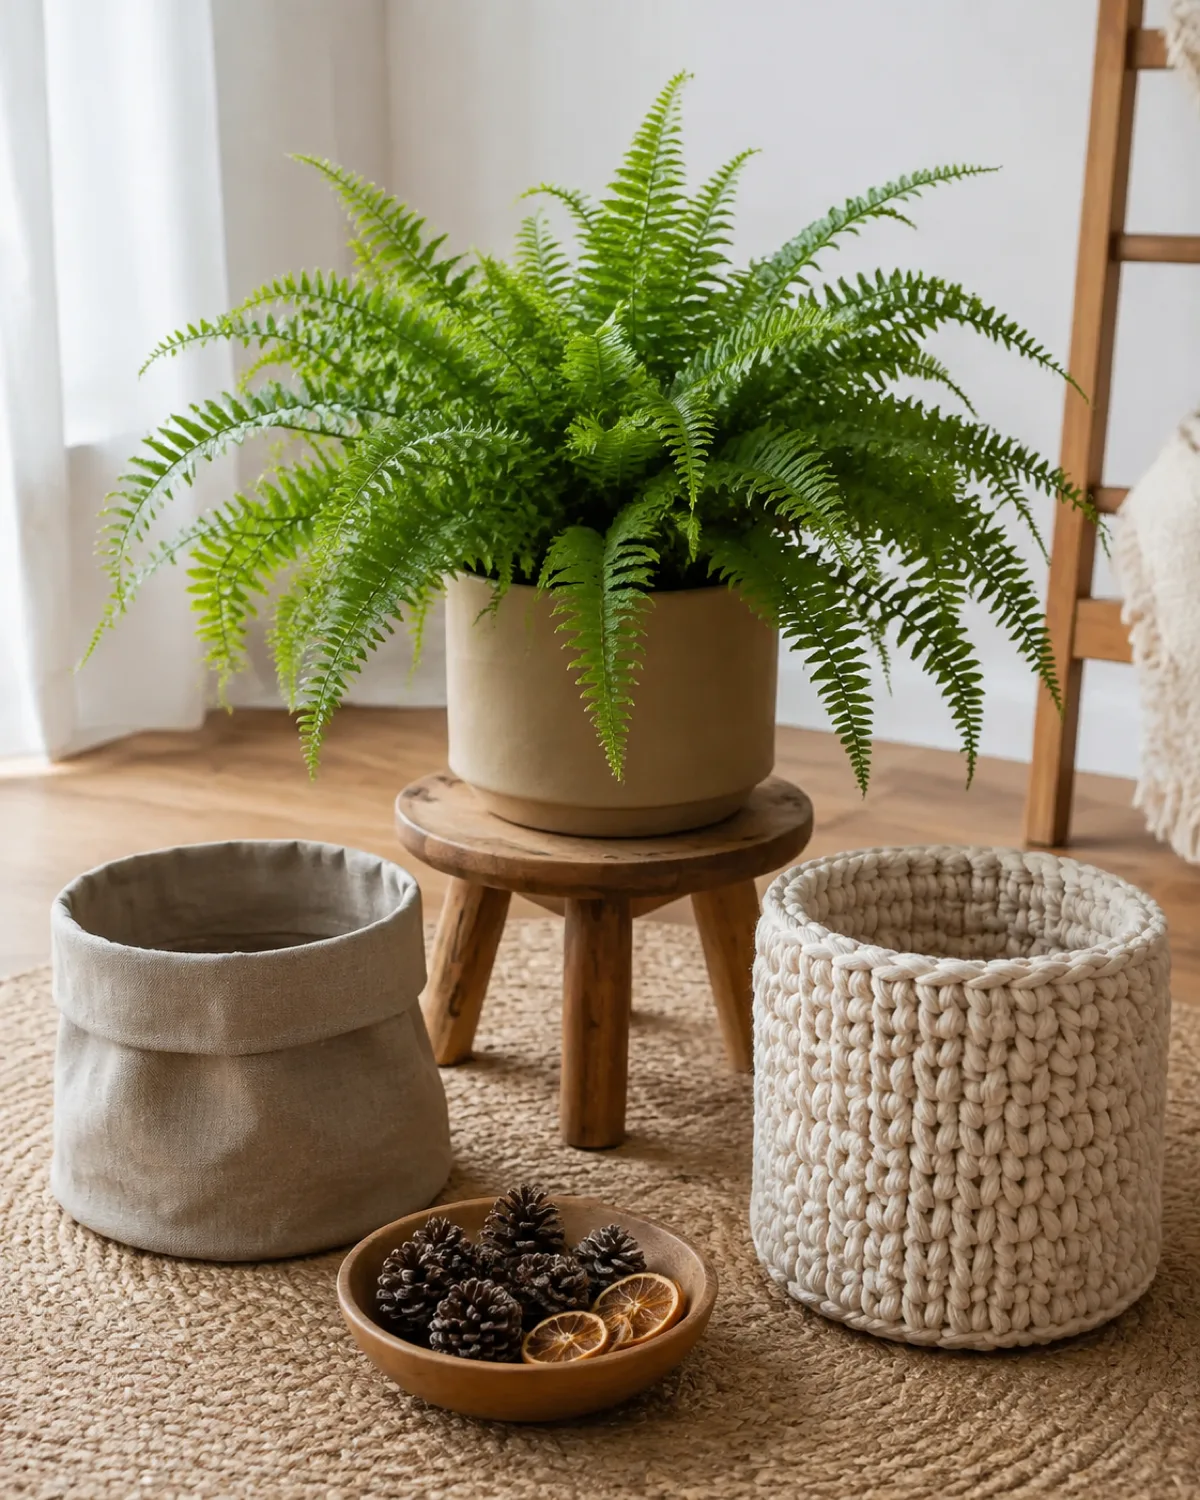
A plant aesthetic that looks exactly the same in January and July starts to feel stale, but buying new plants every season is expensive and eventually creates a care burden that outgrows the available time. The solution is changing the context around the same plants.
Pot sleeves are the fastest swap. A linen or burlap wrap around a nursery pot feels light and airy for summer. The same pot in a chunky cream knit sleeve looks warmer for fall and winter. The plant stays put. Only the texture around it shifts.
- Room rotation is the biggest change for zero cost. Move the bathroom fern to the living room for a humidity reset, shift the bedroom pothos to the kitchen, and bring the kitchen herb cluster to a sunnier window for winter growth. Every room feels refreshed.
- Seasonal props beside existing plants mark the shift. A small bowl of pinecones or dried citrus slices in fall, a sprig of dried eucalyptus or a candle in winter, a vase of dried lavender in spring. These props take thirty seconds to swap and change the mood of the whole vignette.
- Pruning for proportion — trim trailing plants shorter for winter when the light drops and leggy growth looks thin. Let them grow long again in spring when the energy is there to fill the length with leaves.
The quarterly timing works well because it aligns with natural growth cycles. Spring is when most plants push new growth and trailing species extend fast. Fall is when growth slows and a tighter silhouette looks appropriate.
Small Space Plant Aesthetic on a Budget
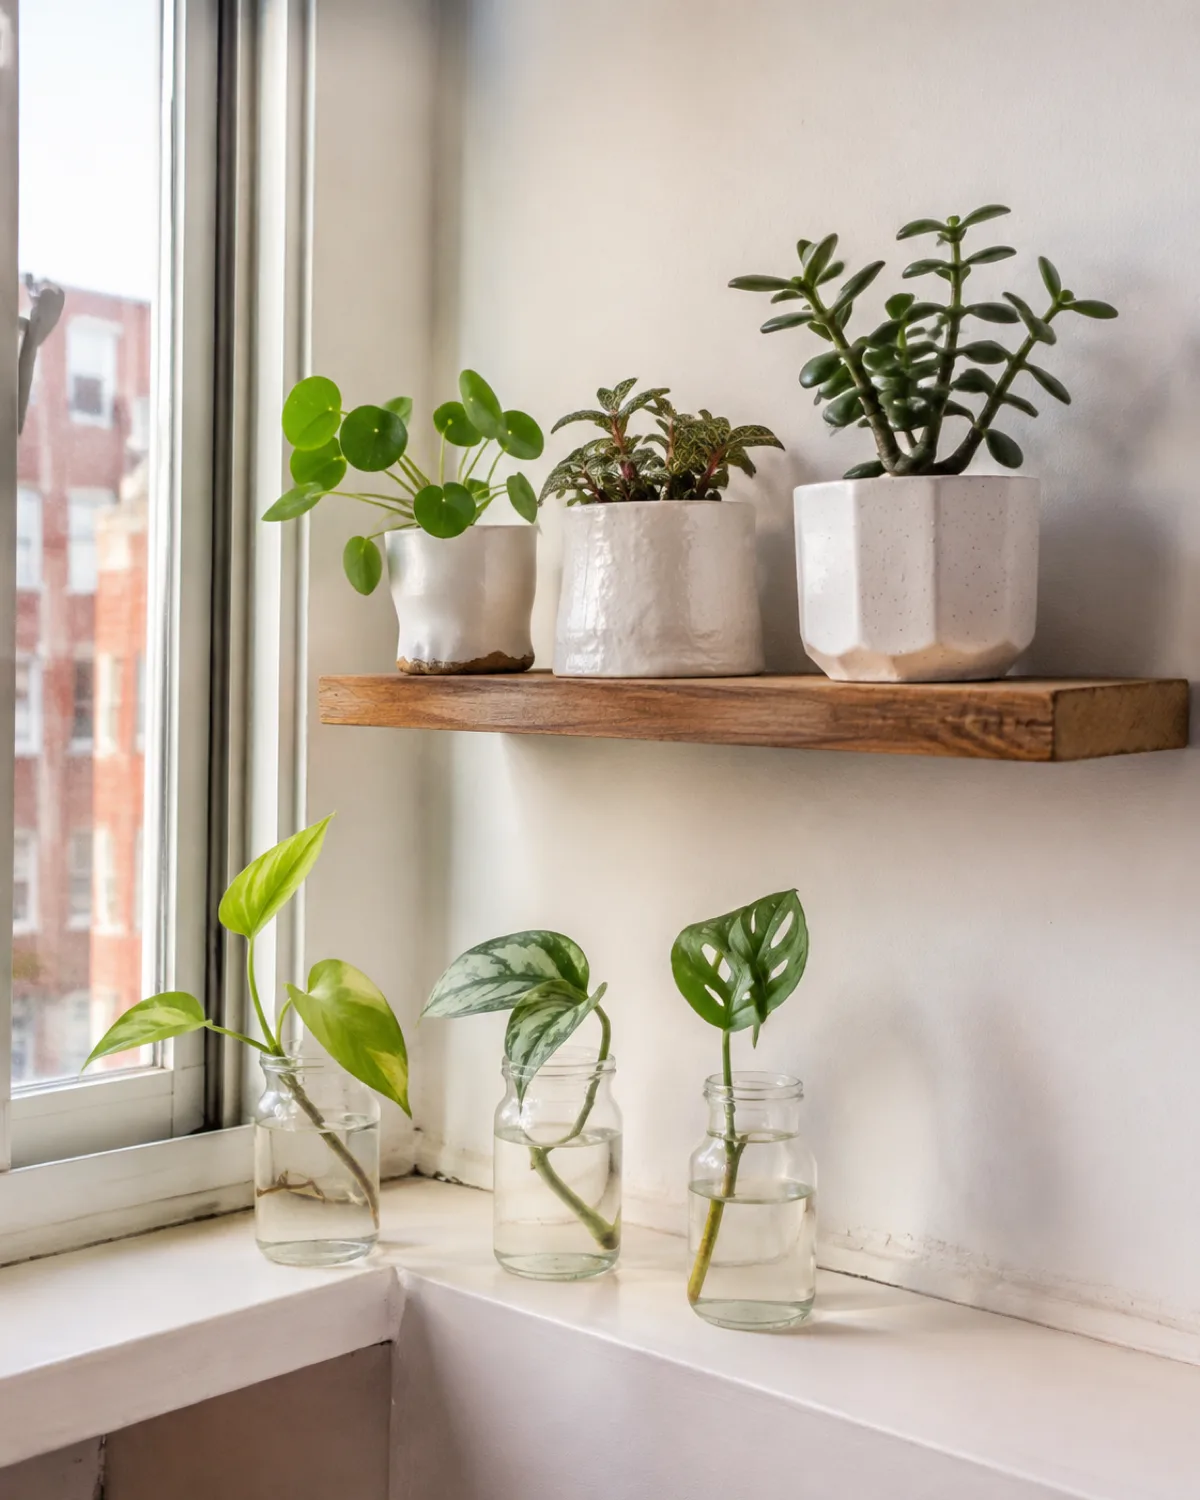
A polished plant aesthetic does not require a large room or a large budget. The principles that work at scale — odd numbers, height layers, cohesive pot palette — work just as well with three plants as with thirty.
The minimum viable plant aesthetic is one statement plant plus two or three smaller companions.
- One anchor plant on the floor or a stand — a snake plant, a medium monstera, or a ZZ plant. These are affordable, widely available, and grow large enough to register from across the room.
- Two to three small plants on a shelf, desk, or windowsill — pilea, a small pothos, or a propagated cutting from a friend.
- Propagation jars as aesthetic objects — glass jars with single cuttings rooting in water on a windowsill look deliberate when arranged in a row. They cost nothing if the cutting comes from an existing plant.
Budget pot cohesion comes from paint. Thrift-store ceramic pots in random glazes become a matched set with one can of matte spray paint in white, sage, or terracotta. The shapes stay different, which adds character, but the color locks them together.
A single floating shelf plus three small plants in coordinated pots creates an instant plant aesthetic vignette for under fifty dollars including hardware.
Common Styling Mistakes That Break the Aesthetic
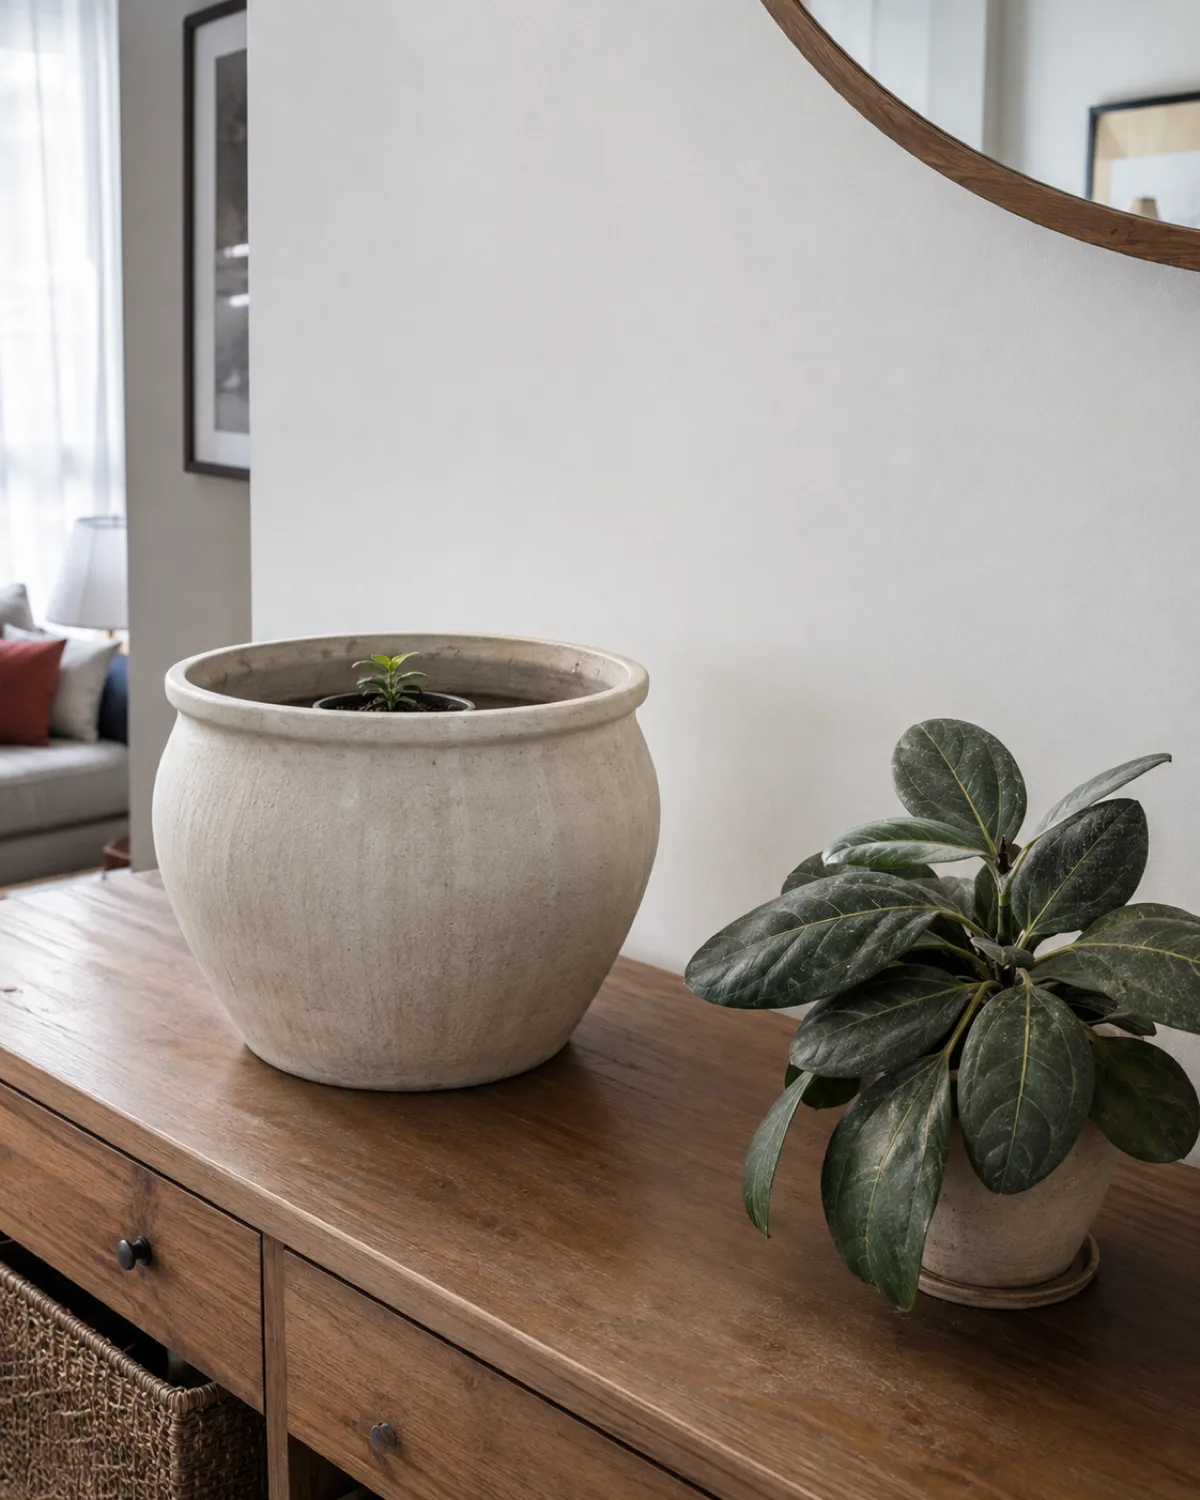
Knowing what breaks a plant aesthetic is as useful as knowing what builds one. These mistakes are common enough that most plant owners hit at least two before figuring out the fix.
Matching everything too perfectly makes a display look like a catalog shoot instead of a home. Three identical plants in three identical pots spaced exactly evenly on a shelf reads as commercial staging. Slight variation in pot size, plant maturity, or spacing adds the organic quality that makes a display feel lived-in.
Ignoring scale and proportion is the most visible mistake. A four-inch plant in a twelve-inch pot looks abandoned. A massive trailing plant on a tiny shelf overwhelms the furniture. The pot-to-plant ratio and the plant-to-furniture ratio both need to feel balanced.
- Blocking natural light with a tall plant directly in front of a window hurts both the light in the room and the plant behind it. Place tall plants beside windows, not in front of them.
- Prioritizing aesthetics over plant health catches up fast. A plant placed in a dark corner because it looks good there will stretch, yellow, and drop leaves within weeks. A wilting plant is the fastest way to ruin a styled shelf.
- Forgetting to dust leaves dims the foliage color and blocks the light the plant needs. A monthly wipe with a damp cloth keeps leaves glossy and healthy. This is care disguised as styling.
The simplest diagnostic for any of these mistakes is a photo taken from the room's doorway. Proportions, light distribution, and neglected foliage all show up more clearly in a photograph than they do in person.
Your Weekend Plant Styling Reset
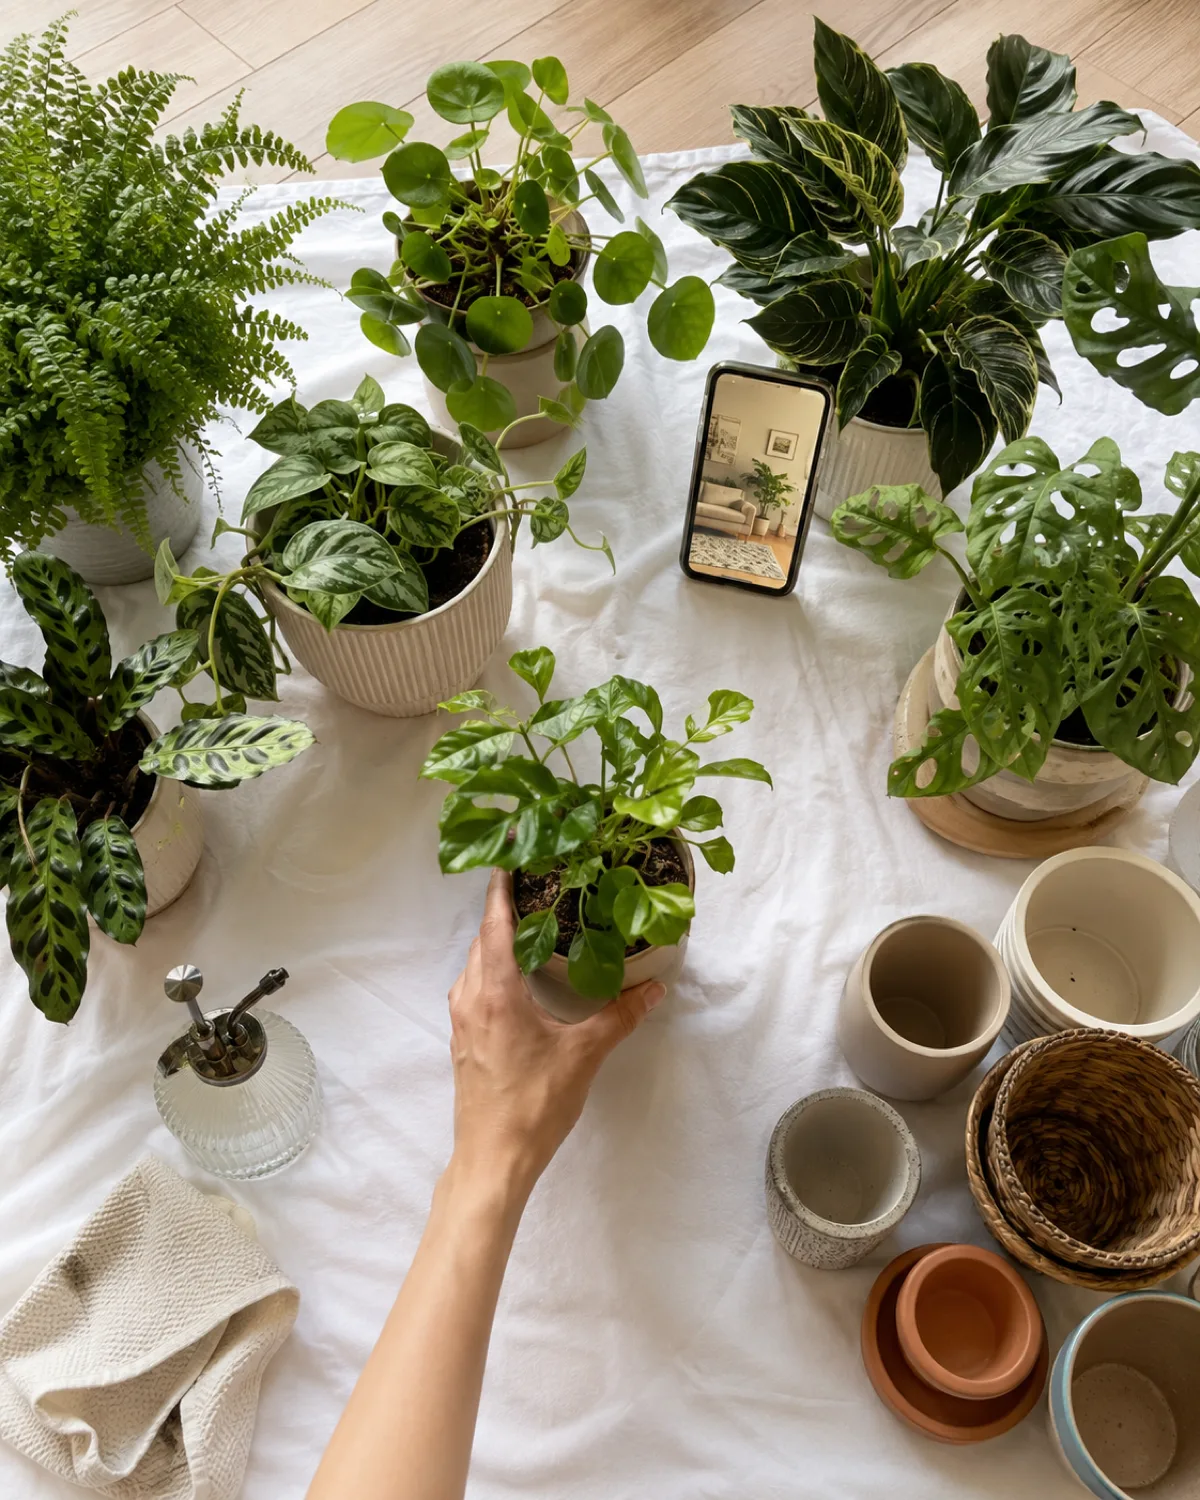
Every plant arrangement drifts. Growth changes the proportions. Seasonal light shifts expose gaps. A pot that looked right six months ago has been outgrown. The weekend reset is a two-hour project that pulls the whole aesthetic back into shape.
Here is the sequence.
- Audit — photograph every room from the doorway. Look at the images on your phone, not the rooms themselves. Photos expose problems the eye skips in person.
- Gather — move all plants to one central spot on a sheet or towel. Group pots by material on one side. Notice which plants have outgrown their pots.
- Clean — wipe every leaf with a damp cloth. Check undersides for pests. Remove dead leaves. This step takes the longest.
- Regroup by light — sort plants into three piles based on light needs. Bright, medium, low. Assign each pile to the matching room zone.
Then rearrange.
- Place the anchor plant first — the largest one goes in the spot with the most visual weight and the right light.
- Build clusters of three around it at different heights.
- Add trailing plants to the top tier of each cluster.
- Step back, photograph again, and adjust anything that looks off.
The whole process takes about two hours for a ten-to-twenty-plant collection. Do it once per season and the aesthetic stays sharp without daily fussing.

Mara Quinn edits Kultivy, where she shares houseplant care, propagation, beginner-friendly plant picks, and plant-styling ideas for anyone who wants their indoor plants to actually thrive. Every guide is image-led and reviewed for clarity, usefulness, image accuracy, and Pinterest-to-page alignment before it goes live. Visit the About page.