From the three ingredients every indoor mix needs to swapping old soil without shocking your plant.
Why Soil Matters More Than Your Watering Schedule
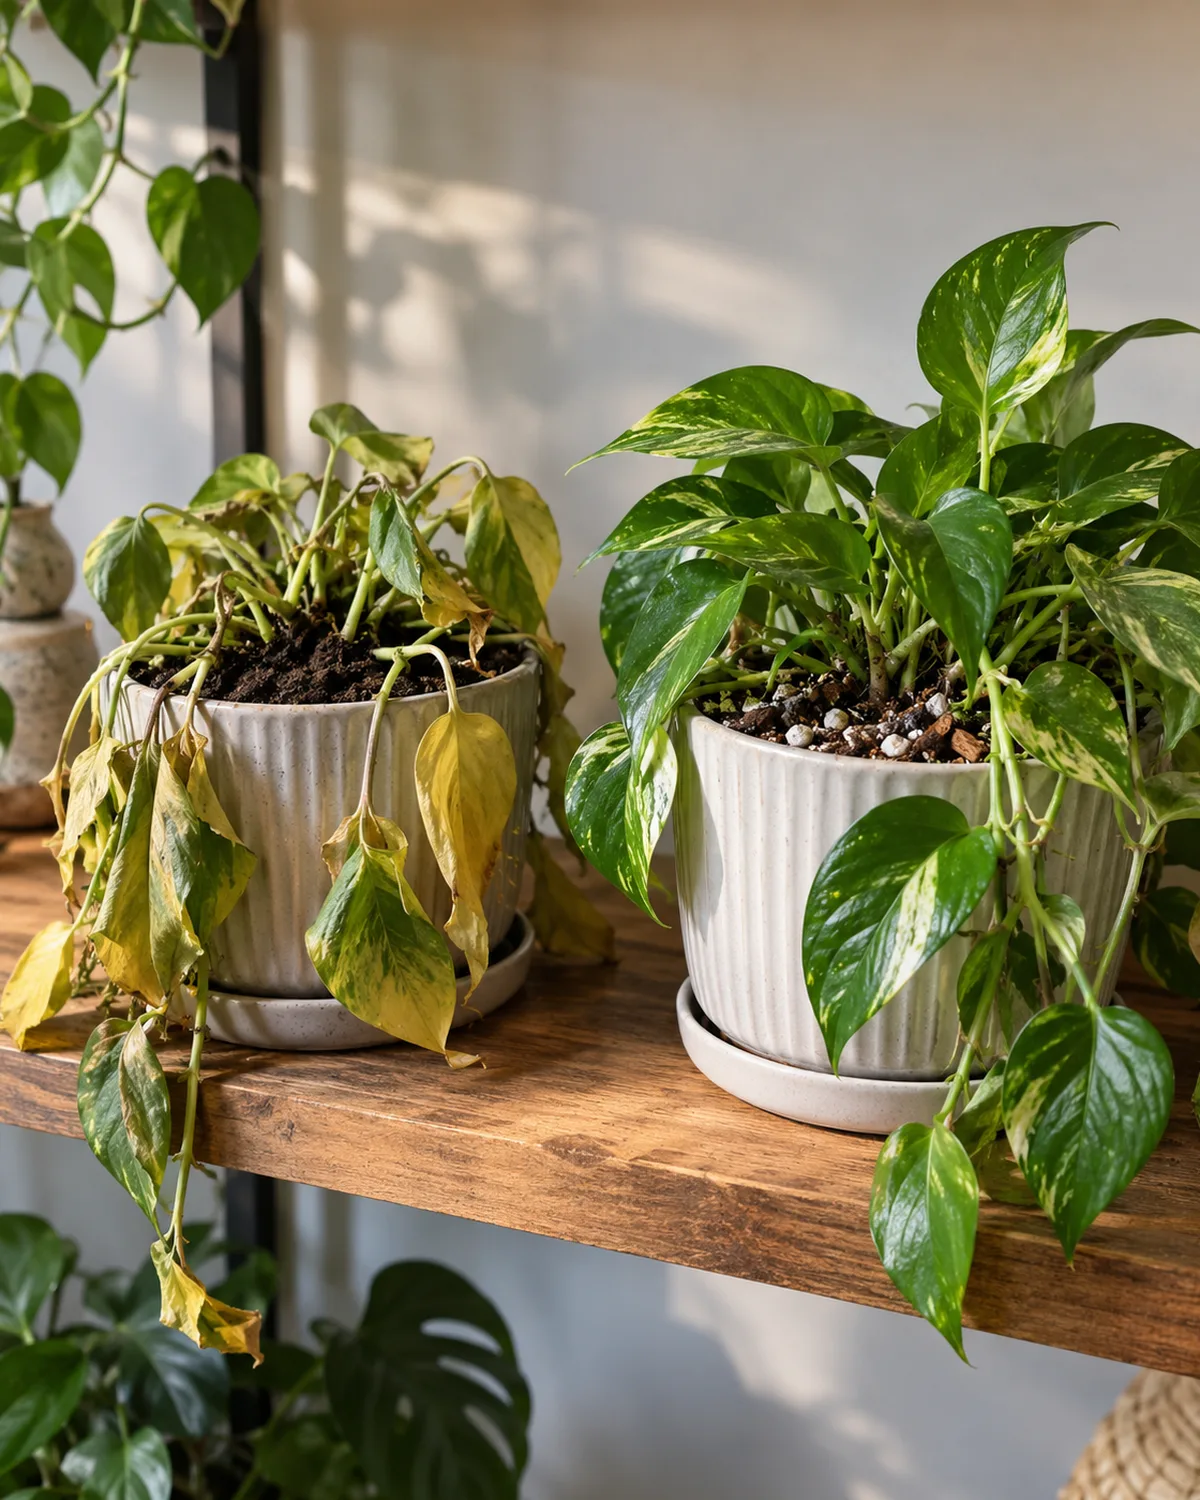
Most houseplant deaths get blamed on watering. Too much, too little, wrong schedule. But the real culprit is often sitting right there in the pot — the soil itself.
Dense garden dirt compacts indoors because there are no earthworms to aerate it, no rain to flush salts, and no freeze-thaw cycles to break up clumps. Within a few months, what started as loose soil becomes a solid brick that holds water against the roots until they suffocate.
The problem is oxygen. Houseplant roots need air pockets in the soil as much as they need water. Every time you water a plant in compacted soil, you are filling those pockets with liquid and cutting off the root's oxygen supply. The roots cannot breathe, so they rot. The plant wilts, and you water again — making the problem worse.
- Soil is the foundation, not the afterthought: the best watering routine in the world cannot save a plant sitting in the wrong medium — bad soil turns every watering into a drowning event
- Garden soil is not potting soil: outdoor soil depends on biology (earthworms, fungi, insect tunnels) to maintain structure — none of that exists in a pot, so the soil compacts and suffocates roots within months
- The soil triangle concept: every good indoor mix balances three things — moisture retention (so roots can drink), drainage (so excess water leaves), and aeration (so roots can breathe between waterings)
Think of soil for houseplants as a delivery system, not a growing medium. Its job is to hold water just long enough for the roots to take what they need, then release the rest through the drainage holes. The ratio between holding and releasing determines whether a plant thrives or slowly suffocates.
The Three Ingredients That Make Every Indoor Mix Work
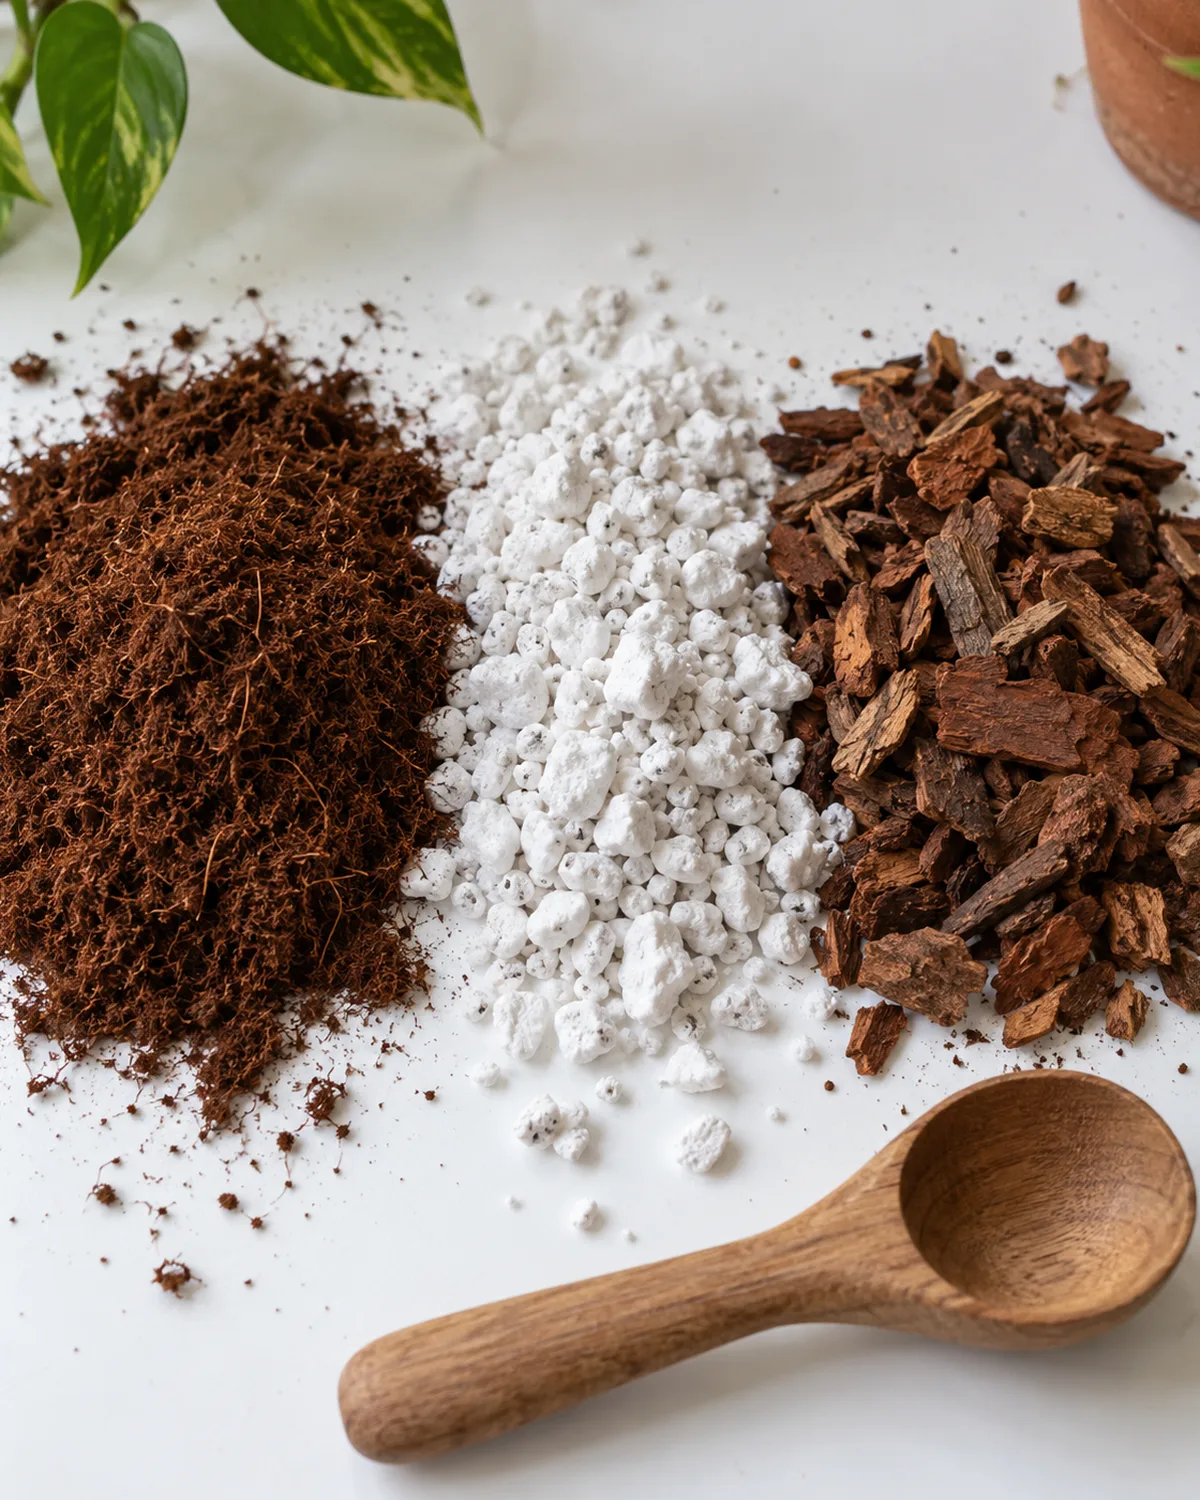
Every reliable indoor potting mix is built from three categories of ingredients, each doing a specific job at the particle level. Remove any one of the three and the mix fails in a predictable way.
The moisture holder — peat moss or coco coir. These organic materials have a sponge-like structure that absorbs water and holds it near the roots. Peat moss has been the standard for decades, but coco coir — made from coconut husk fibers — is gaining ground because it is renewable, rehydrates more easily after drying out, and starts at a neutral pH instead of peat's naturally acidic range.
The drainage agent — perlite or pumice. These lightweight mineral particles do not absorb water. They create channels through the mix that let excess water flow down and out of the pot. Without them, the organic material holds too much moisture and the roots sit in wet soil for days.
- Perlite: volcanic glass heated until it pops like popcorn — bright white, ultra-lightweight, and the most common drainage amendment in commercial mixes
- Pumice: volcanic rock that is denser than perlite, does not float to the surface during watering, and provides better long-term structure — preferred by many experienced growers
- Coarse sand: a budget alternative that adds weight and drainage but no aeration — works for succulent and cactus mixes where fast drainage is the priority
The aerator — orchid bark or horticultural charcoal. Chunky bark pieces create large air pockets that persist even when the surrounding material is wet. They also break down slowly, adding a mild acidic component over time. Charcoal serves a similar structural role and absorbs toxins and odors from the soil.
The interplay matters. Coir alone compacts. Perlite alone drains too fast for roots to drink. Bark alone holds almost no moisture. Combined in the right proportions, the three create a mix that breathes, drains, and still retains enough water for the plant between waterings.
Both work well — the differences are practical, not deal-breaking.
How to Read a Potting Mix Bag Without Getting Fooled
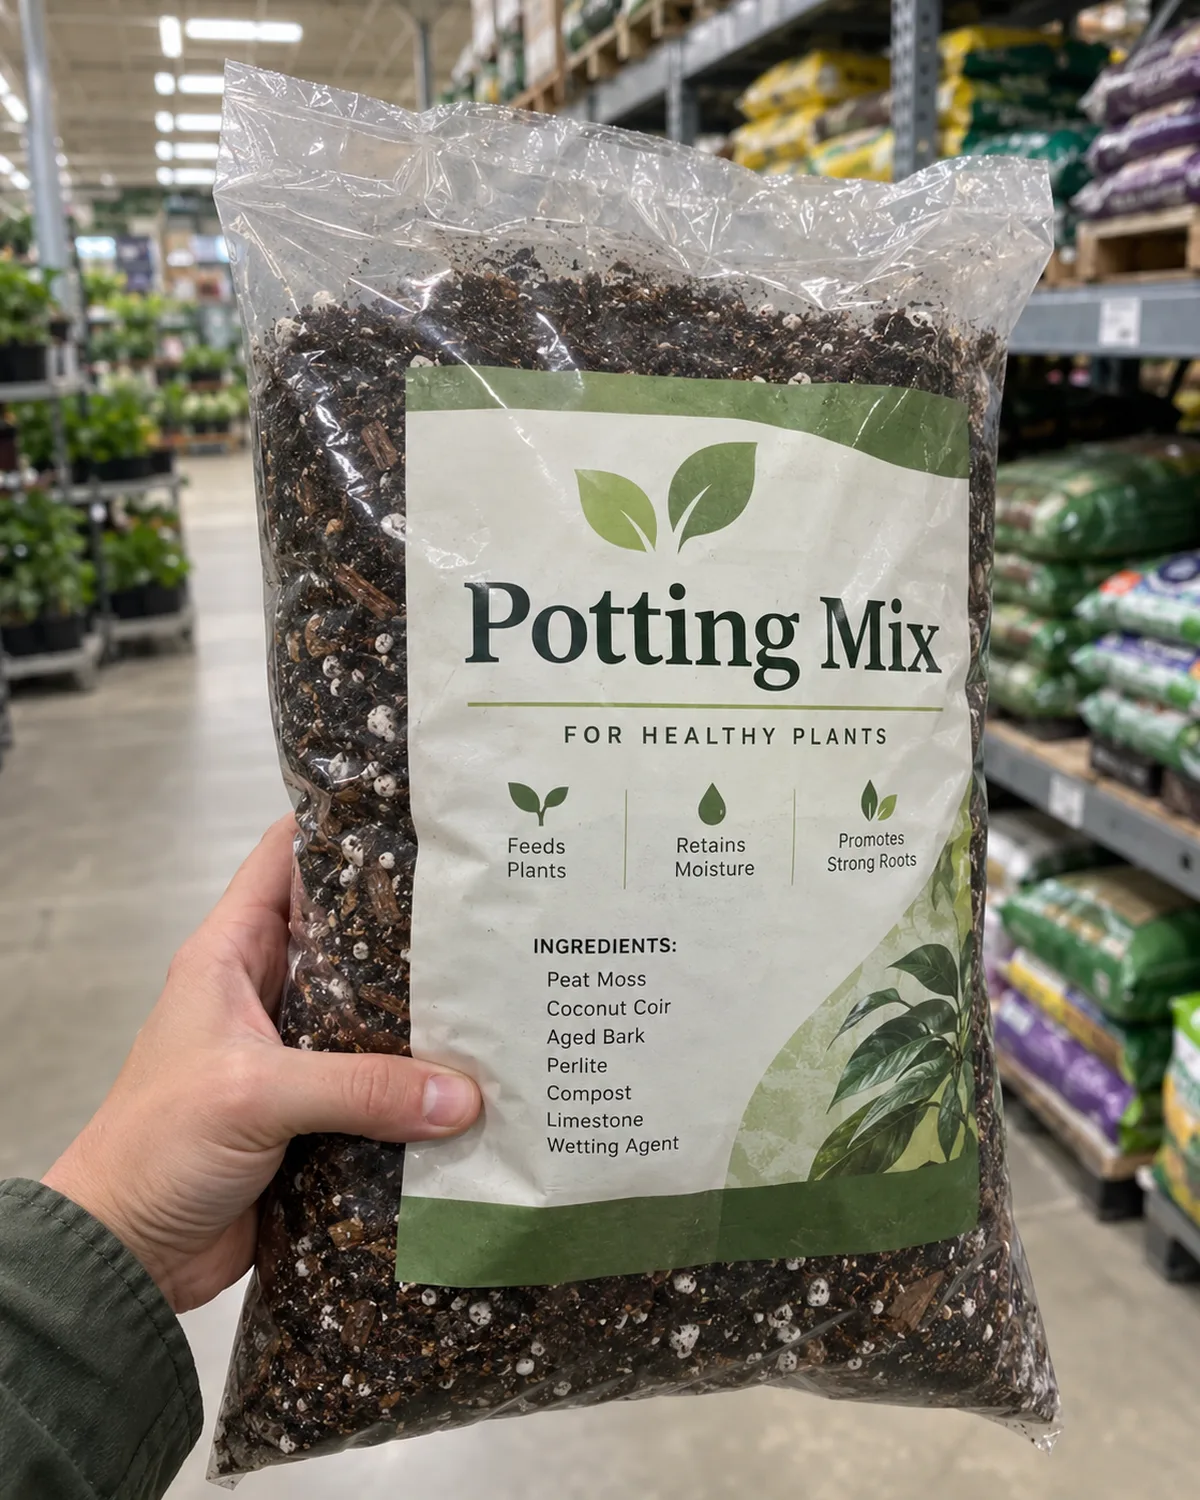
The label "indoor potting mix" on a bag means almost nothing. There is no regulated standard — manufacturers can put whatever they want inside and call it suitable for houseplants. The ingredient list on the back is the only part worth reading, and even that requires translation.
What to look for: a short ingredient list that starts with sphagnum peat moss or coco coir, followed by perlite or pumice. That combination — organic base plus mineral drainage — is the core of every decent indoor mix. The simpler the list, the closer it is to what you would mix yourself.
- "Forest products" or "composted bark fines": these are sawmill byproducts ground into fine particles — they compact faster than chunky bark and hold more water than you want for most indoor plants
- "Moisture-control technology": usually polymer gel crystals that absorb water and release it slowly — sounds helpful, but these crystals hold too much moisture for tropical houseplants and create a root rot risk in plastic pots
- "Slow-release fertilizer included": small coated granules that feed for roughly six to eight weeks — fine for the first two months, but after that the plant needs liquid fertilizer regardless
- "Wetting agent": a surfactant that helps dry peat absorb water — useful but a sign that the peat base may be older or more prone to becoming hydrophobic
The best commercial mixes still benefit from amendment. Even a high-quality bag mix improves with an extra handful of perlite per pot to open up drainage, especially if you are potting into a container without drainage holes (which you should avoid, but many decorative pots lack them).
The Universal Houseplant Mix That Works for Eighty Percent of Plants
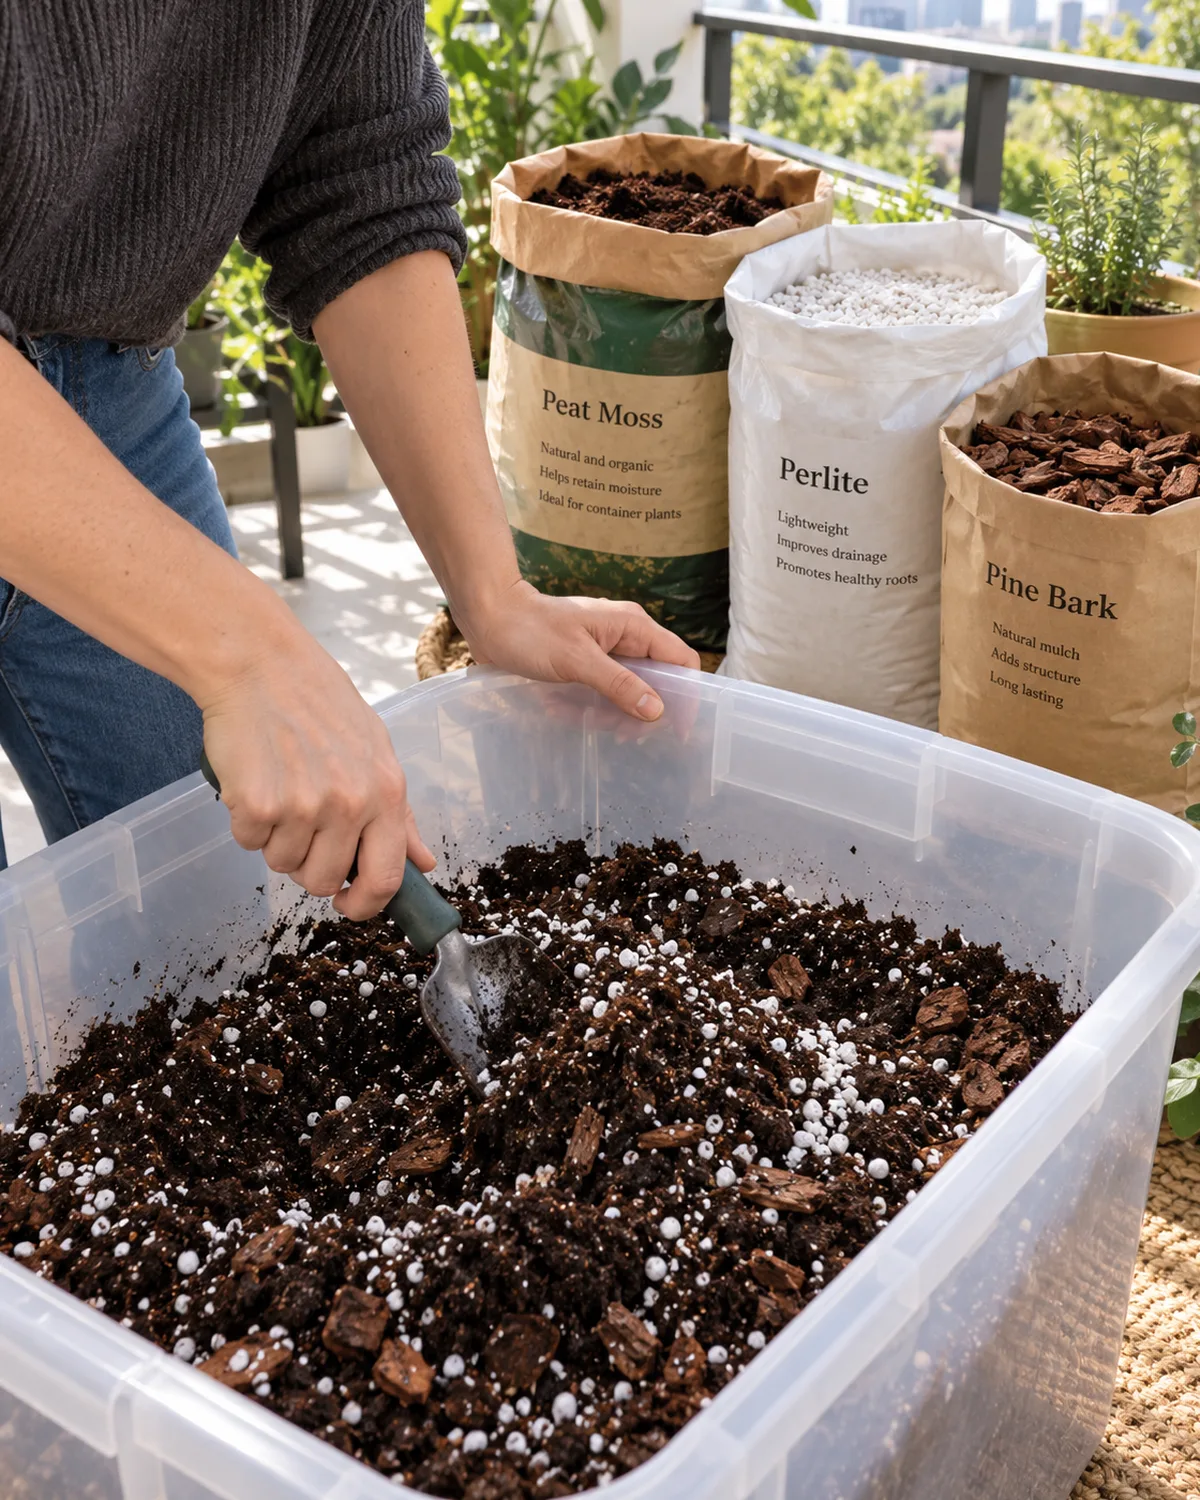
Two parts peat moss or coco coir. One part perlite. One part orchid bark. That is the recipe.
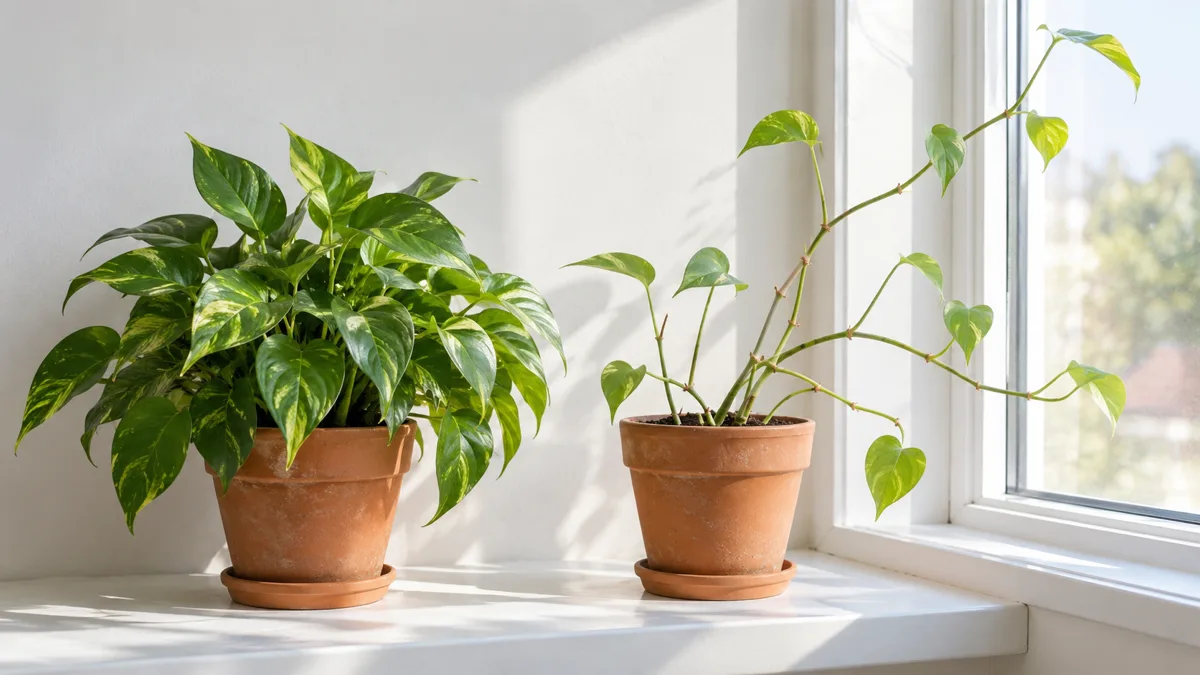
It handles pothos, philodendrons, monsteras, spider plants, peace lilies, rubber plants, and the vast majority of common tropical houseplants. No special blends, no proprietary formulas — just three ingredients in a ratio that balances moisture, drainage, and aeration.
Measure by volume, not weight. A large kitchen scoop or a small plastic cup works as a measuring unit. The exact volume of each scoop does not matter as long as you use the same scoop for all three ingredients — the ratio is what counts.
- Pre-moisten the peat or coir before mixing: dry peat is hydrophobic — it repels water and channels it straight through to the bottom of the pot, leaving the center of the root ball dry. Spraying it with warm water until it feels damp (not dripping) solves this before potting
- Fold, do not stir: dump the three ingredients into a large container and fold them together like you would fold batter — lifting from the bottom, turning over, repeating — until the color and texture are uniform with no dry pockets of peat or clumps of perlite
- The squeeze test: grab a handful of the finished mix and squeeze firmly. A few drops of water should come out, and the ball should hold its shape briefly, then crumble when you poke it. If water streams out, add more perlite. If it does not hold together at all, add more coir.
This 2:1:1 mix holds enough moisture that you water most plants every five to seven days in average conditions. It drains fast enough that the pot never sits waterlogged. And the bark creates structural air pockets that persist for months before slowly breaking down. One batch lasts for multiple pots.
Total time: ten minutes. Makes enough for three to five medium pots.
Soil Adjustments for Plants That Hate Wet Feet
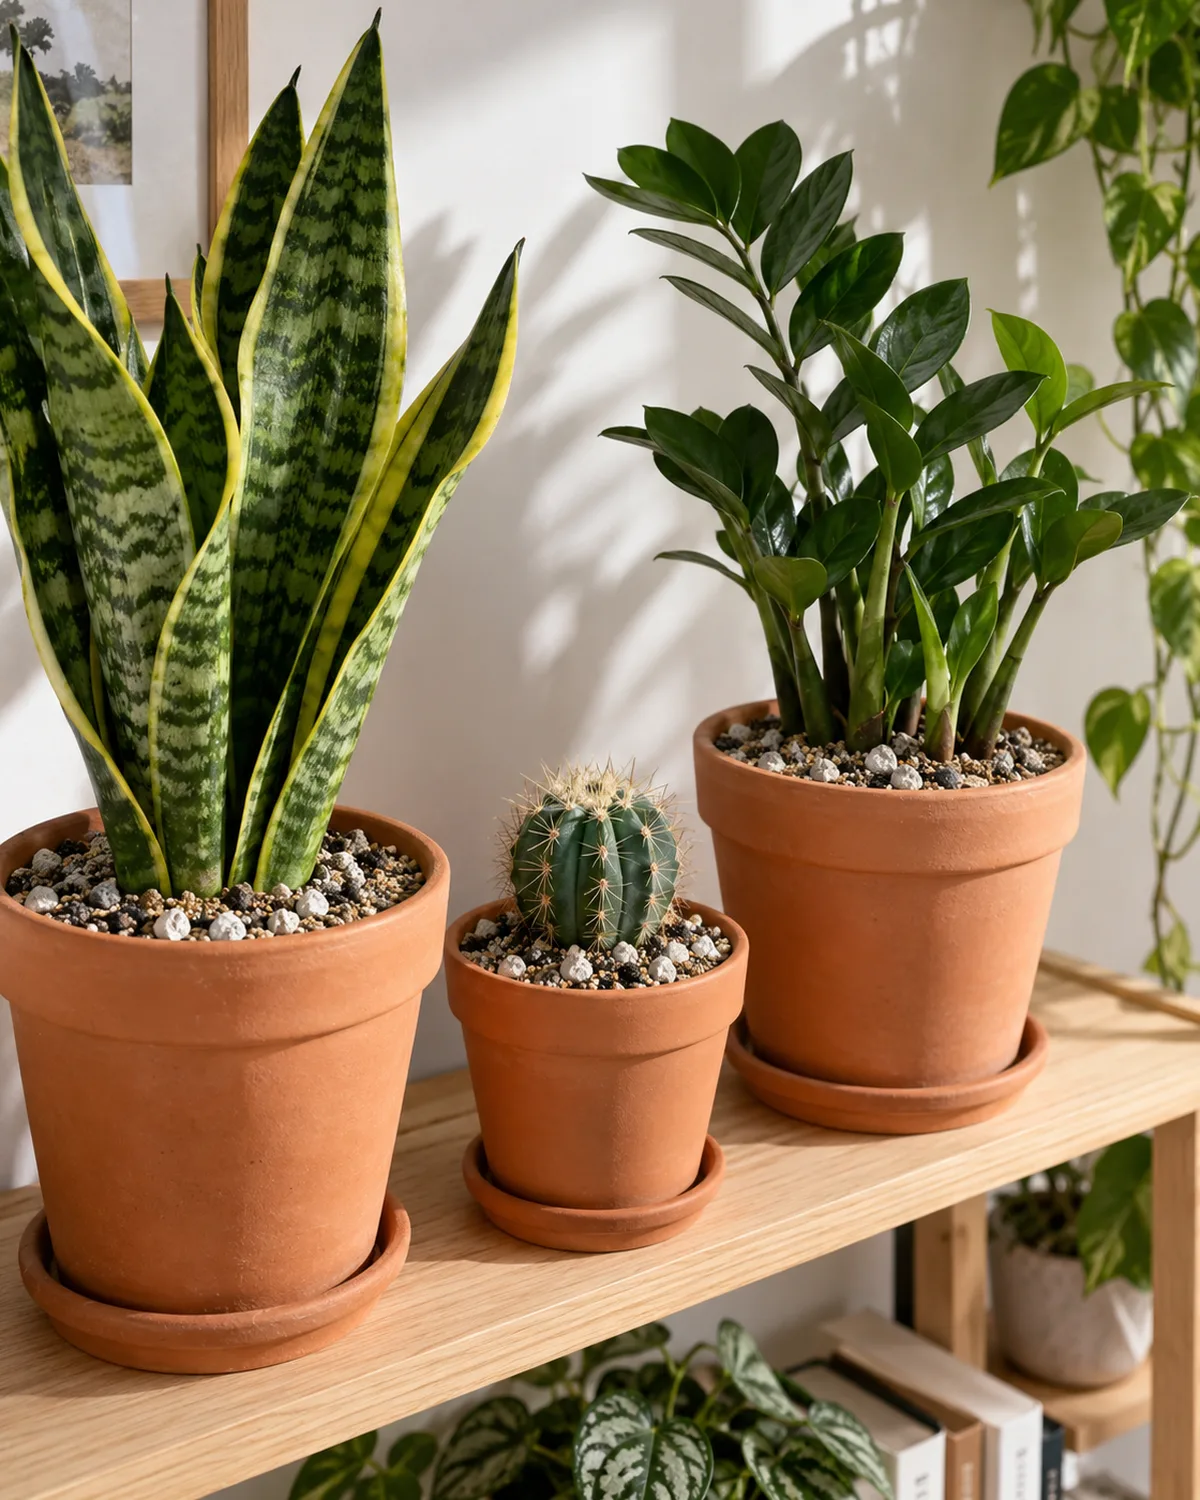
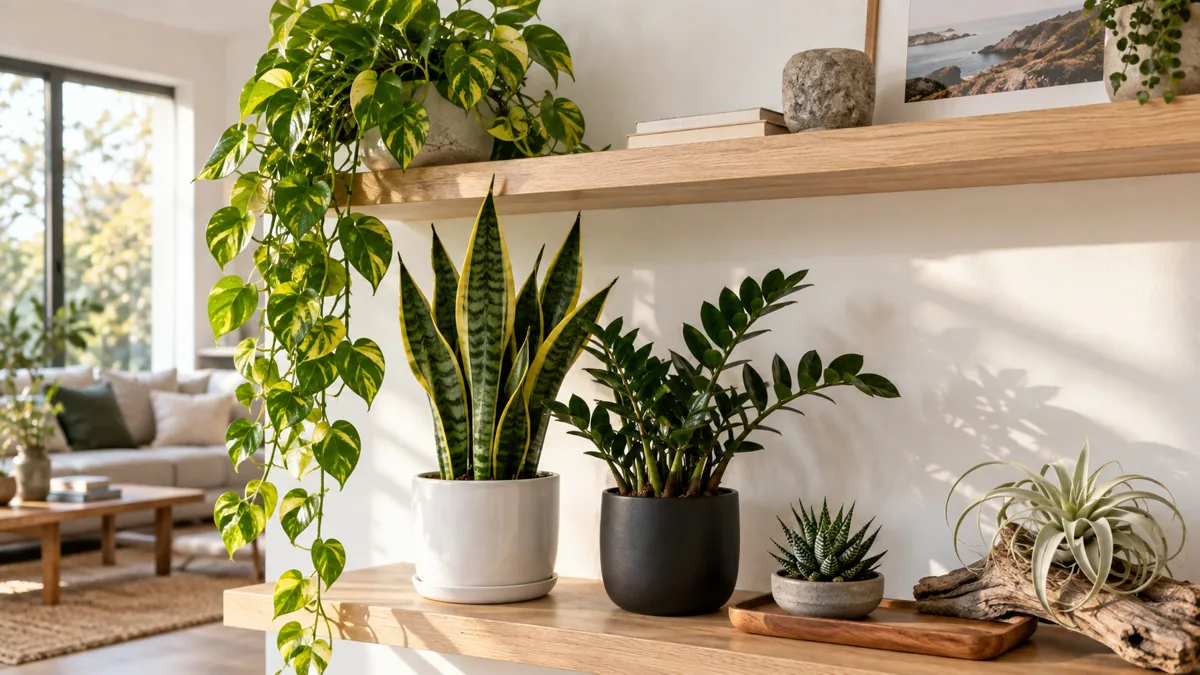
Succulents, cacti, snake plants, ZZ plants, and ponytail palms store water in their leaves, stems, or roots. They evolved in arid environments where the soil dries out completely between rare rainfalls.
In a pot, these plants need soil that dries within two to three days — anything longer and the roots sit in more moisture than they can handle.
The adjustment is straightforward: shift the ratio toward mineral content and away from organic moisture holders. Instead of the 2:1:1 universal mix, use a 1:1:1 blend — equal parts coir (or peat), perlite, and coarse sand or pumice. Some growers go even further with a 1:2 organic-to-inorganic ratio for extreme desert species.
- Coarse sand, not fine: fine beach sand packs tight and reduces drainage — use horticultural sand or builder's sand with grain sizes visible to the eye
- Pumice outperforms perlite here: pumice is heavier, does not float to the surface during watering, and provides better long-term aeration in fast-draining mixes
- The weight test: a properly fast-draining pot should feel noticeably lighter within two to three days of watering — if it still feels heavy on day four, the mix is too moisture-retentive for drought-tolerant species
- Terracotta amplifies drying: the porous walls of an unglazed terracotta pot wick moisture out of the soil through evaporation — pairing terracotta with a gritty mix creates the fastest-drying setup possible, ideal for cacti and thick-leafed succulents
Skip the orchid bark in pure succulent mixes. Bark retains some moisture and breaks down over time into finer particles — neither trait is useful when the goal is maximum drainage and mineral stability. Replace it with additional pumice or perlite.
Soil Adjustments for Plants That Want Consistent Moisture
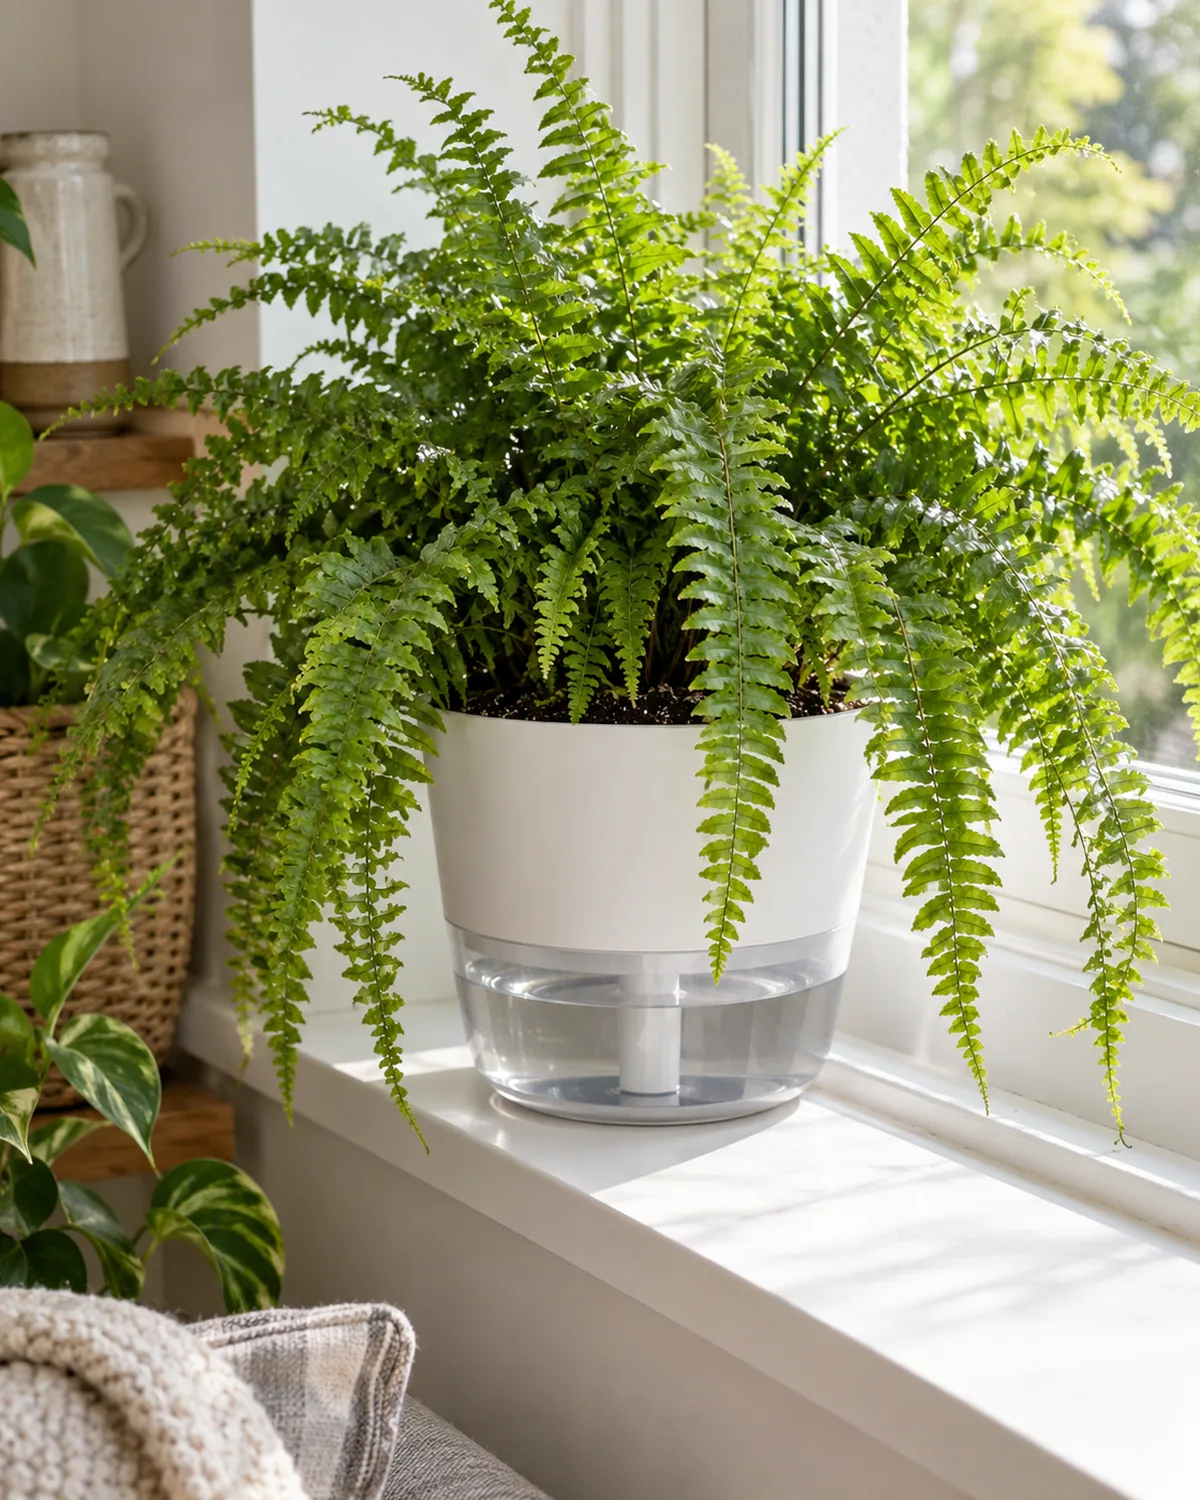
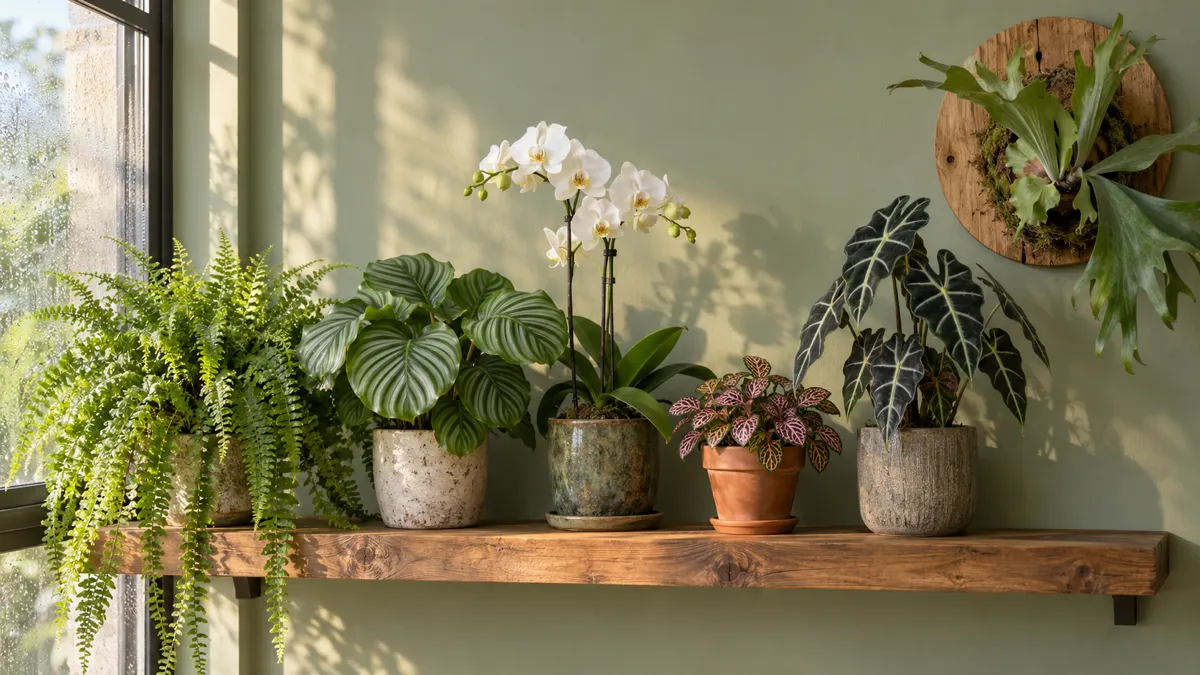
On the other end of the spectrum, ferns, calatheas, nerve plants, and African violets want soil that stays consistently moist without ever drying out completely. These are forest-floor species that evolved in continuously damp leaf litter under a humid canopy.
The modification: add extra coir or a layer of fine sphagnum moss to the universal mix. A 3:1:1 ratio — three parts coir, one part perlite, one part bark — holds moisture longer while still providing enough drainage to prevent waterlogging. Some growers add a thin layer of sphagnum moss on top of the soil surface to slow evaporation.
- More moisture retention means more root rot risk: the tradeoff is real — a mix that stays moist longer also stays wet longer if you overwater, so pot choice and drainage holes become critical
- Self-watering pots pair well with moisture-retentive mixes: the wicking reservoir delivers a steady trickle of water from below, keeping the soil in that "wrung-out sponge" zone that ferns and calatheas love
- Never use pure sphagnum moss as the sole medium long-term: it stays too wet, compacts against roots, and creates an anaerobic environment that promotes root rot — use it as an amendment or topper, not the entire mix
- Plastic pots retain moisture better than terracotta: for moisture-loving plants, a plastic or glazed ceramic pot keeps the soil damp longer — terracotta would wick moisture out through the walls, forcing you to water twice as often
The goal is a narrow band: moist enough that the soil never fully dries out at root depth, but structured enough that water still moves through and out of the pot. Fine sphagnum bridges that gap better than adding more peat, because sphagnum retains its structure under moisture while peat tends to compact over time.
When to Repot and How to Tell the Soil Has Gone Bad
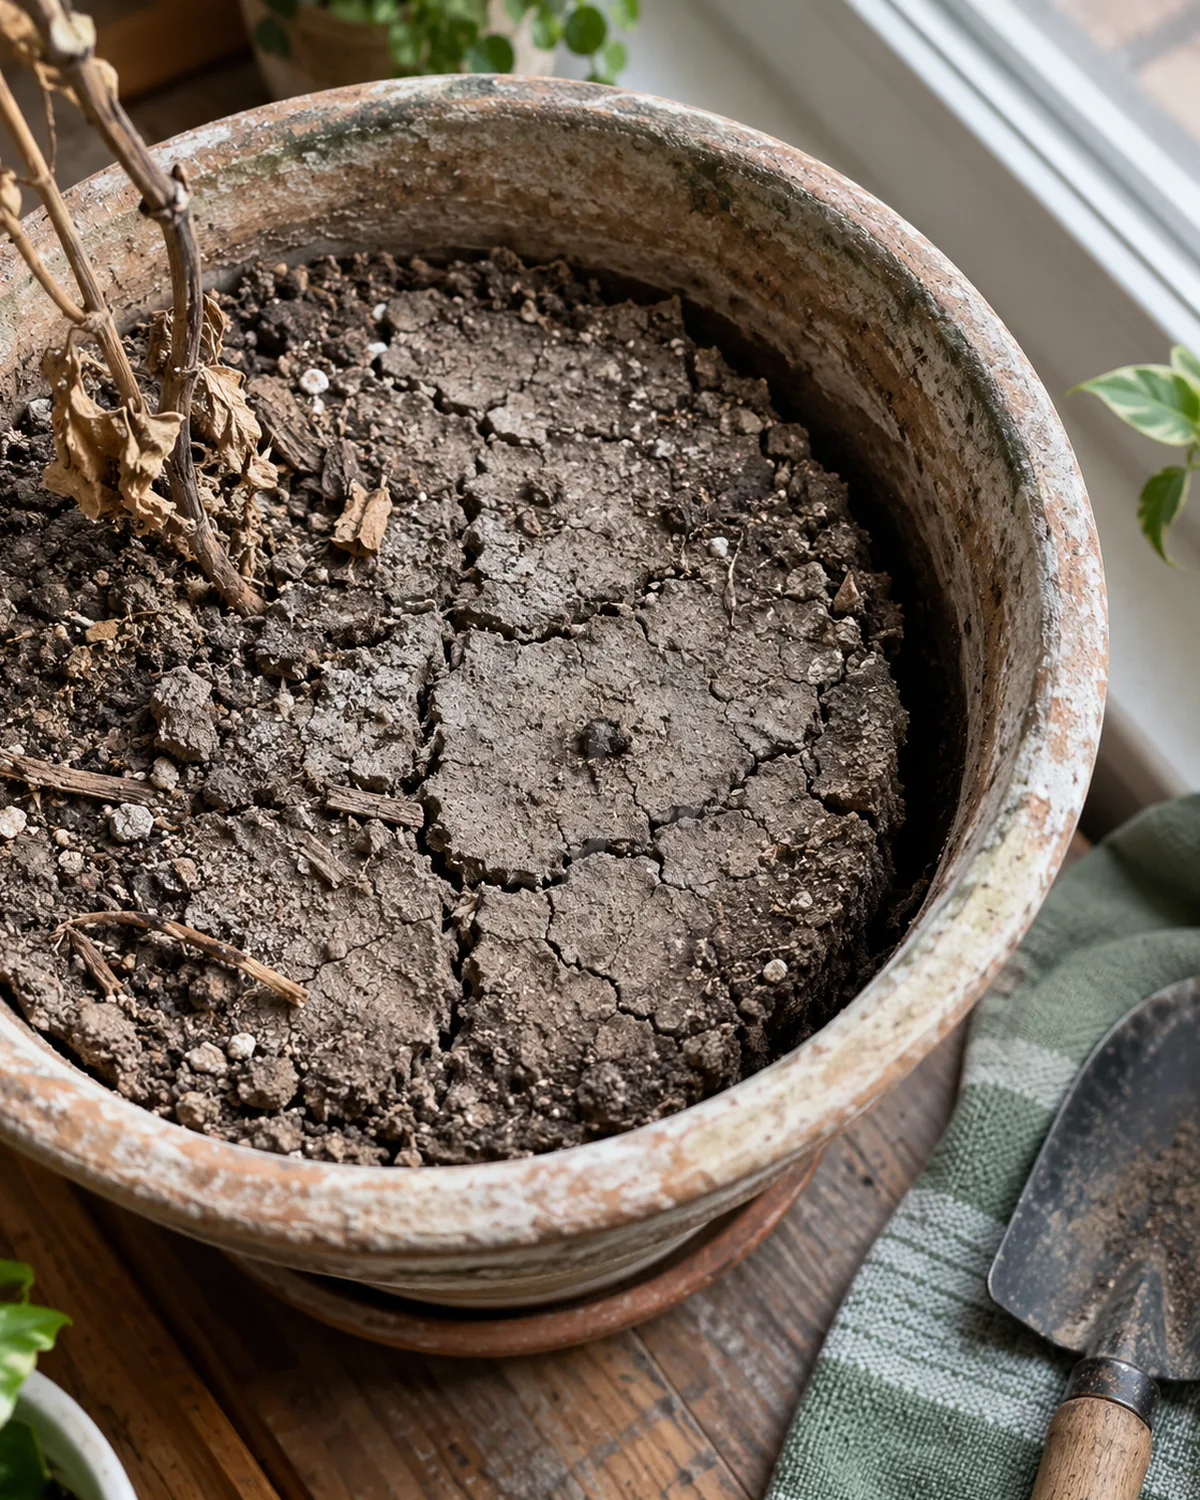
Potting soil has a lifespan. The organic components break down, the structure collapses, and what started as a loose, airy mix turns into a dense mat that neither absorbs water properly nor releases it at the right rate. Most houseplants need fresh soil every twelve to eighteen months — even if they do not need a bigger pot.
The signs are visible if you know what to look for.
- Water runs straight down the edges: you pour water in and it immediately runs down the gap between the soil surface and the pot wall, out the drainage hole, without the root ball absorbing any of it — this means the soil has shrunk and pulled away from the sides
- Surface crust: a white or yellowish crusty layer on the soil surface is mineral salt buildup from tap water and fertilizer — the soil can no longer flush these salts, meaning the structure has collapsed
- Roots circling or escaping: roots visible on the soil surface or poking out of drainage holes indicate the plant has exhausted the usable soil volume and needs fresh medium, not just more water
- Sour or musty smell: healthy soil smells earthy. Soil that smells sour, sulfuric, or musty has gone anaerobic — the beneficial bacteria are dead and harmful bacteria have taken over. This soil is actively damaging roots.
Repotting does not always mean a bigger pot. Sometimes the plant just needs the same pot with fresh soil. Remove the old compacted soil from around the roots, refresh with a new mix, and put the plant back in its original container.
How to Mix Soil From Scratch at Home
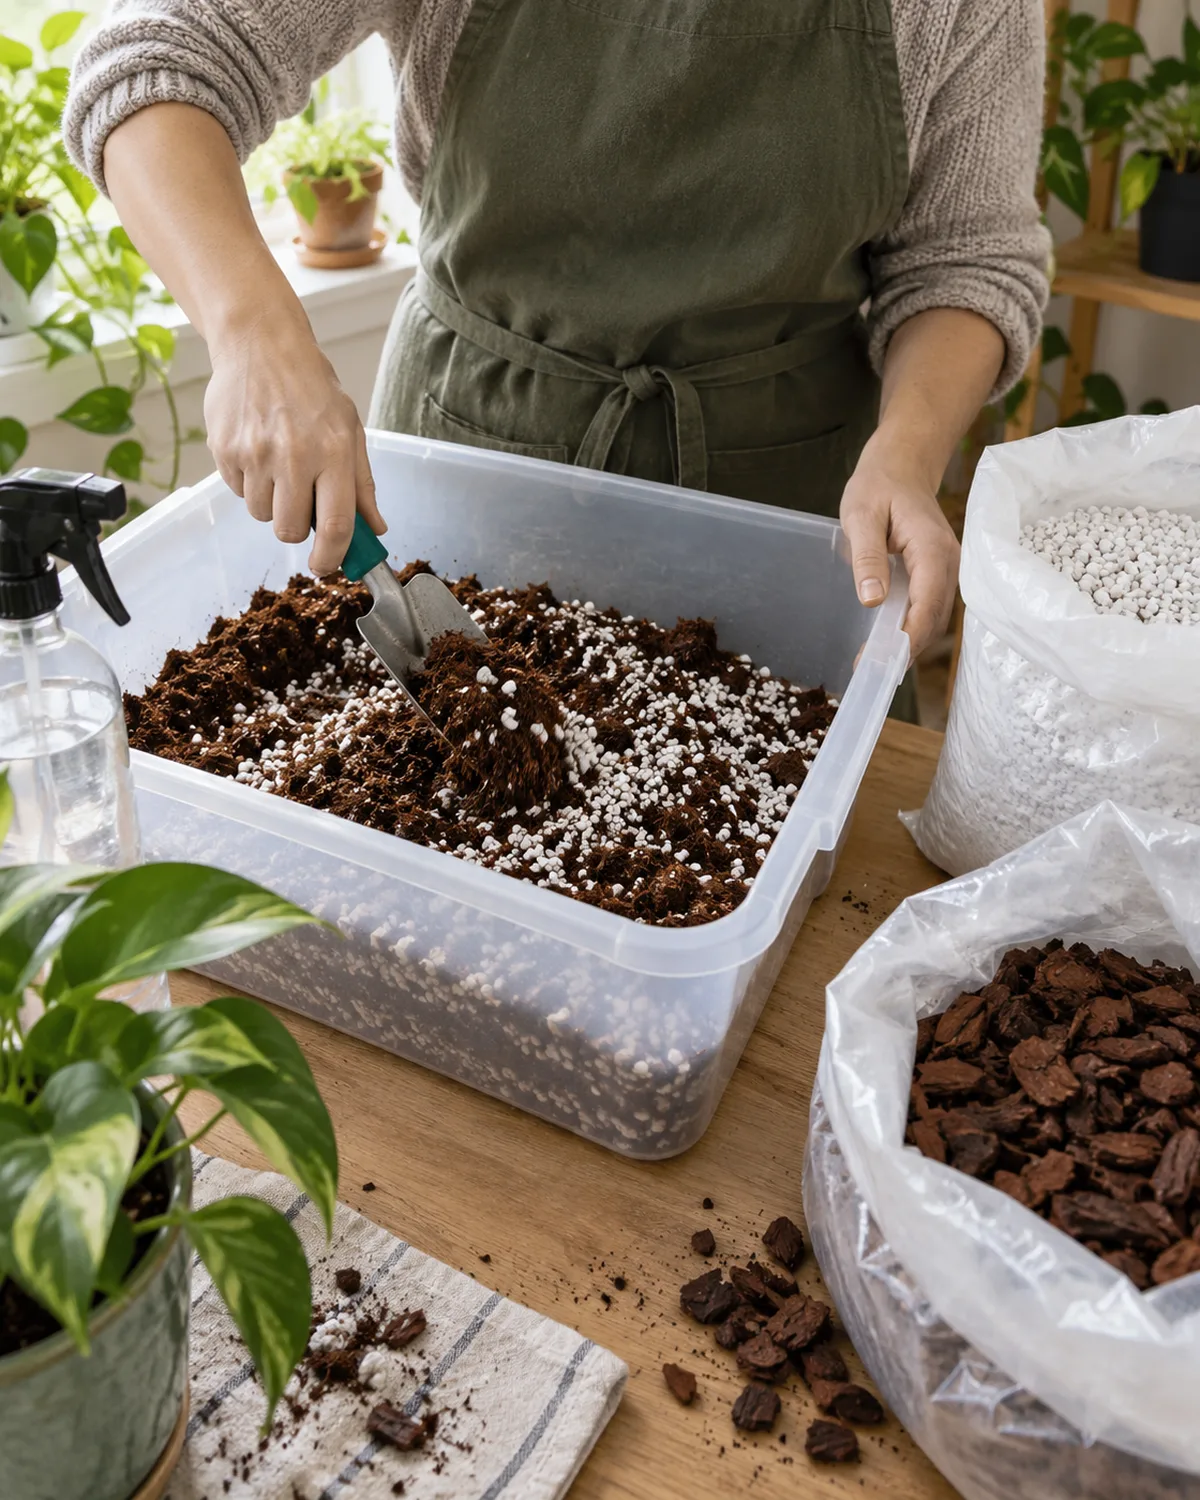
Mixing your own soil takes ten minutes and costs roughly half of what pre-mixed bags charge per pot. The ingredients are available at any garden center, and one bulk purchase of each component makes enough mix for a year of repotting.
Start with the workspace. A large plastic storage bin on a flat surface — kitchen counter, balcony floor, garage workbench — is the ideal mixing vessel. It contains the mess and doubles as storage for leftover mix. You need the three core ingredients, a spray bottle filled with warm water, and a garden trowel or large spoon.
- Buy components in the largest bags you can store: a large bag of perlite, a compressed brick of coco coir, and a bag of medium-grade orchid bark cost less combined than three or four bags of premium pre-mixed soil — and they make ten times as much
- Coco coir bricks need hydrating first: soak a compressed brick in a bucket of warm water for fifteen to twenty minutes — it expands to roughly five times its compressed volume, which is more than enough for several mixing sessions
- Orchid bark grade matters: medium-grade chunks (roughly one to two centimeters) are ideal for most houseplants — fine bark compacts like sawdust, and extra-coarse bark creates gaps too large for small root systems to bridge
The cost comparison is striking. A single ten-liter bag of premium indoor potting mix costs roughly as much as a large bag of perlite that will last months. Over a year of repotting five to ten plants, mixing your own saves enough to pay for several new plants.
Store leftover mix in a sealed plastic bin. It stays usable for six months or longer. If the peat or coir dries out during storage, re-moisten with warm water and fold before using — never pot with bone-dry mix, as it will repel the first watering.
How Pot Material Changes What Your Soil Mix Should Be
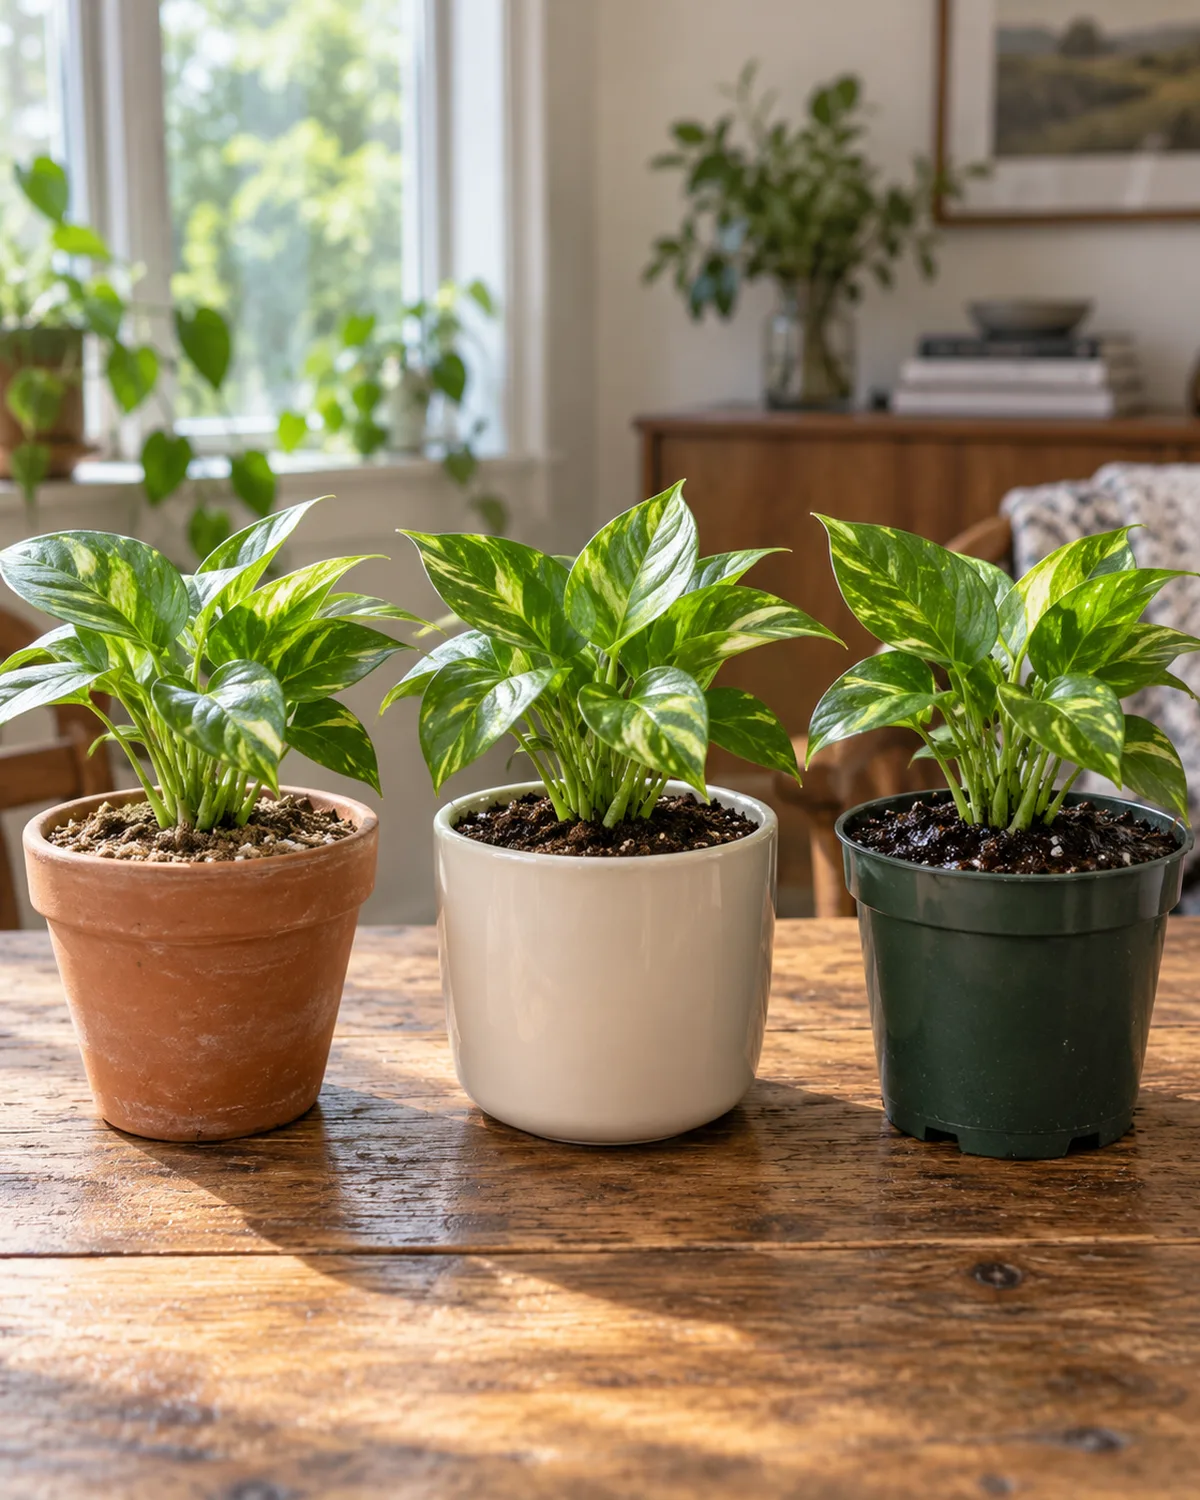
The same potting mix behaves differently depending on what container it sits in. Pot material is not a cosmetic choice — it is a functional variable that alters how fast the soil dries, how much oxygen reaches the roots, and how often you need to water.
Unglazed terracotta is porous. The clay walls absorb moisture from the soil and release it through evaporation on the outer surface. This wicking effect dries the soil faster and pulls salts toward the outer edges, which is why terracotta pots often develop a white mineral crust on the outside.
For plants that hate wet feet — succulents, snake plants, jade plants — terracotta is a safety net that forgives overwatering.
- Terracotta plus moisture-retentive mix: this pairing works for plants that need consistent moisture but cannot tolerate waterlogging — the pot dries the soil faster while the coir-heavy mix holds enough water for ferns and calatheas
- Plastic plus chunky fast-draining mix: plastic holds all moisture inside, so the mix needs to compensate — a chunkier blend with extra perlite prevents the stagnant moisture problem that kills roots in non-porous containers
- Glazed ceramic acts like plastic: the glaze seals the clay, eliminating the porous wicking effect — treat glazed pots the same as plastic when choosing a soil mix
Pot size matters as much as material. An oversized pot — one that is significantly wider than the root ball — contains a large volume of soil that the roots cannot draw moisture from fast enough. That unused wet soil stays saturated for days, creating a root rot zone around the outer edges.
The one-size-up rule (one to two inches wider than the current pot) keeps the soil-to-root ratio balanced so the entire volume dries at a reasonable rate.
How to Swap Old Soil Without Shocking Your Plant
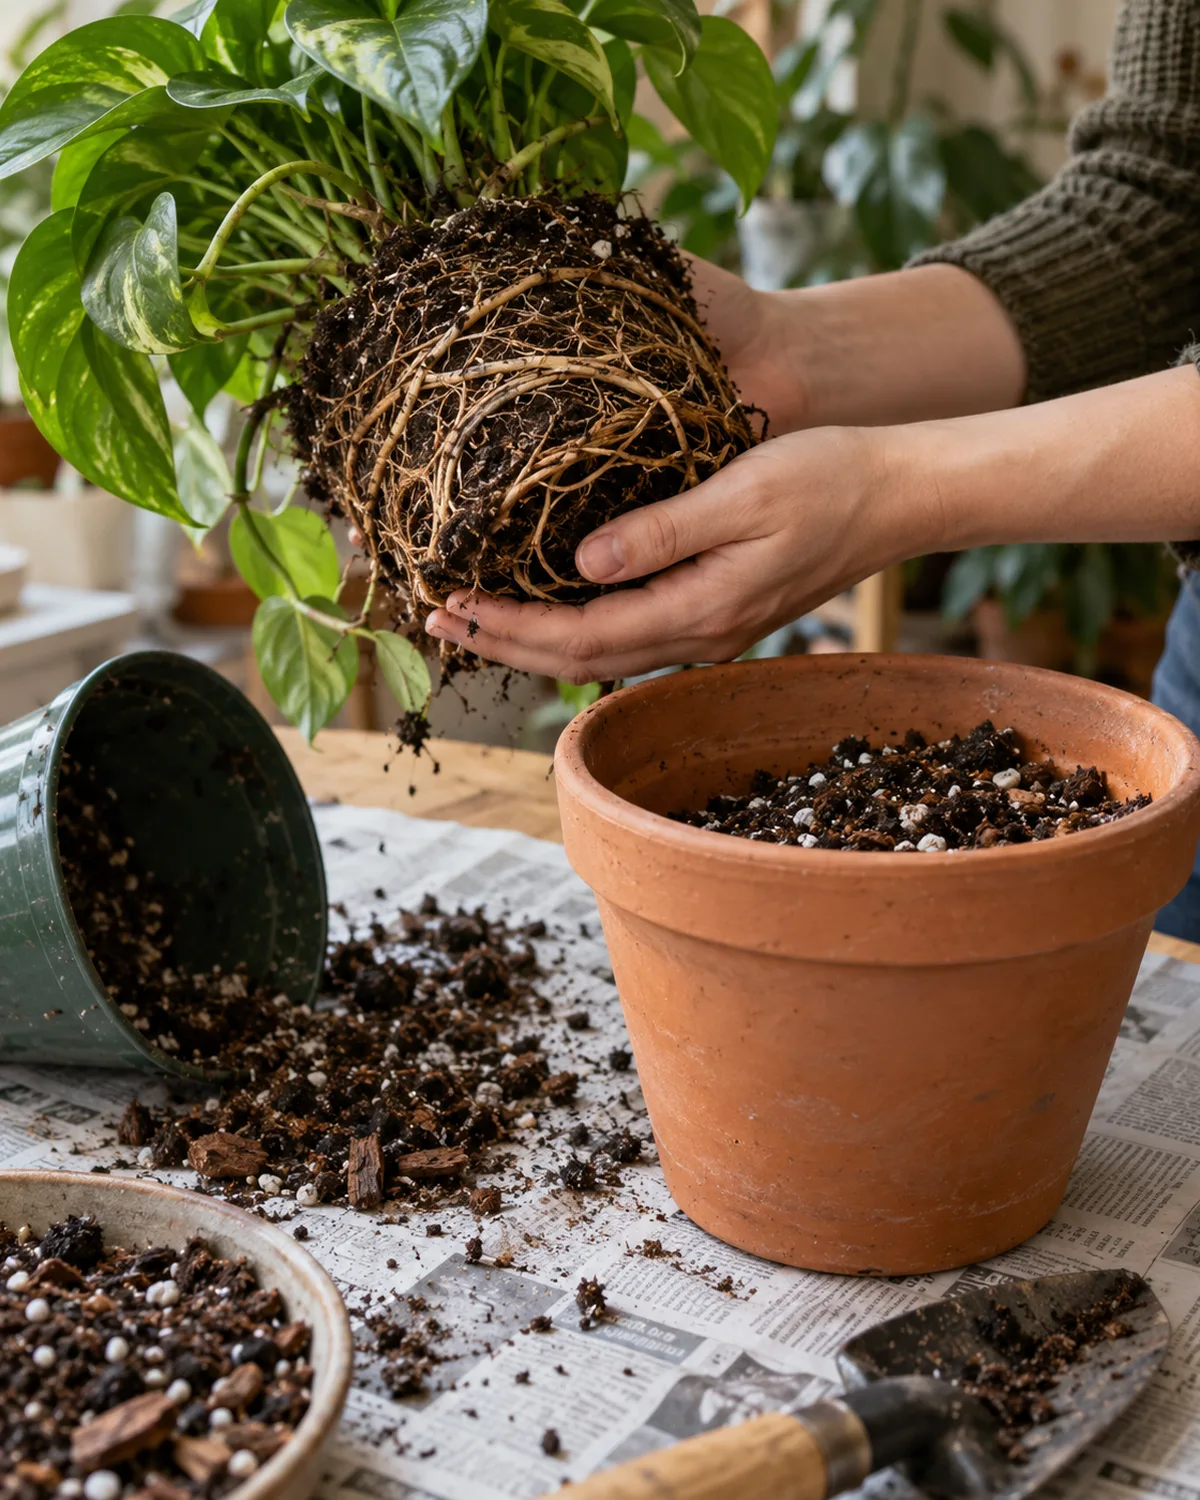
Timing matters. Spring and early summer — when houseplant light is increasing and growth hormones are active — give the plant the best chance at recovering quickly from the stress of soil replacement. Repotting in late fall or winter, when most houseplants are in a low-growth phase, extends the recovery period and increases the risk of root damage.
Remove the plant from its old pot and gently shake or tease away the spent soil from the outer layer of roots. Work carefully around the root ball — the goal is to remove the compacted outer layer without tearing fine feeder roots.
- Do not bare-root completely unless treating root rot: leaving roughly thirty percent of the old soil around the inner root ball reduces transplant shock by maintaining some familiar microbial environment — the roots adjust to new soil gradually rather than all at once
- Trim damaged roots: any roots that are mushy, brown, or smell sour are already dead — trim them with clean scissors before repotting to prevent rot from spreading into the fresh soil
- Water thoroughly after repotting: soak the new soil until water runs freely from the drainage holes — this settles the mix around the roots, eliminates air pockets, and ensures good root-to-soil contact from day one
- Skip fertilizer for two to four weeks: freshly disturbed roots are vulnerable, and fertilizer salts can burn damaged tissue — let the plant establish in the new soil before feeding
Expect a brief adjustment phase. Many plants droop slightly for a few days after repotting — this is normal transplant shock from root disturbance. Keep the plant in bright indirect light, maintain consistent moisture, and avoid moving it or changing conditions during recovery. Most plants are fully upright within one to two weeks.
Soil Mistakes That Look Like Watering Problems
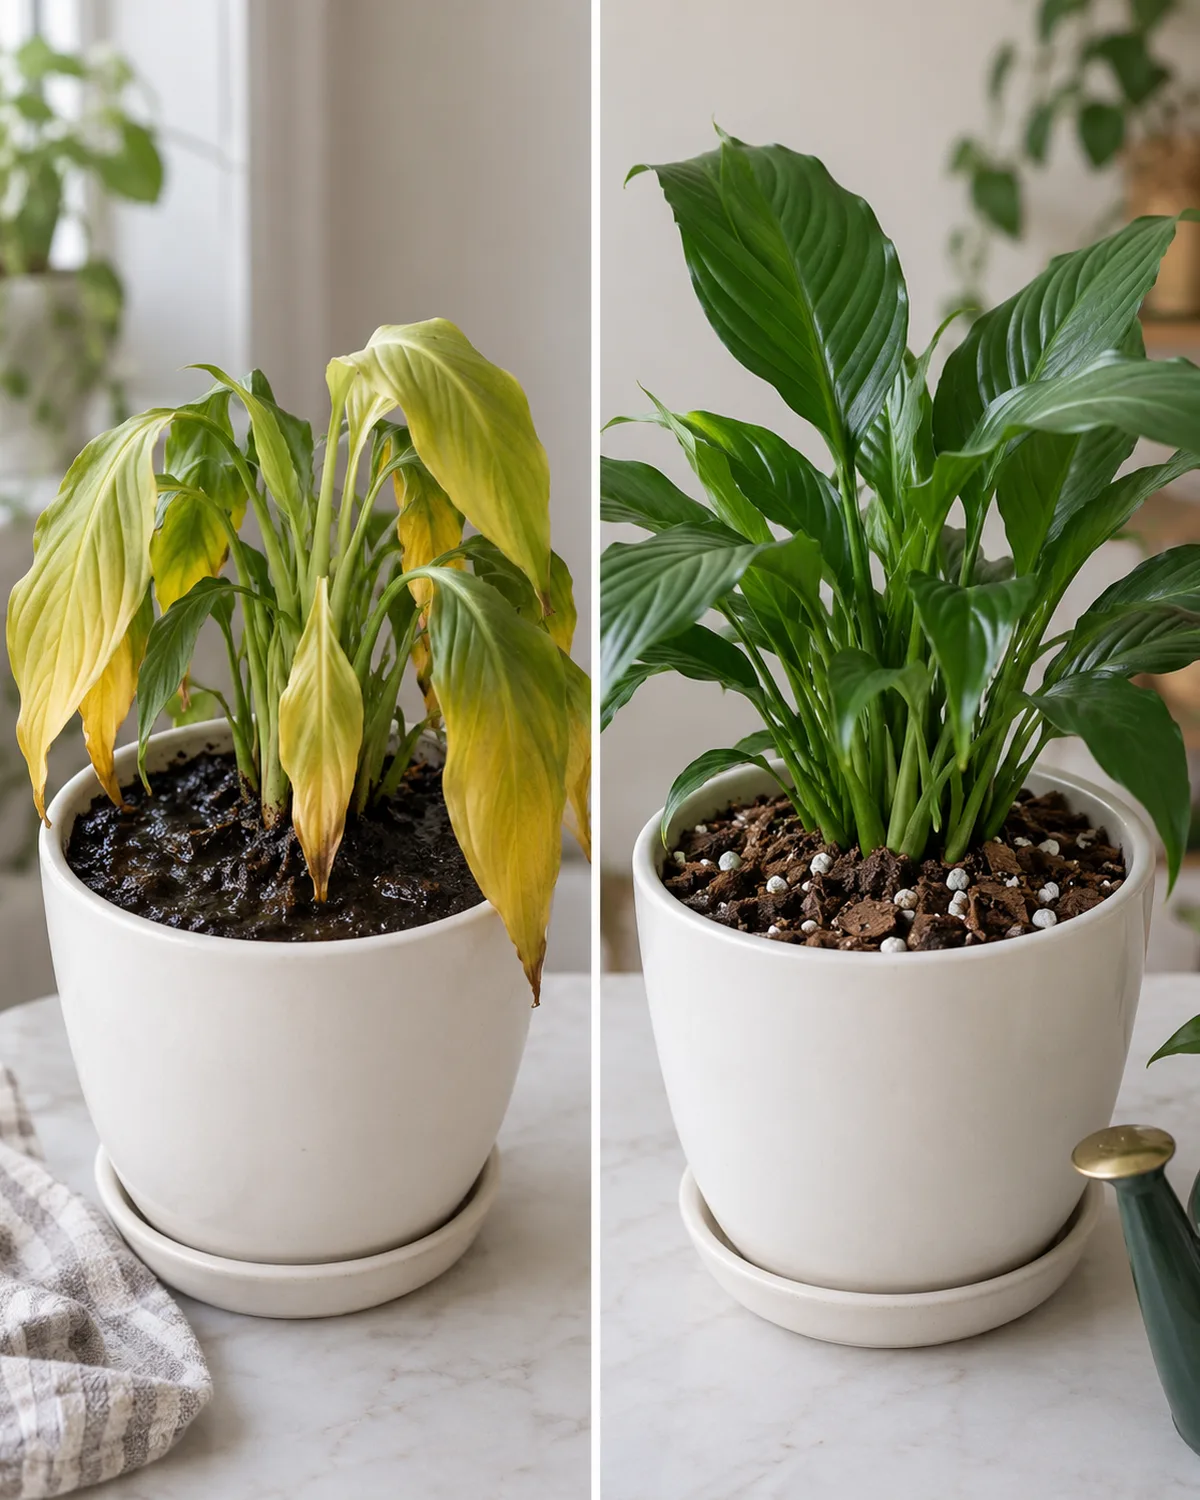
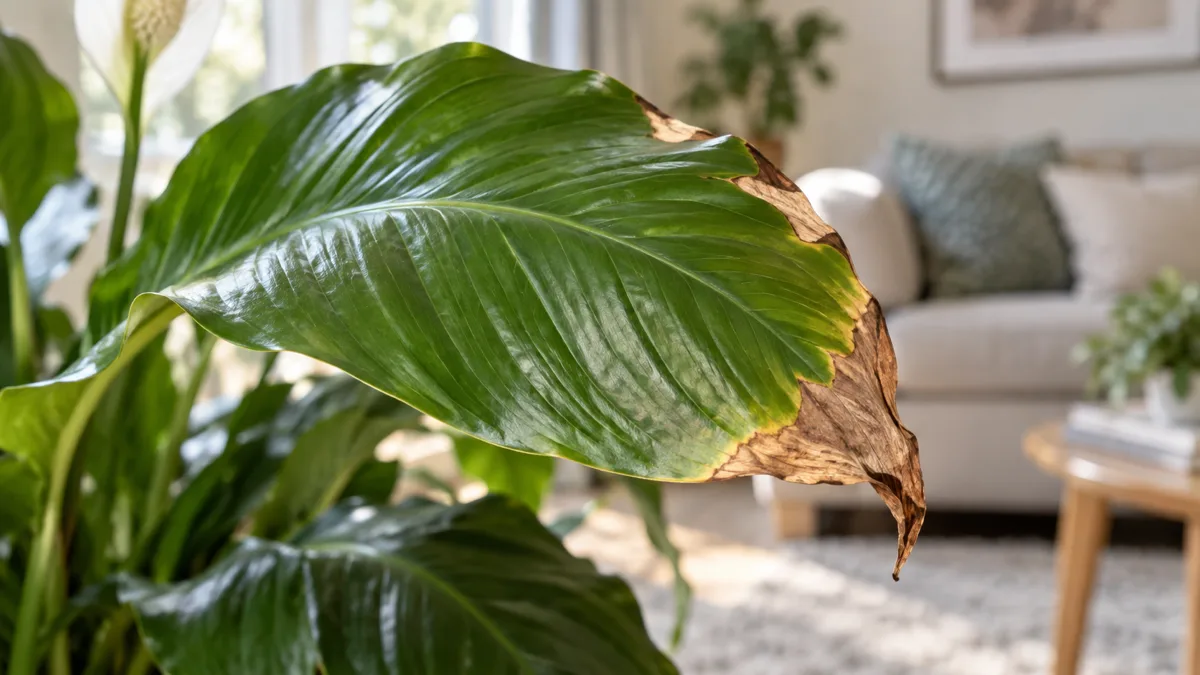
The most common misdiagnosis in houseplant care is treating a soil problem as a watering problem. The symptoms overlap almost perfectly, and without checking the soil itself, you end up adjusting watering frequency when the real fix is replacing the medium.
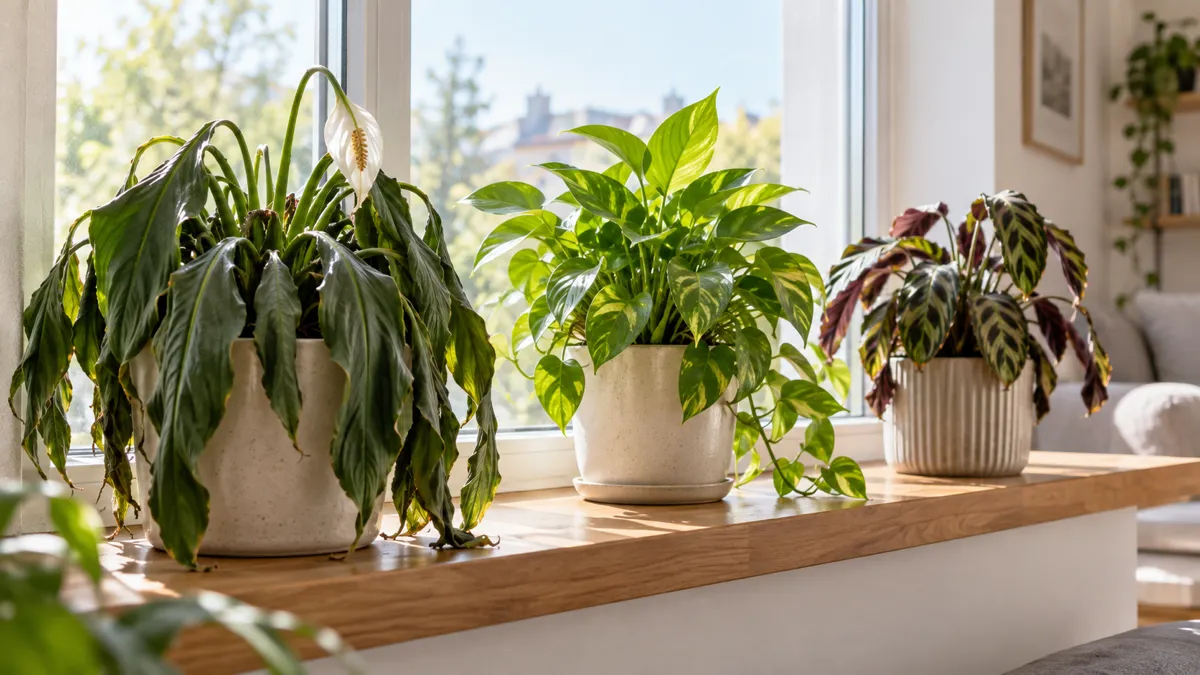
Compacted soil that repels water looks like under-watering. The plant wilts, the leaves crisp at the edges, and the surface feels dry to the touch. You water, but the liquid runs down the inside edge of the pot and out the bottom without ever reaching the root ball center.
The plant stays thirsty despite regular watering because the soil has become hydrophobic. The fix is not more water — it is new soil that actually absorbs.
Dense soil that holds too much looks like overwatering. Yellow leaves, mushy stems, a general look of decline. You reduce watering, but the plant does not recover because the soil is already waterlogged and the roots have been sitting in anaerobic conditions. The problem is poor aeration, not excess water volume.
- Hydrophobic peat channels water to the edges: this creates a paradox where the surface and the pot edges are wet but the root ball center is bone-dry — the plant shows both over-watering and under-watering symptoms simultaneously
- Mineral salt buildup mimics nutrient deficiency: when compacted soil can no longer flush salts, they accumulate and alter the pH — the plant cannot absorb nutrients even though they are present, and the leaves yellow as if starved
- The universal diagnosis: when a plant declines despite consistent watering and appropriate light, remove it from the pot and inspect the root ball — compacted, gray, or sour-smelling soil is the answer nine times out of ten
The fix for all three scenarios is the same: unpot the plant, remove the spent soil, inspect the roots, and repot in fresh mix. It takes fifteen minutes and resolves symptoms that weeks of watering adjustments cannot touch.
Quick Reference
11 houseplant soil essentials to save
- 1Soil matters more than wateringBad soil turns every watering into a drowning event — roots need air pockets as much as they need moisture.
- 2Three ingredients make every mix workA moisture holder (peat or coir), a drainage agent (perlite or pumice), and an aerator (bark or charcoal) — remove any one and the mix fails.
- 3Read the bag, not the brand nameLook for short ingredient lists starting with peat or coir plus perlite. Skip bags with polymer crystals, fine bark fines, or vague forest products.
- 4The universal 2:1:1 mix handles most tropicalsTwo parts coir, one part perlite, one part orchid bark — covers pothos, philodendrons, monsteras, spider plants, and most common houseplants.
- 5Dry-loving plants need a grittier ratioSucculents, cacti, and snake plants thrive in a 1:1:1 blend with extra mineral content. The pot should feel light within two to three days.
- 6Moisture-loving plants need extra coirFerns, calatheas, and nerve plants benefit from a 3:1:1 ratio. Pair with self-watering pots and avoid terracotta that wicks moisture away.
- 7Replace soil every 12–18 monthsEven if the plant does not need a bigger pot, fresh soil restores the structure, drainage, and aeration that organic breakdown degrades.
- 8Pre-moisten peat before mixingDry peat is hydrophobic — it repels water and leaves the root ball center dry. Spray with warm water until damp before adding other ingredients.
- 9Pot material changes how your mix behavesTerracotta dries soil faster through evaporation. Plastic holds all moisture inside. Match the mix to the pot — chunky mix for plastic, retentive mix for terracotta.
- 10Leave thirty percent of old soil when repottingComplete bare-rooting stresses the plant. Keeping some familiar soil around the inner root ball reduces transplant shock and speeds recovery.
- 11Soil problems mimic watering problemsWhen a plant declines despite consistent care, inspect the root ball. Compacted or sour-smelling soil is the culprit more often than the watering schedule.
kultivy.com — soil for houseplants guide
Frequently Asked Questions
Can I use garden soil for indoor plants?
No. Garden soil depends on earthworms, fungi, and weather cycles to maintain its structure — none of which exist inside a pot. Within weeks, garden soil compacts into a dense block that holds water against roots and suffocates them.
Risks of using garden soil indoors:
- Compaction that suffocates roots within weeks
- Pests, weed seeds, and pathogens that thrive in warm indoor conditions
- Poor drainage that leads to chronic waterlogging
Always use a soilless potting mix designed for containers.
How often should I change houseplant soil?
Every twelve to eighteen months for most houseplants. Signs that it is time:
- Water runs straight through without absorbing
- White mineral crust on the soil surface
- Roots circling the surface or poking out drainage holes
- A sour or musty smell when you water
Even if the plant has not outgrown its pot, fresh soil restores the structure, drainage, and aeration that organic breakdown degrades over time.
Is coco coir better than peat moss?
Both work well for indoor plants. The practical difference for most houseplants is small — choose whichever is easier to source locally.
- Coco coir: renewable coconut byproduct, neutral pH, rehydrates easily after drying, slightly lighter texture
- Peat moss: holds more water per volume, naturally acidic (benefits African violets and gardenias), becomes hydrophobic when fully dry
Do I need to sterilize homemade soil mix?
Generally no, if you are using commercially bagged ingredients that have already been processed. Commercial peat, coir, perlite, and bark are heat-treated or sterilized during manufacturing. If using garden compost or outdoor soil (not recommended), sterilize first:
- Spread the soil on a baking sheet no more than ten centimeters deep
- Bake at eighty-two degrees Celsius for thirty minutes
- Let it cool completely before mixing with other components

Mara writes about indoor plants for people who want honest, practical care advice without the fluff. She covers everything from first-time plant parents to collectors chasing rare aroids — always with the science behind why something works. More at kultivy.com.