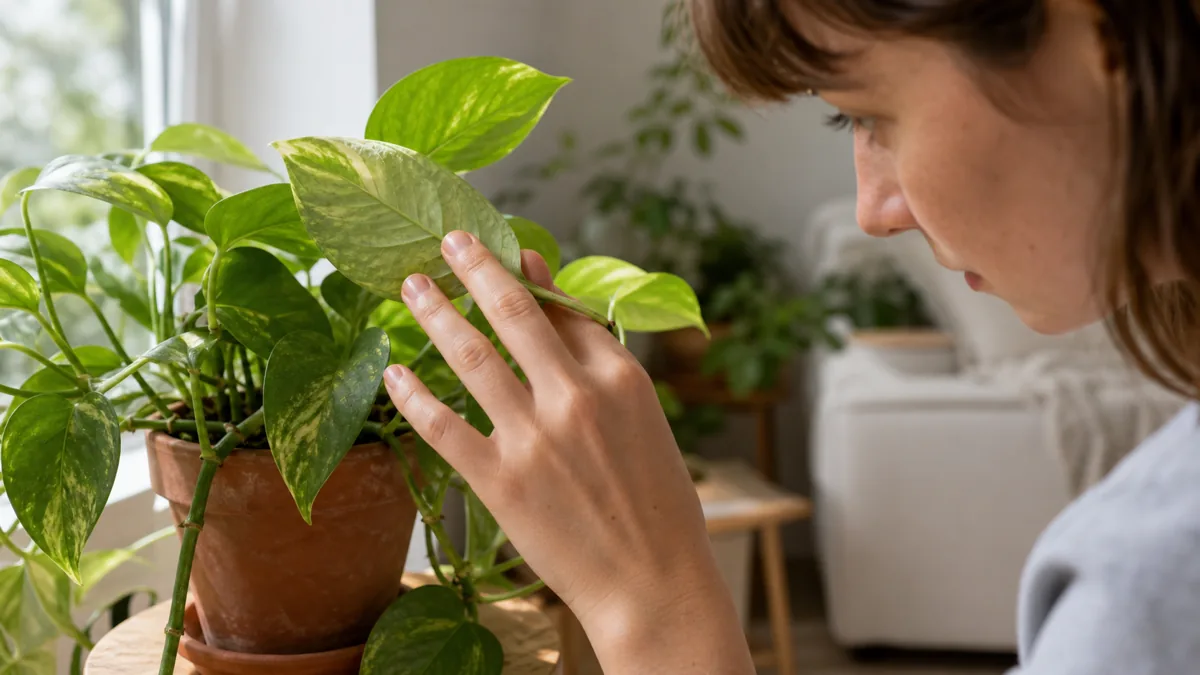
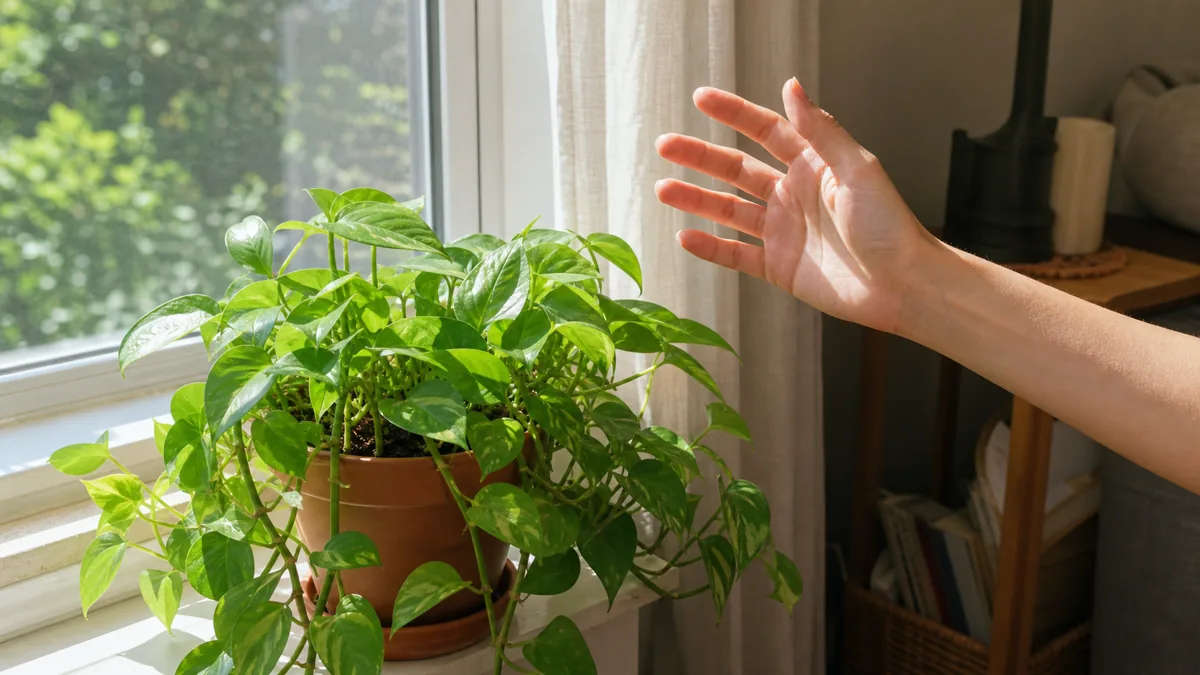
A monstera sitting in a pot without vertical support will grow leaves that stay small and uncut. Give that same plant a moss pole, and within a few months the newest leaves come out noticeably larger, with deeper fenestrations.
These ten sections cover everything from choosing the right pole material to training stubborn aerial roots and stacking extensions when your plant outgrows the first pole.
From how a moss pole triggers mature leaves to DIY construction, training aerial roots, keeping the moss damp, and stacking for height. Jump to what you need.
What a Moss Pole Does for Climbing Houseplants
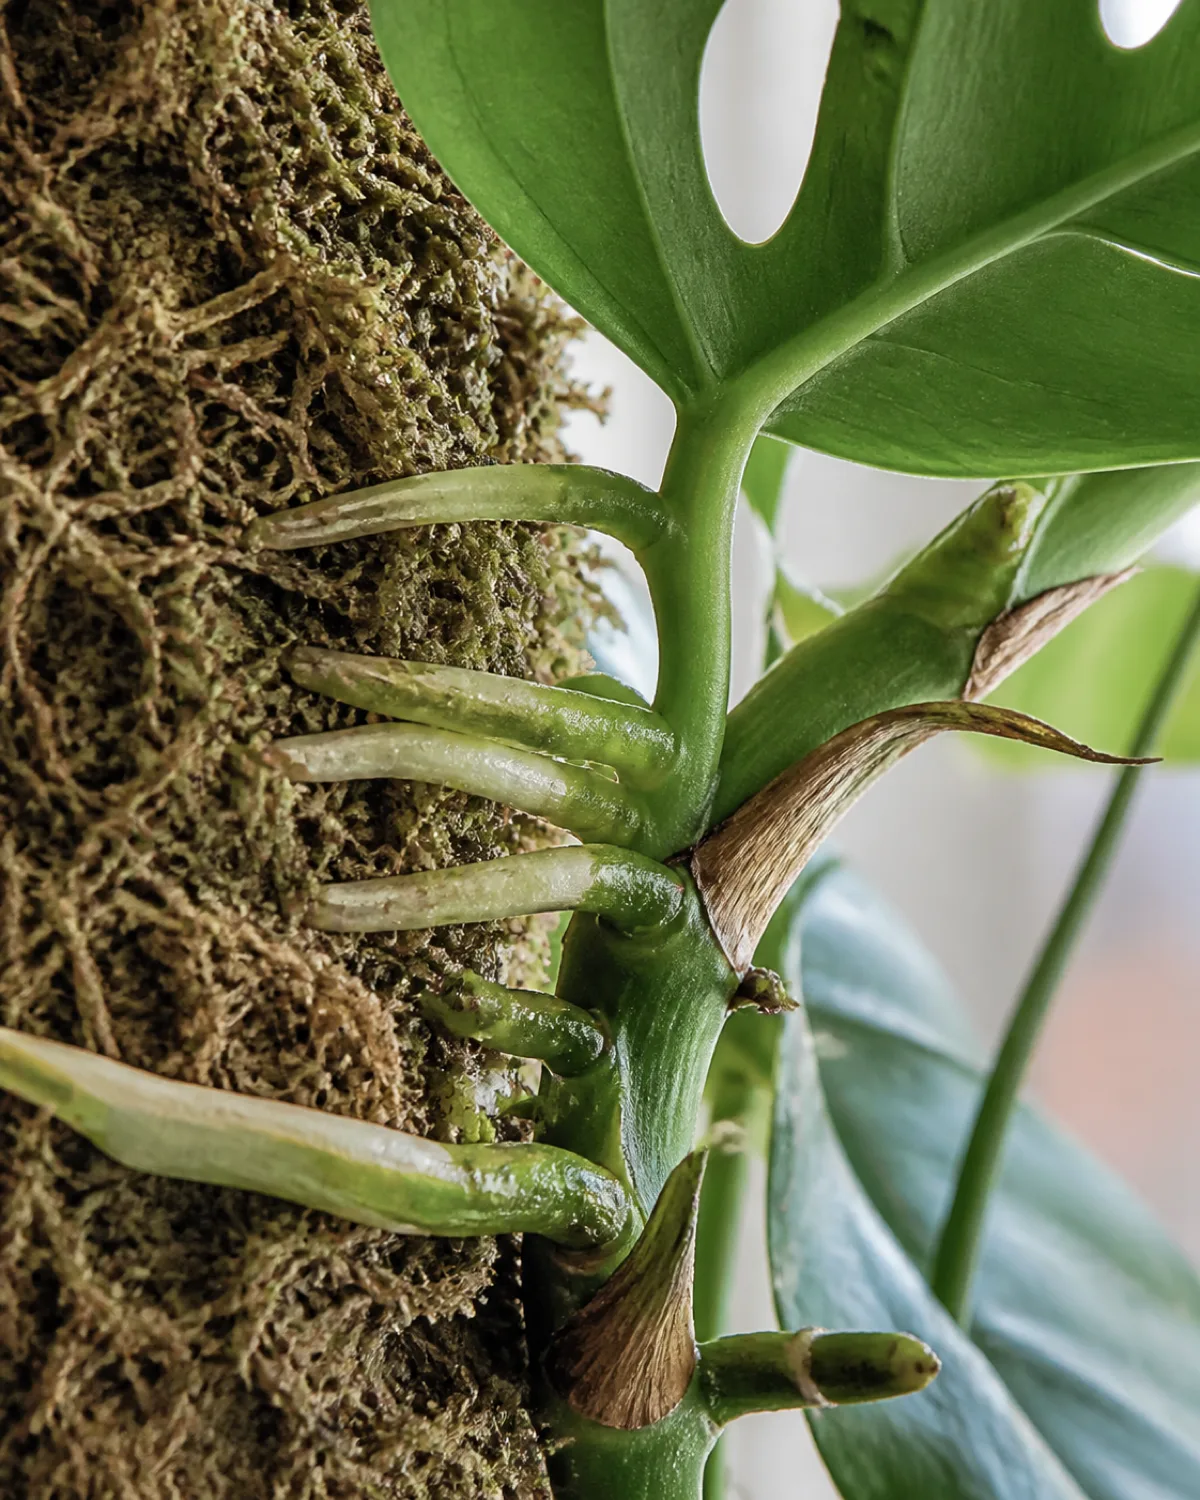
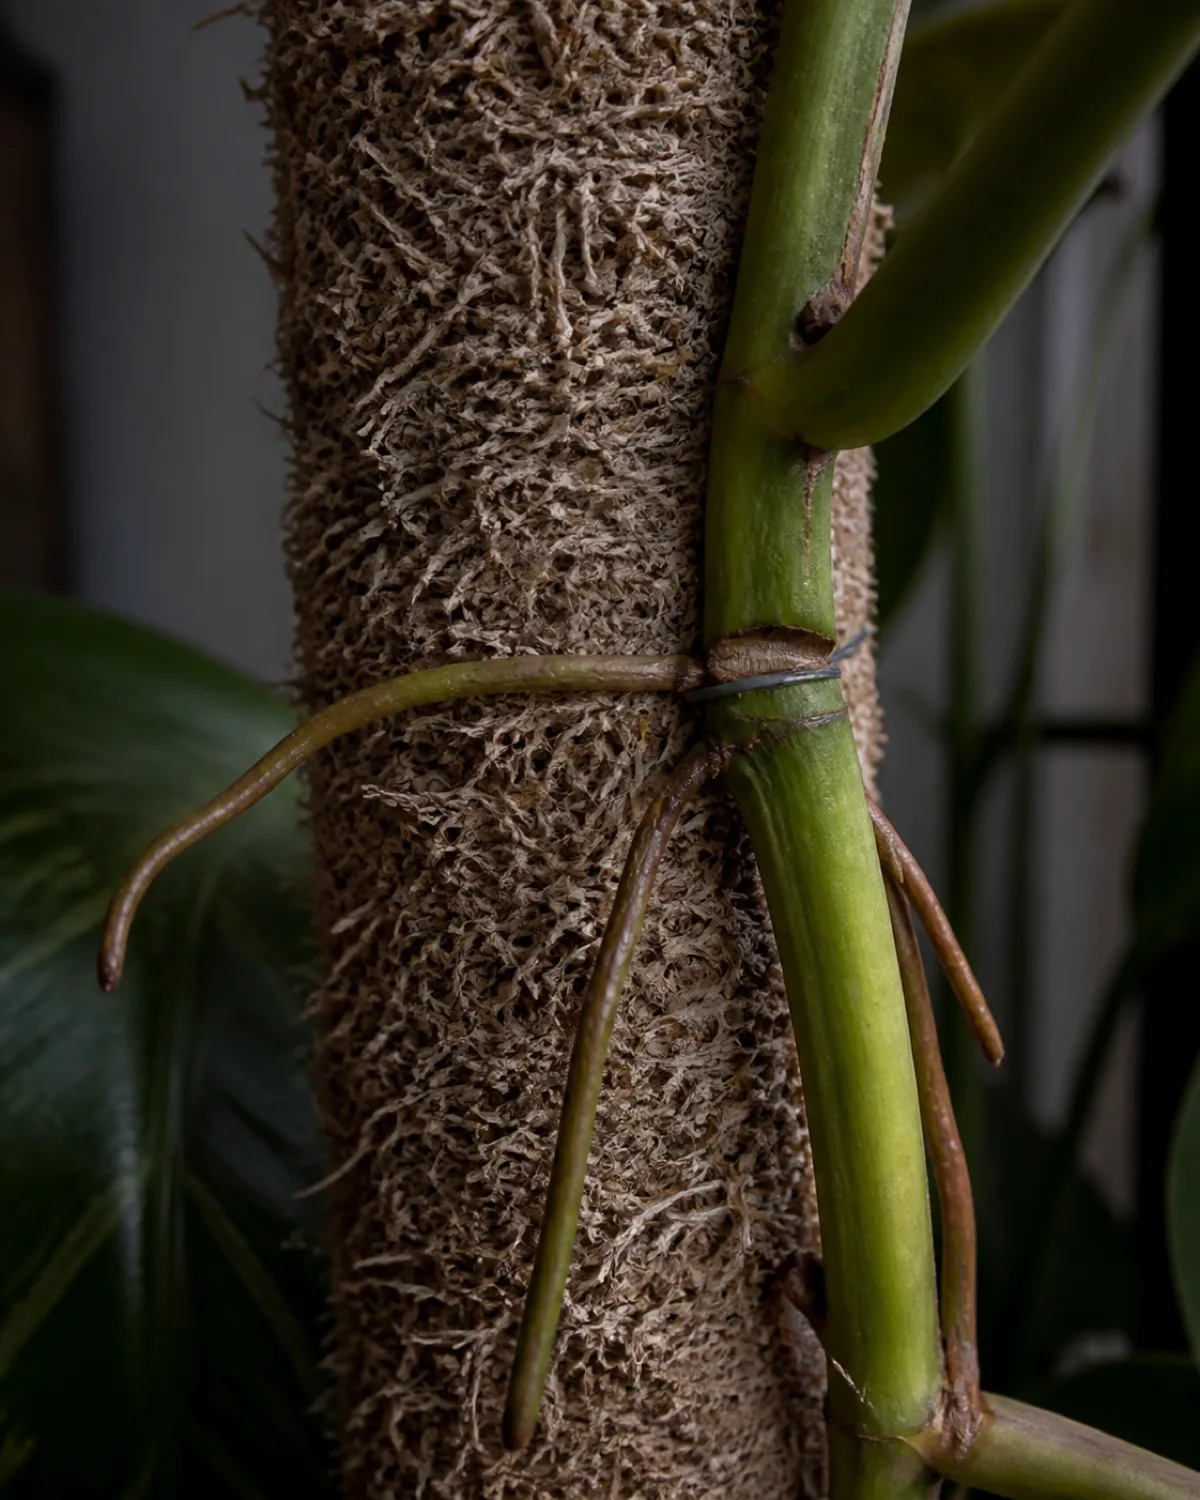
In the wild, climbing aroids like monstera and philodendron grip tree trunks with aerial roots and haul themselves toward the canopy. The aerial roots are not just anchors. They pull moisture and nutrients from the bark surface and the organic debris caught in the crevices.
A moss pole replicates that trunk indoors. The sphagnum or coir wrapping gives aerial roots something to grip and absorb water from, turning a passive support into an active growing surface.
The practical payoff is leaf size. Climbing aroids undergo heteroblastic development, a shift from juvenile to mature leaf morphology triggered by vertical climbing. A monstera deliciosa trailing sideways on a shelf produces small, uncut leaves. The same plant climbing a moss pole produces the large, deeply fenestrated leaves that make monstera famous.
- Juvenile leaves (no support): smaller, uncut, heart-shaped on monstera; simple on syngonium
- Mature leaves (climbing vertically): larger, fenestrated, deeply lobed — the classic look
- Internode length shortens as the plant climbs, creating a denser, more attractive column
- Stem strength increases because aerial roots reinforce the vine against the pole
No amount of light, fertilizer, or pot upgrades triggers this mature growth without vertical support. The moss pole is the missing input.
Moss Pole Types: Sphagnum, Coco Coir, and Rigid Alternatives
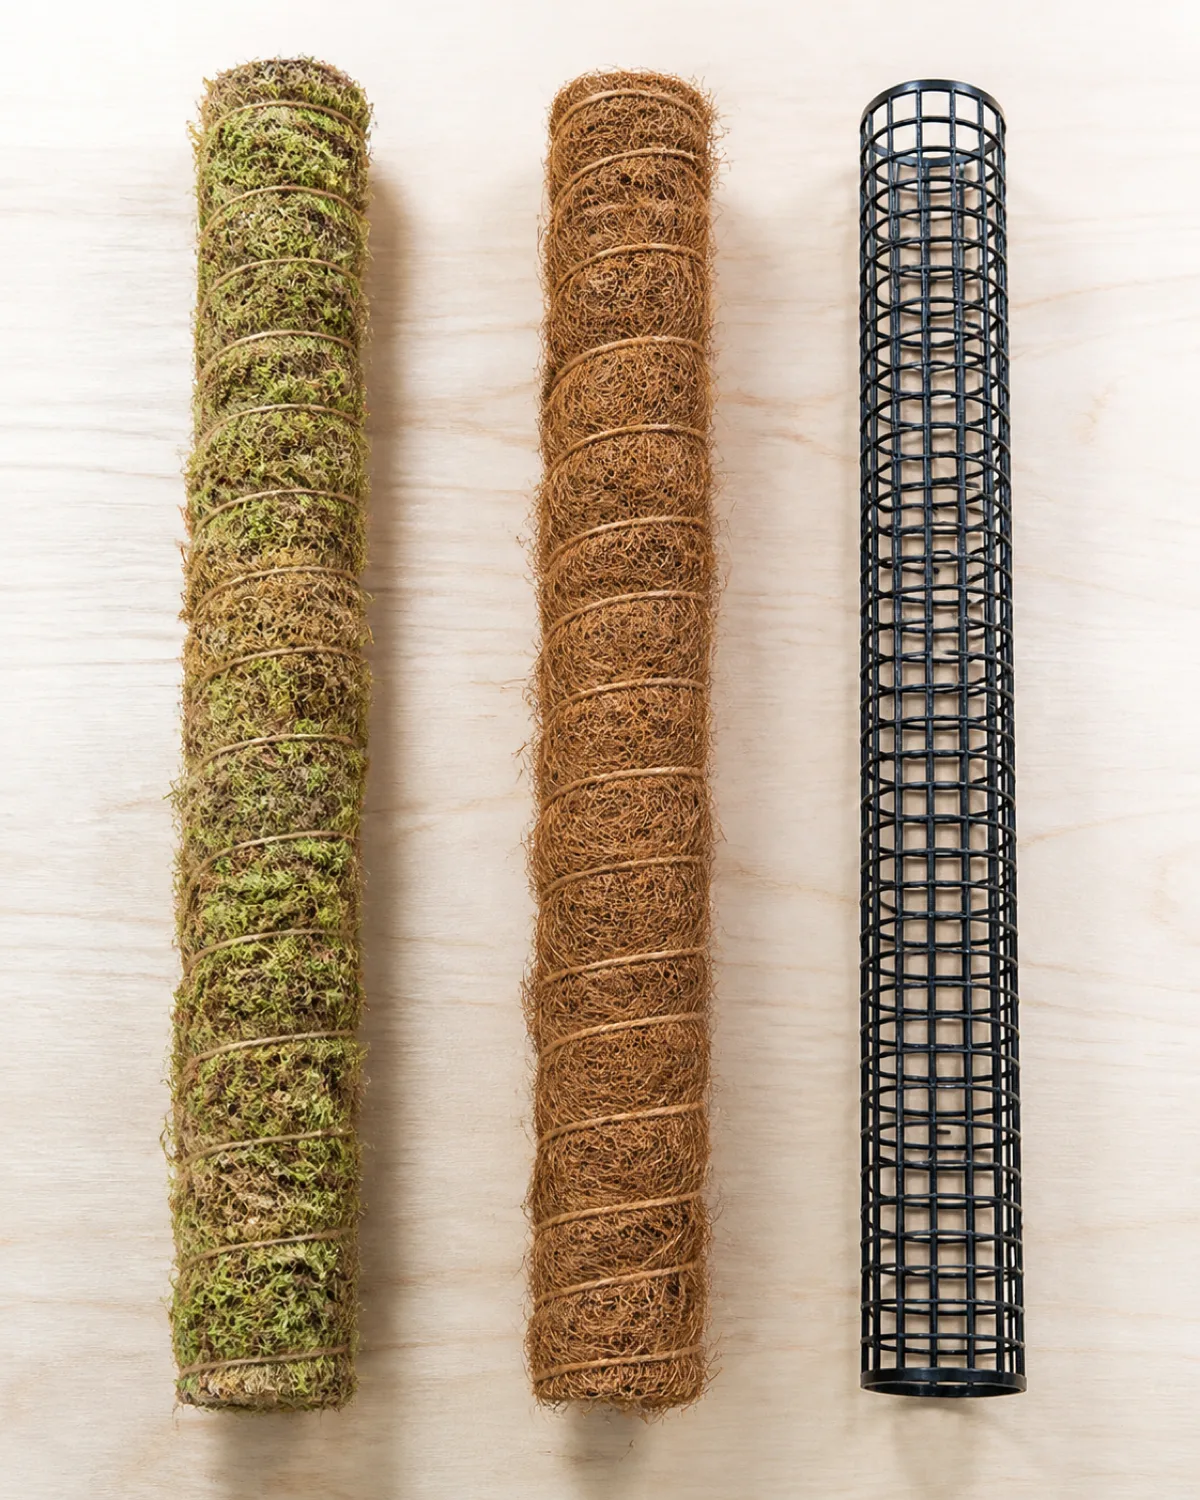
The three main categories each trade off moisture, durability, and maintenance load.
Sphagnum moss poles are the original and still the most effective for aerial root engagement. Long-fiber sphagnum holds up to twenty times its dry weight in water, creating a moist surface that aerial roots actively seek out. The drawback is decomposition. Sphagnum breaks down over two to three years, especially in the warm, humid conditions that aroids prefer.
Coco coir poles use coconut husk fiber pressed around a central stake. Coir is more resistant to mold and decomposition than sphagnum, and its coarse texture gives aerial roots enough friction to grip. It holds less moisture per unit volume, which means less frequent watering of the pole but also less water delivery to the roots.
Rigid alternatives skip organic material entirely:
- Metal mesh tubes (hardware cloth or garden mesh bent into a cylinder): fill with sphagnum for a hybrid approach or leave hollow as pure structure
- Bendable plant supports: foam or plastic stakes, cheap and moldproof, but aerial roots mostly ignore them
- Flat plank boards: cedar, bark slabs, or tree fern panels — excellent for shingle climbers that press flat against surfaces
| Type | Moisture | Root engagement | Lifespan | Mold risk |
|---|---|---|---|---|
| Sphagnum | High | Excellent | 2–3 years | Moderate |
| Coco coir | Medium | Good | 3–5 years | Low |
| Metal mesh (empty) | None | Structural only | 10+ years | None |
| Plank board | Low–medium | Good for shinglers | 5+ years | Low |
Which Houseplants Actually Need a Moss Pole
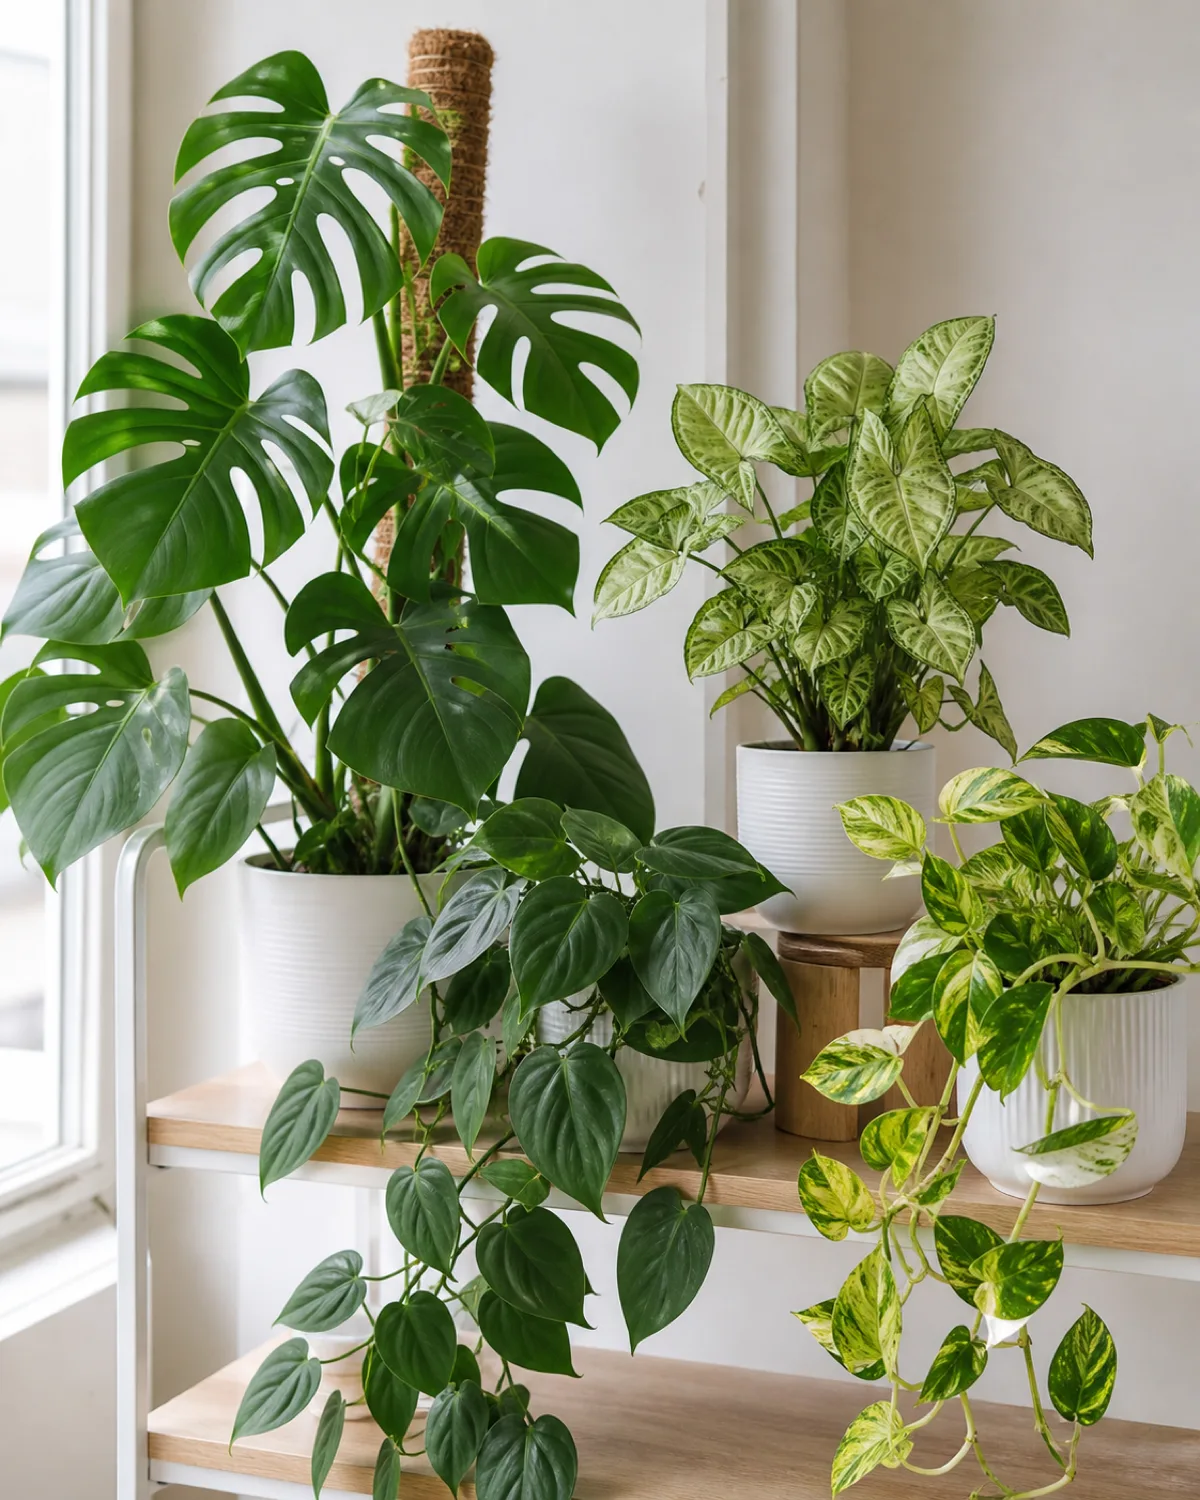
Not every houseplant benefits from a moss pole. The plants that do share one trait: they climb in the wild by gripping vertical surfaces with aerial roots.
Strong candidates — climbing aroids:
- Monstera deliciosa: the poster plant for moss poles. Mature fenestrations only develop with vertical climbing
- Philodendron climbers: heartleaf, micans, brasil, verrucosum, melanochrysum, and most vining types
- Syngonium podophyllum: juvenile arrow leaves shift to deeply lobed mature forms on a pole
- Pothos (Epipremnum aureum): will climb and produce larger leaves, though the size gain is less dramatic than monstera
- Rhaphidophora tetrasperma: mini monstera silhouette, vigorous climber
Plants that do NOT need a moss pole:
- Self-supporting types: snake plant, ZZ plant, bird of paradise, rubber plant
- Rosette and clumping types: calathea, prayer plant, peperomia, pilea
- True trailing plants used in baskets: string of pearls, string of hearts — these trail by design and do not climb tree trunks in nature
- Bushy philodendrons: Philodendron birkin, Prince of Orange — self-heading, not vining
- Ferns: no aerial roots, no climbing behavior
How to Make a Moss Pole at Home
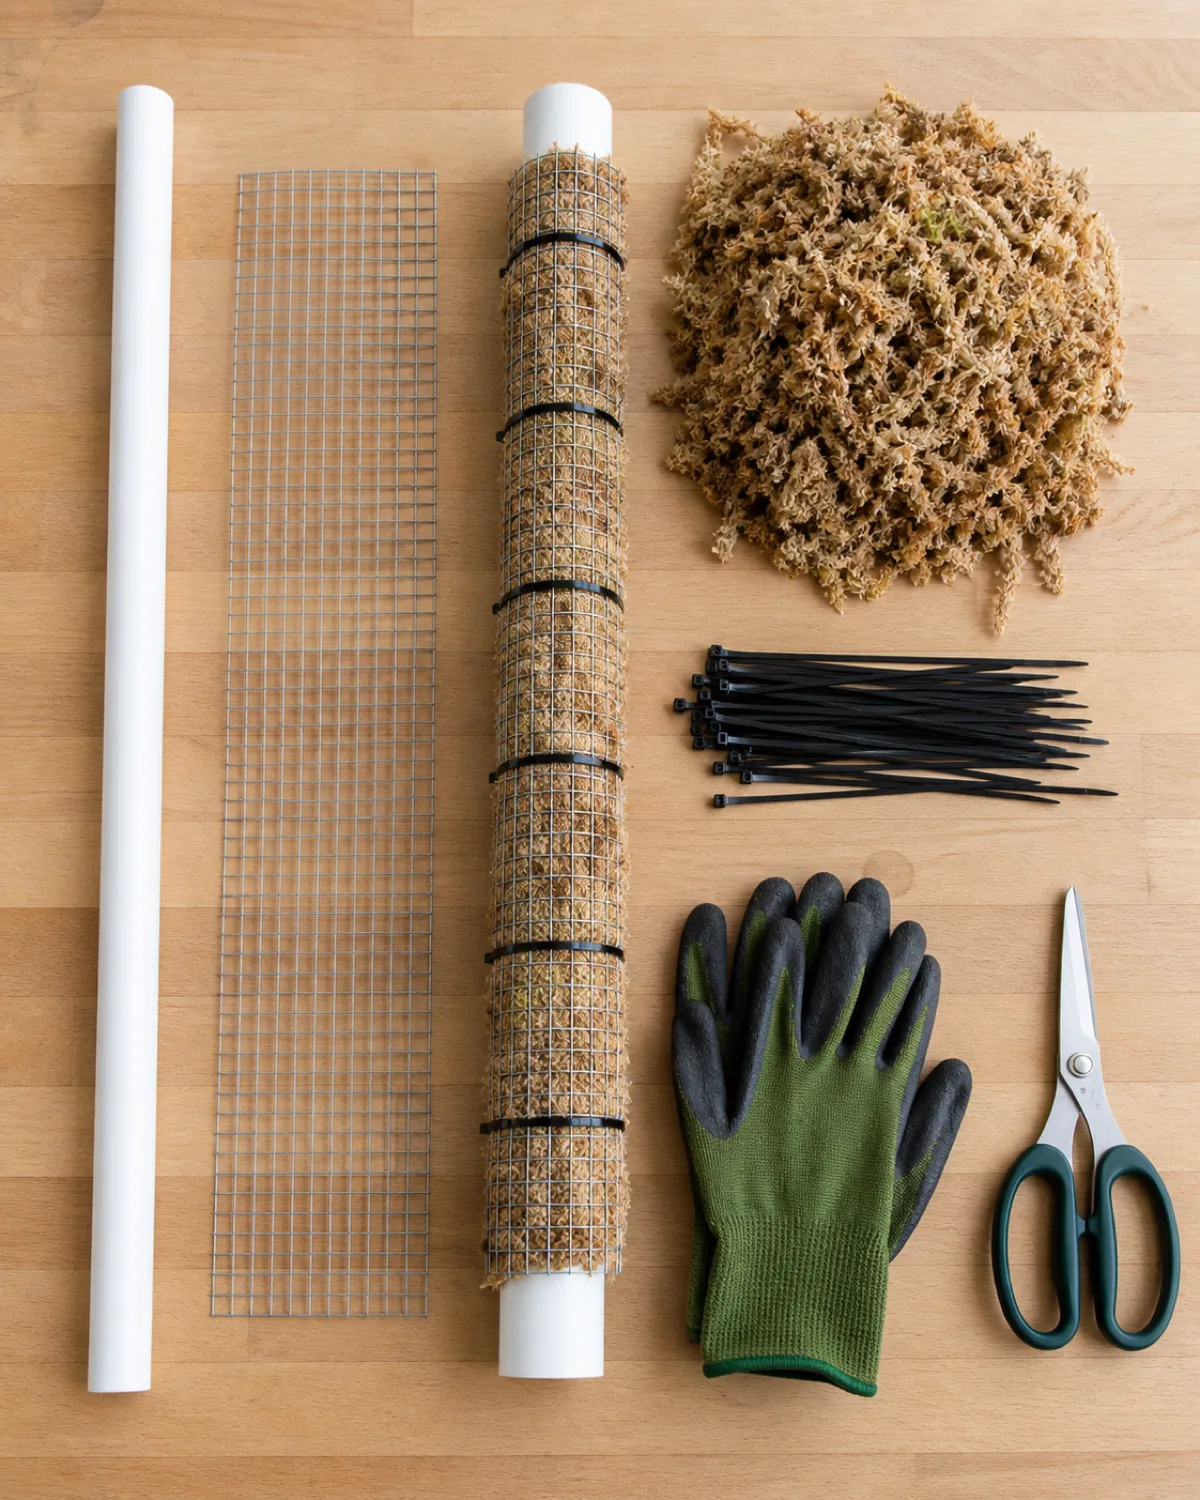
A homemade moss pole costs a fraction of commercial versions and lets you customize the height and diameter to match your plant.
Materials:
- PVC pipe or wooden dowel (the spine): 2–4 feet long, half to one inch diameter
- Hardware cloth or plastic garden mesh: openings around half an inch so aerial roots can grow through
- Long-fiber sphagnum moss: enough to fill the cylinder densely (soak for 30 minutes before stuffing)
- Zip ties or garden wire: to secure the mesh cylinder
- Scissors or tin snips: for cutting the mesh
Steps:
- Cut the mesh to a rectangle roughly 6 inches wide and 2–4 inches shorter than the pipe
- Roll the mesh around the pipe to form a cylinder with a 1–2 inch gap between pipe and outer mesh
- Secure the mesh seam with zip ties every 4–6 inches along the length
- Squeeze handfuls of damp sphagnum into the gap, packing tightly to prevent settling
- Leave the bottom 4–6 inches of pipe exposed — this section buries into the pot for stability
The tighter you pack the sphagnum, the slower it dries and the longer the pole holds moisture between waterings. Loose packing creates air gaps that dry in hours.
Setting Up a Moss Pole in the Pot
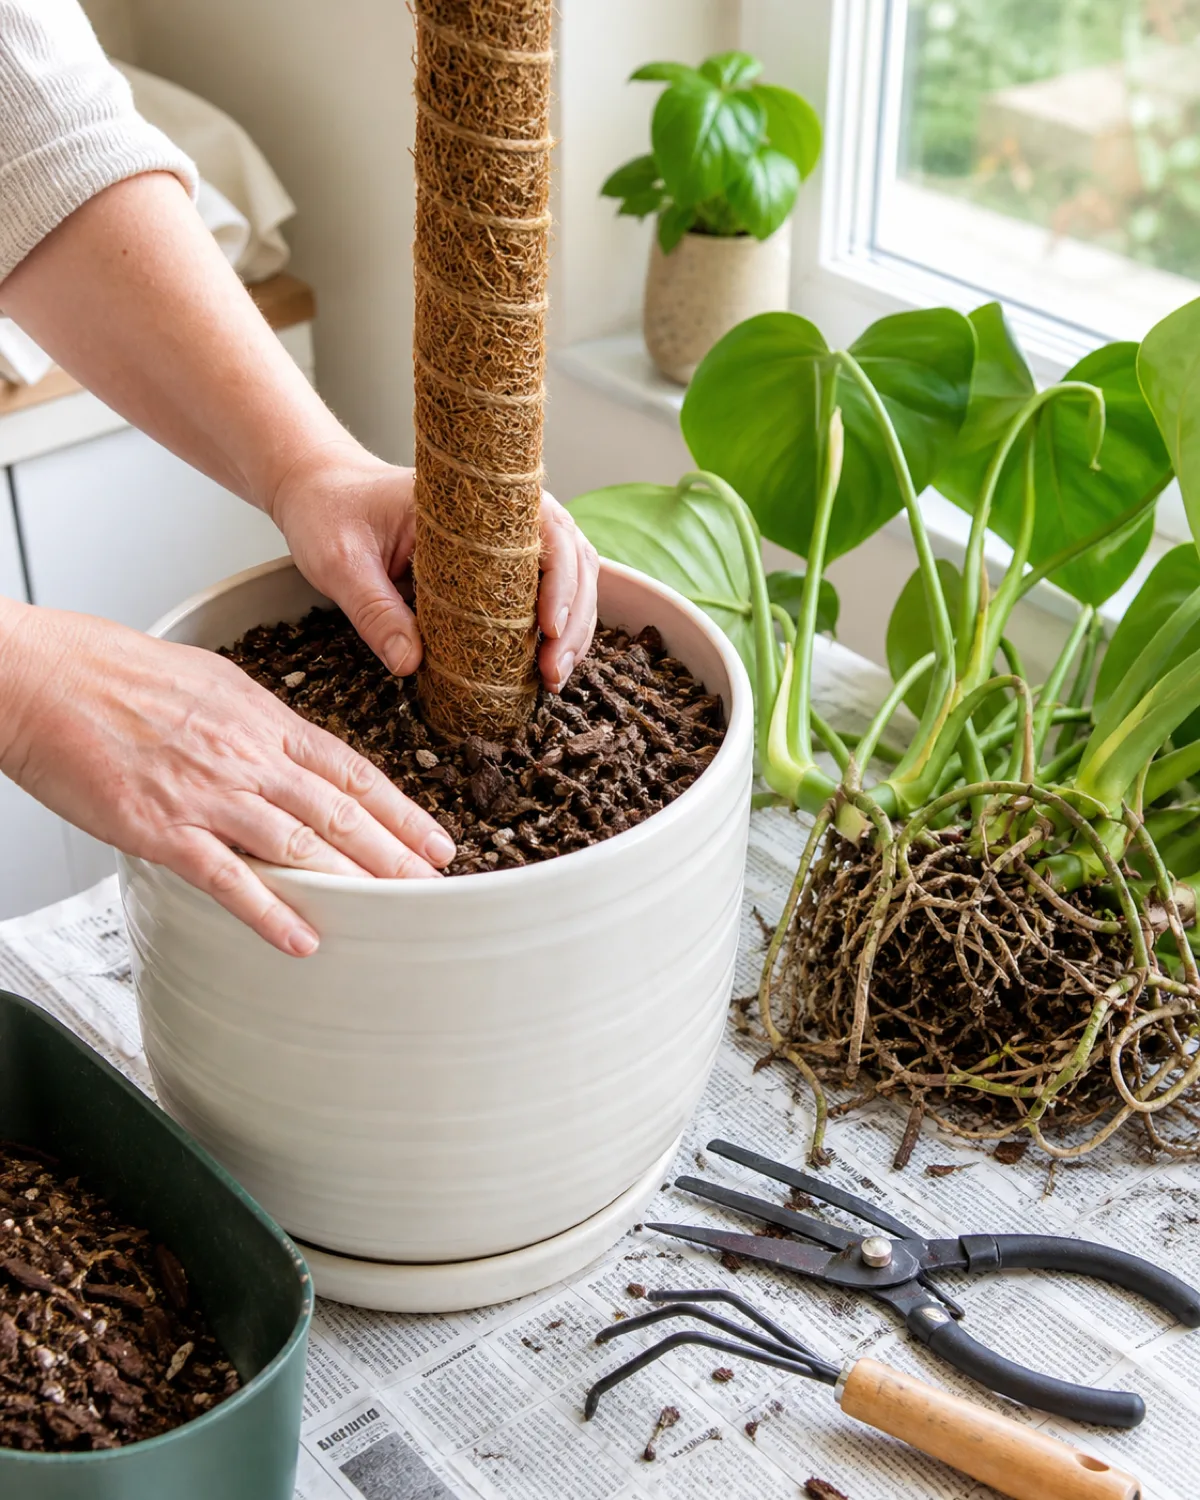
The ideal moment is repotting day. Fresh soil, an empty pot, and exposed roots make installation clean and stable.
Place the moss pole in the center of the pot first. Bury the exposed pipe or dowel section at least four inches deep. For tall poles in lightweight pots, add a layer of gravel or heavy stones at the bottom for ballast before adding soil.
Fill soil around the base of the pole until it stands firm without being held. Then position the plant with its stem pressed against the pole. The lowest node with an aerial root should sit right against the moss surface.
Use two or three soft ties to hold the stem against the pole. Velcro plant ties work best — they stretch as the stem grows and release easily when aerial roots take over the anchoring job.
- Do not force existing aerial roots into the moss. Let them find their way in naturally as you keep the moss damp
- Do not bury aerial roots under soil. They function best in air, absorbing moisture from the pole surface
- Do not pack soil around the base so tightly that the pole cannot be adjusted later if it leans
If the plant is too large to repot, you can install a pole alongside the root ball by working it in at the pot edge and angling it toward the stem. This is less stable but workable for plants that cannot be disturbed.
Training Your Plant to Climb
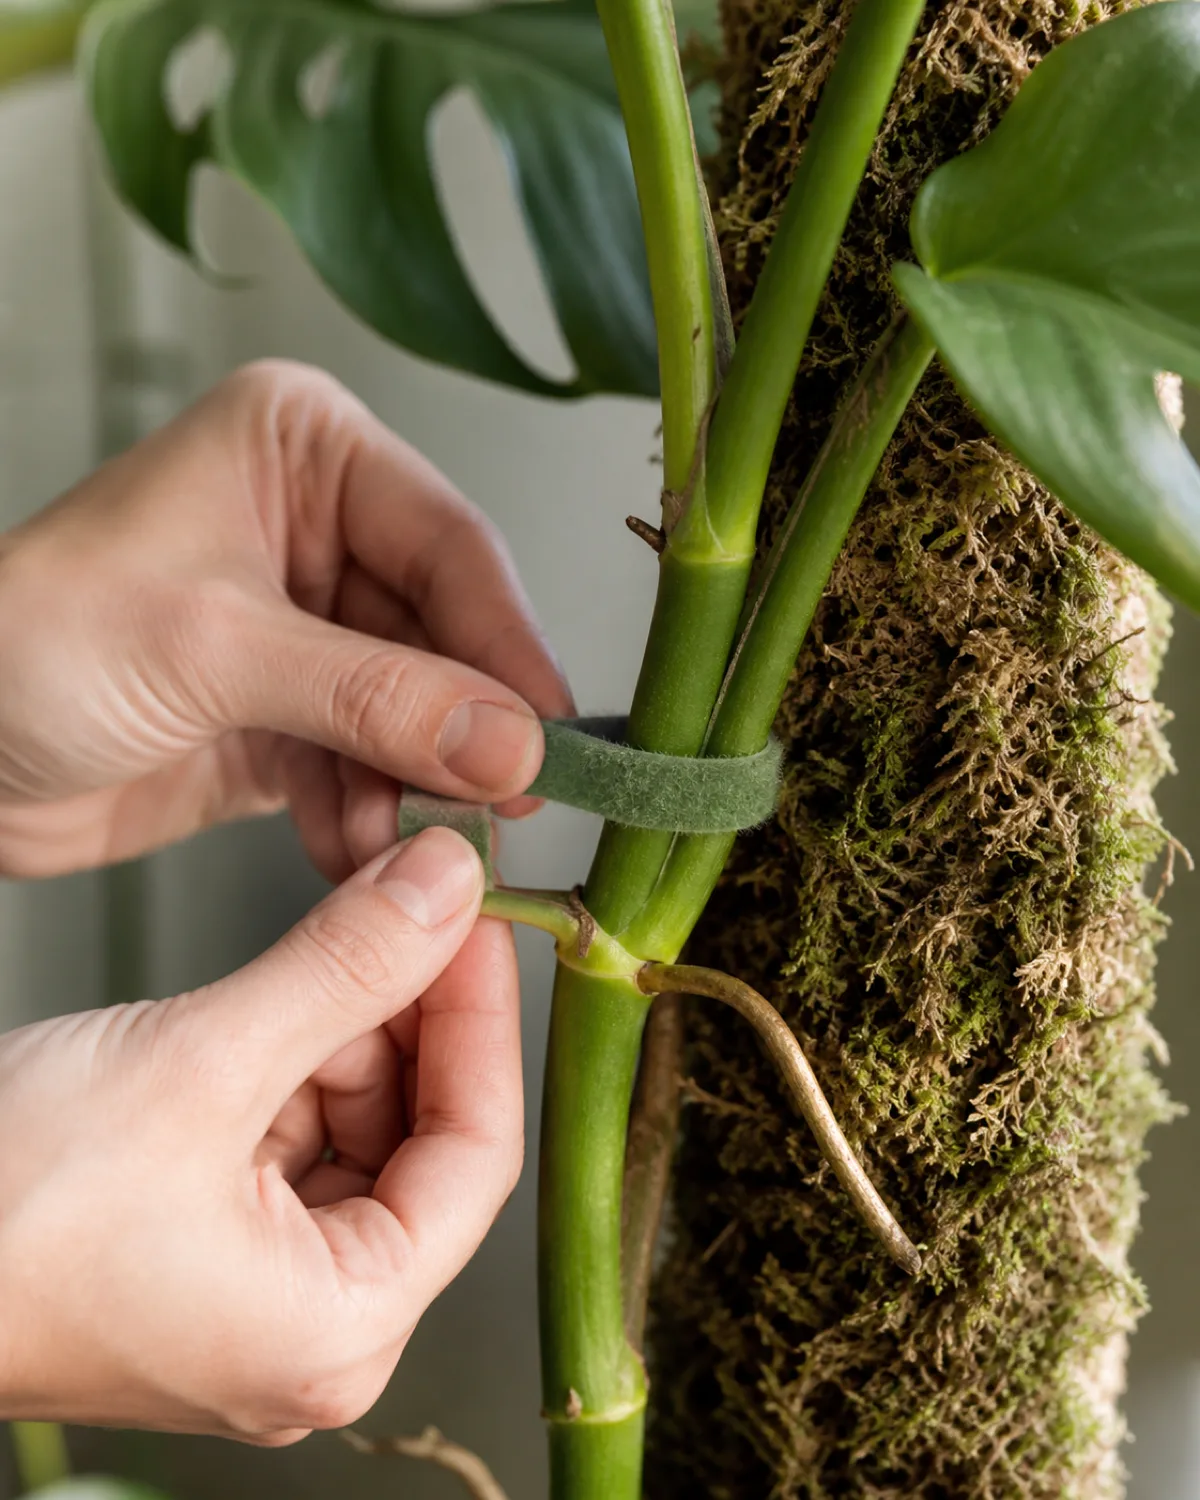
Aerial roots do not grab a moss pole on their own the first day. Training takes patience and the right technique.
Start at the lowest node that touches the pole. Wrap a soft tie around the stem and the pole, leaving enough slack for the stem to expand by about a quarter inch on each side. Tie at every second or third node moving upward.
The ties are temporary scaffolding. Their job is to hold the stem close enough for aerial roots to detect the moisture in the moss and grow into it. Once the roots anchor themselves — usually within four to eight weeks — the ties become unnecessary.
Three factors that speed up attachment:
- Moisture on the pole surface: aerial roots grow toward water. A dry pole gives them no incentive to reach in. Mist daily or drip from the top
- Ambient humidity above 50 percent: higher humidity encourages longer, more active aerial root growth across all climbing aroids
- Warmth during the growing season: spring and summer root activity is faster. Training a plant onto a pole in winter means waiting longer
If an aerial root grows away from the pole into the air, gently redirect it toward the moss surface and hold it in place with a small pin or tie. Do not break or bend the root sharply — a damaged aerial root will not regenerate from the break point.
Signs that training is working:
- New aerial roots emerge from nodes near the pole and grow directly into the moss
- Root tips darken from white-green to brown where they have buried into the sphagnum
- The stem holds its position even when ties are loosened
Keeping the Moss Pole Moist (and Why It Matters)
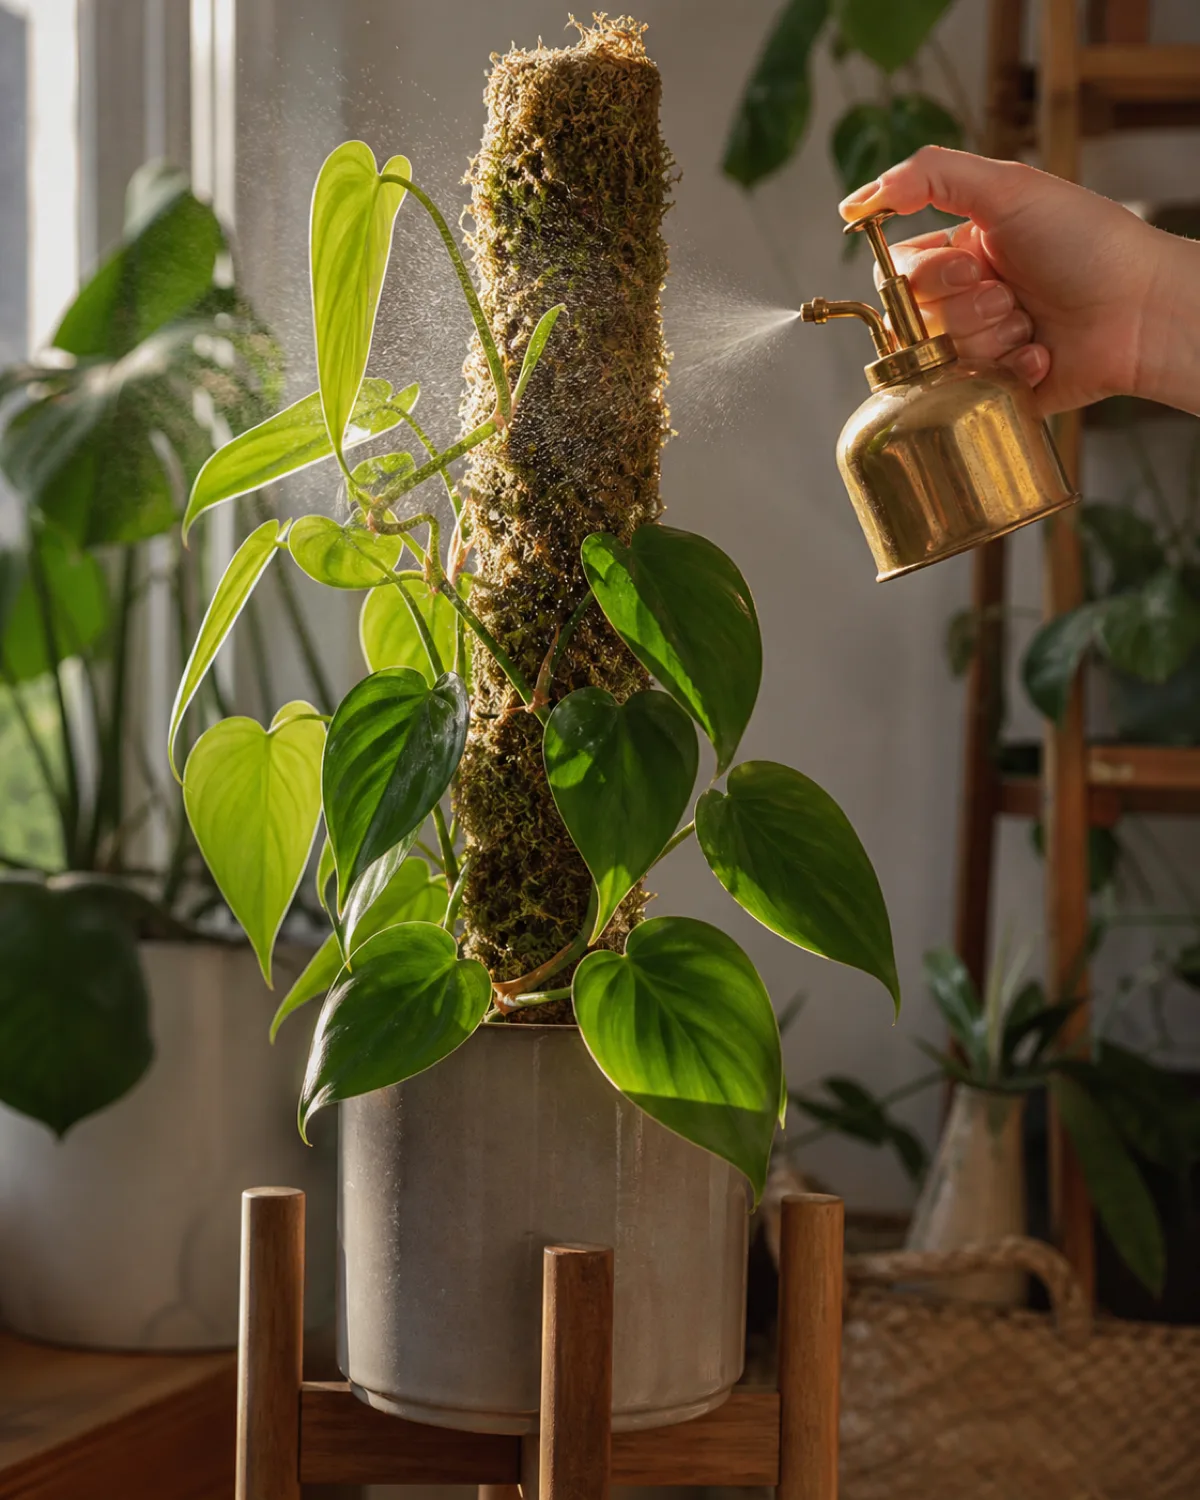
A dry moss pole loses its entire functional advantage. Without moisture, aerial roots treat the pole the same way they treat a bare wall — they ignore it or grow past it into the air.
Daily misting works for small poles in rooms with moderate humidity. Spray the moss surface directly until it darkens and glistens. This is the simplest method but requires daily commitment.
Top-down drip method covers larger poles more evenly. Pour water slowly from the top of the pole and let gravity pull it through the sphagnum. A small watering can with a narrow spout works well. The water that drips through the bottom feeds the plant's soil roots at the same time.
Self-watering systems reduce maintenance:
- Inverted water bottle pushed into the top of the pole, releasing water slowly through a wick
- Cotton or jute wick threaded through the center of the pole from a reservoir at the top
- Drip irrigation tube clipped to the pole top, connected to a small reservoir
Coco coir poles need less frequent watering because coir fibers retain moisture longer than sphagnum without becoming waterlogged. Water a coir pole every two to three days instead of daily.
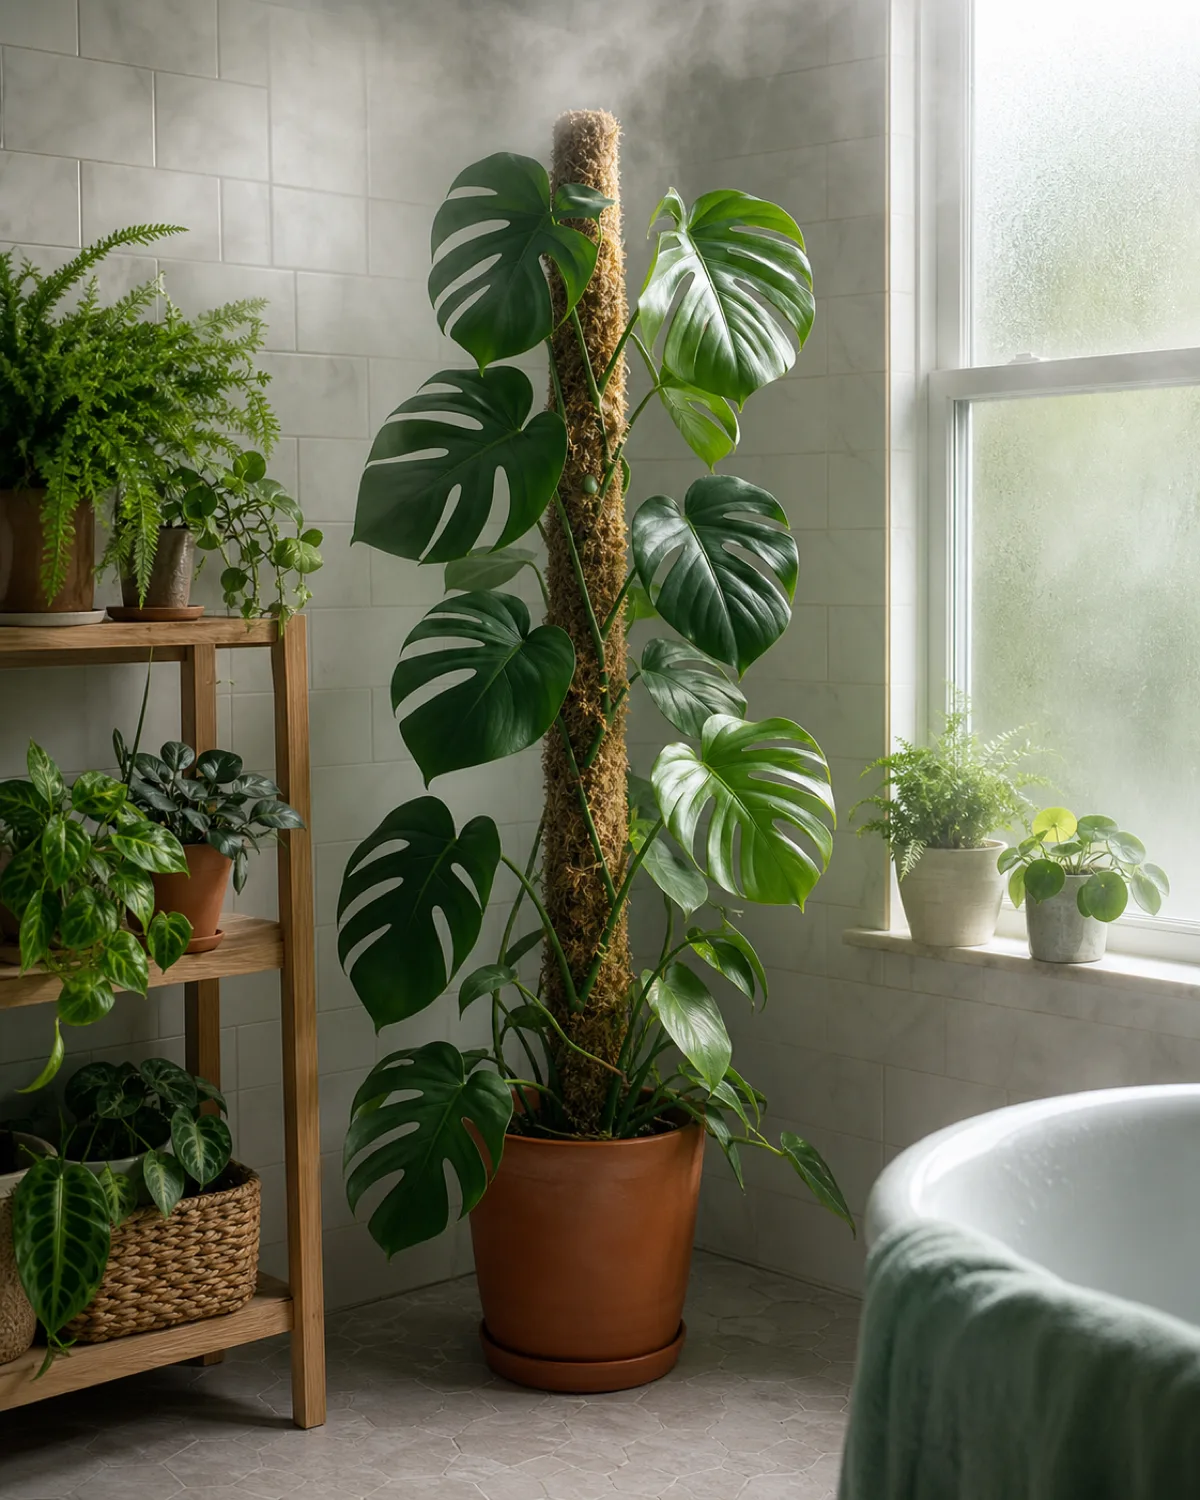
Watch for mold: white fuzzy mold on the moss surface is common in poorly ventilated rooms. It is usually harmless saprophytic mold that feeds on decomposing sphagnum, not on the plant.
- Improve airflow with a small fan pointed near the pole
- Reduce misting frequency slightly until the surface dries between sessions
- Wipe visible mold with a damp cloth
- If mold persists, the room may be too humid and still for sphagnum — switch to coir
Extending and Stacking Moss Poles as Your Plant Grows
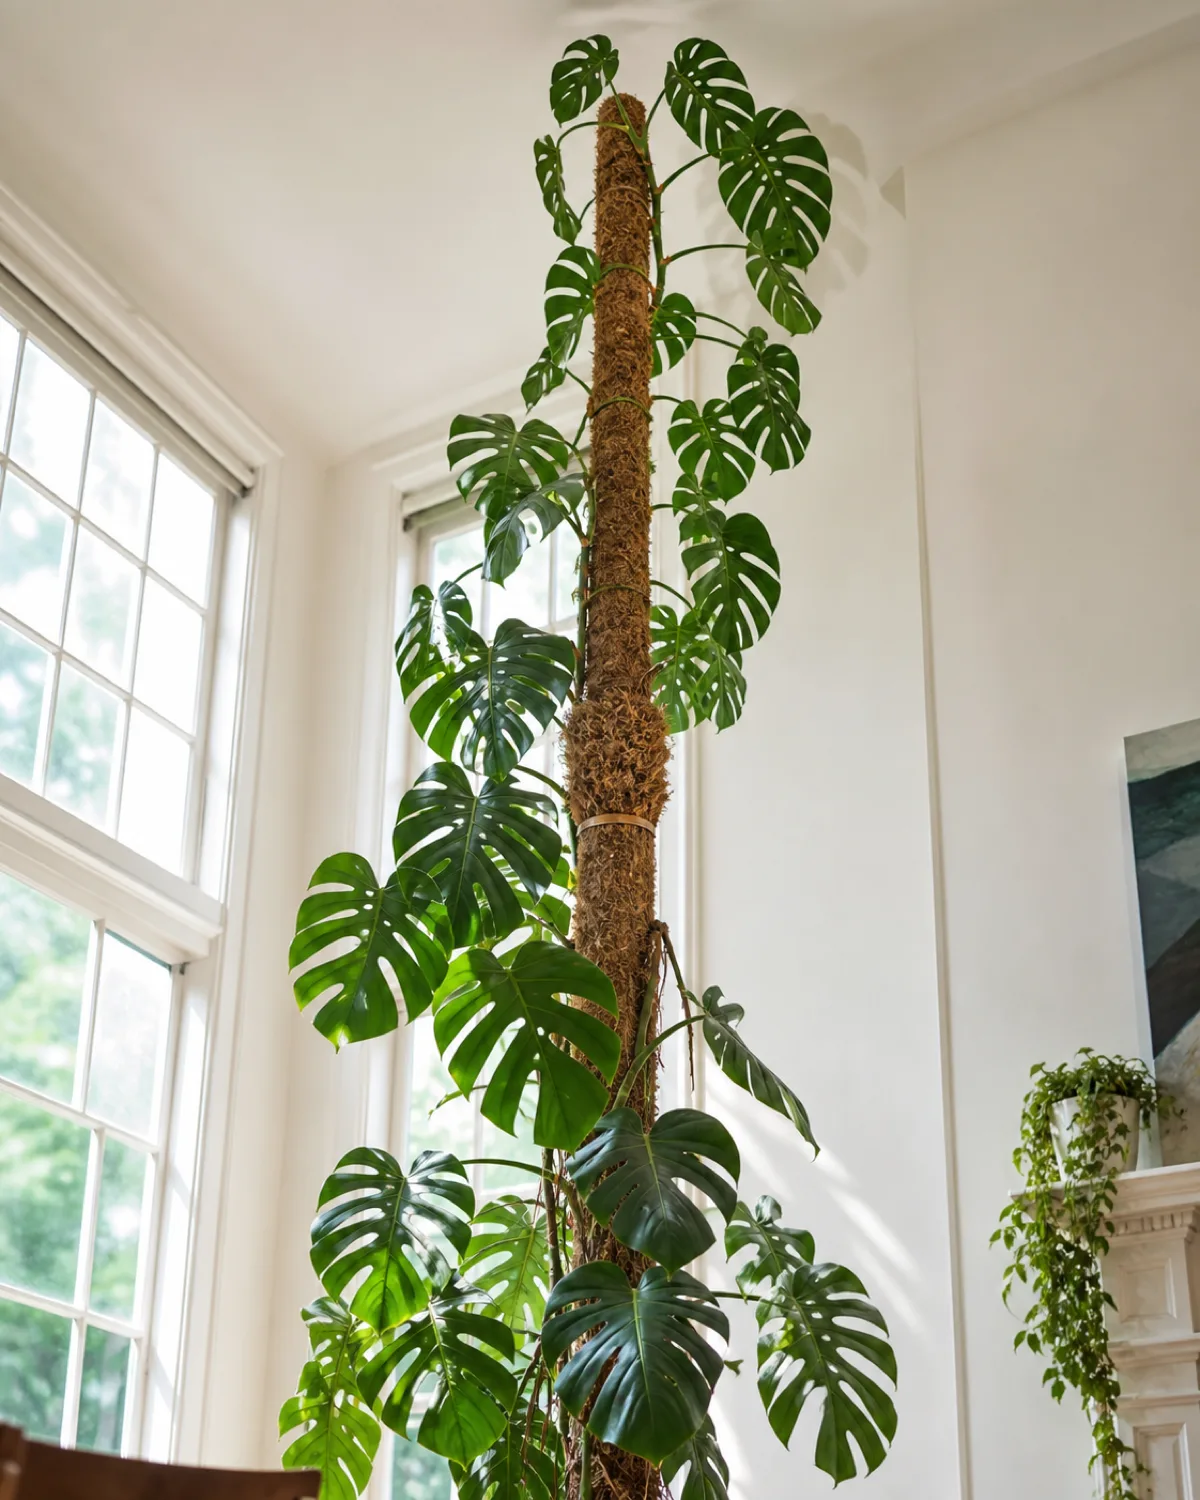
A healthy climbing aroid on a moss pole can reach the top within six to twelve months. When the newest growth starts flopping over the pole tip, you have three options.
Your three options when the plant tops out:
- Stack a second pole on top. Insert the bare end of a new pole into the sphagnum at the top of the first. Pack fresh sphagnum into the joint to bridge any gap
- Prune and propagate. Cut the stem a few nodes below the pole tip and root the cutting in water or sphagnum. The mother plant pushes a new growth point from a lower node
- Redirect sideways. Train the stem across a horizontal support, creating a shelf-level canopy — ideal for rooms where vertical height is limited
Practical notes on stacking:
- The junction between two poles is the weakest point — secure it with zip ties or wire wrapping around both poles
- The extended pole adds weight at the top, so upgrade to a heavier ceramic pot if the plant starts leaning
- Continue the same misting or drip routine on the new section
- Stacked poles taller than four feet may need a wall bracket or hook for stability
- Commercial stackable designs have interlocking connectors that simplify the joint
Common Mistakes That Waste a Perfectly Good Moss Pole
A moss pole is simple equipment, but the mistakes that neutralize its benefits are equally simple.
The five that waste your effort:
- Choosing a pole that is too short. A pole extending only a foot above soil gets outgrown in months. Start at least as tall as the plant plus twelve inches
- Forgetting to water the moss. The most common failure. A dry pole is decorative at best — aerial roots bypass it entirely. If regular misting is not realistic, use coir or install a wick system
- Tying too tightly. Wire or fishing line cuts into expanding stems, creating wounds where bacteria enter. Use velcro, soft jute, or pantyhose
- Installing a pole for a non-climber. A moss pole does nothing for a snake plant, a ZZ plant, or a bush-type philodendron — they grow upright without grip surfaces
- Placing the pole off-center. As the plant gains height, the center of gravity shifts. An off-center pole tips the pot. Install in the center and use a heavy container as ballast
Save for Later
Moss Pole Guide in 10 Takeaways
- 1A moss pole triggers mature leaf growthClimbing aroids shift from juvenile to mature leaf morphology when they climb vertically. Larger, fenestrated leaves only develop with support.
- 2Sphagnum holds the most moistureLong-fiber sphagnum retains up to twenty times its dry weight in water, creating the damp surface that aerial roots actively seek.
- 3Coir resists mold and lasts longerCoco coir poles dry slower without rotting, last three to five years, and suit drier environments where sphagnum molds.
- 4Climbing aroids are the right usersMonstera, vining philodendron, syngonium, and pothos benefit. Self-supporting and trailing plants gain nothing.
- 5DIY poles are cheap and customizablePVC pipe, hardware cloth, and sphagnum. Pack the moss tightly so it holds moisture between waterings.
- 6Install during repottingBury the base four to six inches deep in fresh soil before positioning the plant. Retrofit installs into established pots are unstable.
- 7Tie loosely and check monthlyStems thicken. Tight ties strangle and wound. Use velcro or soft jute and retie when ties press into the bark.
- 8A dry pole is just a stickMist daily, drip from the top, or install a wick system. Aerial roots grow toward moisture, not away from it.
- 9Stack poles for continued climbingInsert a new pole into the old one and bridge with fresh sphagnum. Secure the joint and check stability as weight increases.
- 10Start tall to avoid early replacementChoose a pole at least as tall as the plant plus twelve inches. Short poles get outgrown in months and require a disruptive redo.
kultivy.com
Moss Pole FAQ: Real Questions from Plant Parents
Quick-reference answers:
- Sphagnum replacement: every two to three years, or when the moss compresses into a thin dark layer that no longer holds water. The metal or PVC core is reusable indefinitely
- Reusing a pole from another plant: yes, if the previous plant was healthy. Remove old roots, repack with fresh sphagnum, and sterilize the core with diluted hydrogen peroxide if there was disease
- Hoya on a moss pole: hoyas climb in the wild but lack aggressive aerial roots. Most do better on a trellis where wiry stems can wrap around thin supports
More common questions:
- Sphagnum or coco coir? Sphagnum delivers more moisture and faster attachment. Coir lasts longer and resists mold. Regular misting plus decent airflow favors sphagnum; forgetful maintenance or poor ventilation favors coir
- White mold on the moss — is my plant in danger? Almost certainly not. It is saprophytic mold feeding on decomposing sphagnum, not the plant. A small fan and slightly less misting resolves it
- Can I use a moss pole outdoors? On a sheltered, shaded patio with regular watering, yes. In direct sun and wind, sphagnum dries within hours — a tree trunk serves the same purpose outdoors with zero maintenance

Mara Quinn edits Kultivy, where she shares houseplant care, propagation, beginner-friendly plant picks, and plant-styling ideas for anyone who wants their indoor plants to actually thrive. Every guide is image-led and reviewed for clarity, usefulness, image accuracy, and Pinterest-to-page alignment before it goes live. Visit the About page.