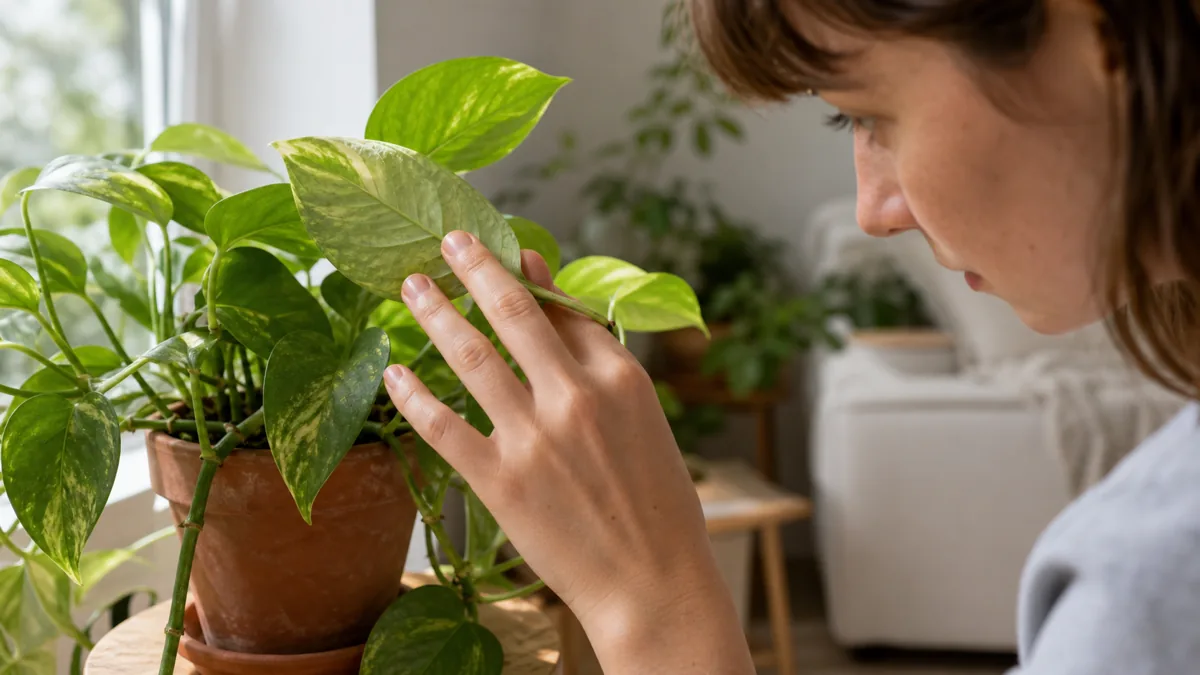
Every indoor plant collection eventually meets them. Tiny dark flies circling the soil, launching into your face when you water, and landing on your screen while you try to work.
Fungus gnats are the most common houseplant pest. The adults you see are just the visible fraction of a problem that lives underground.
These thirteen sections cover what they are, how their life cycle keeps the problem looping, and the strategies that break that cycle for good.
From identifying the pest and understanding its life cycle to sticky traps, hydrogen peroxide drenches, BTI, sand barriers, and long-term prevention. Jump to what you need.
What Are Fungus Gnats and Why They Love Your Plants
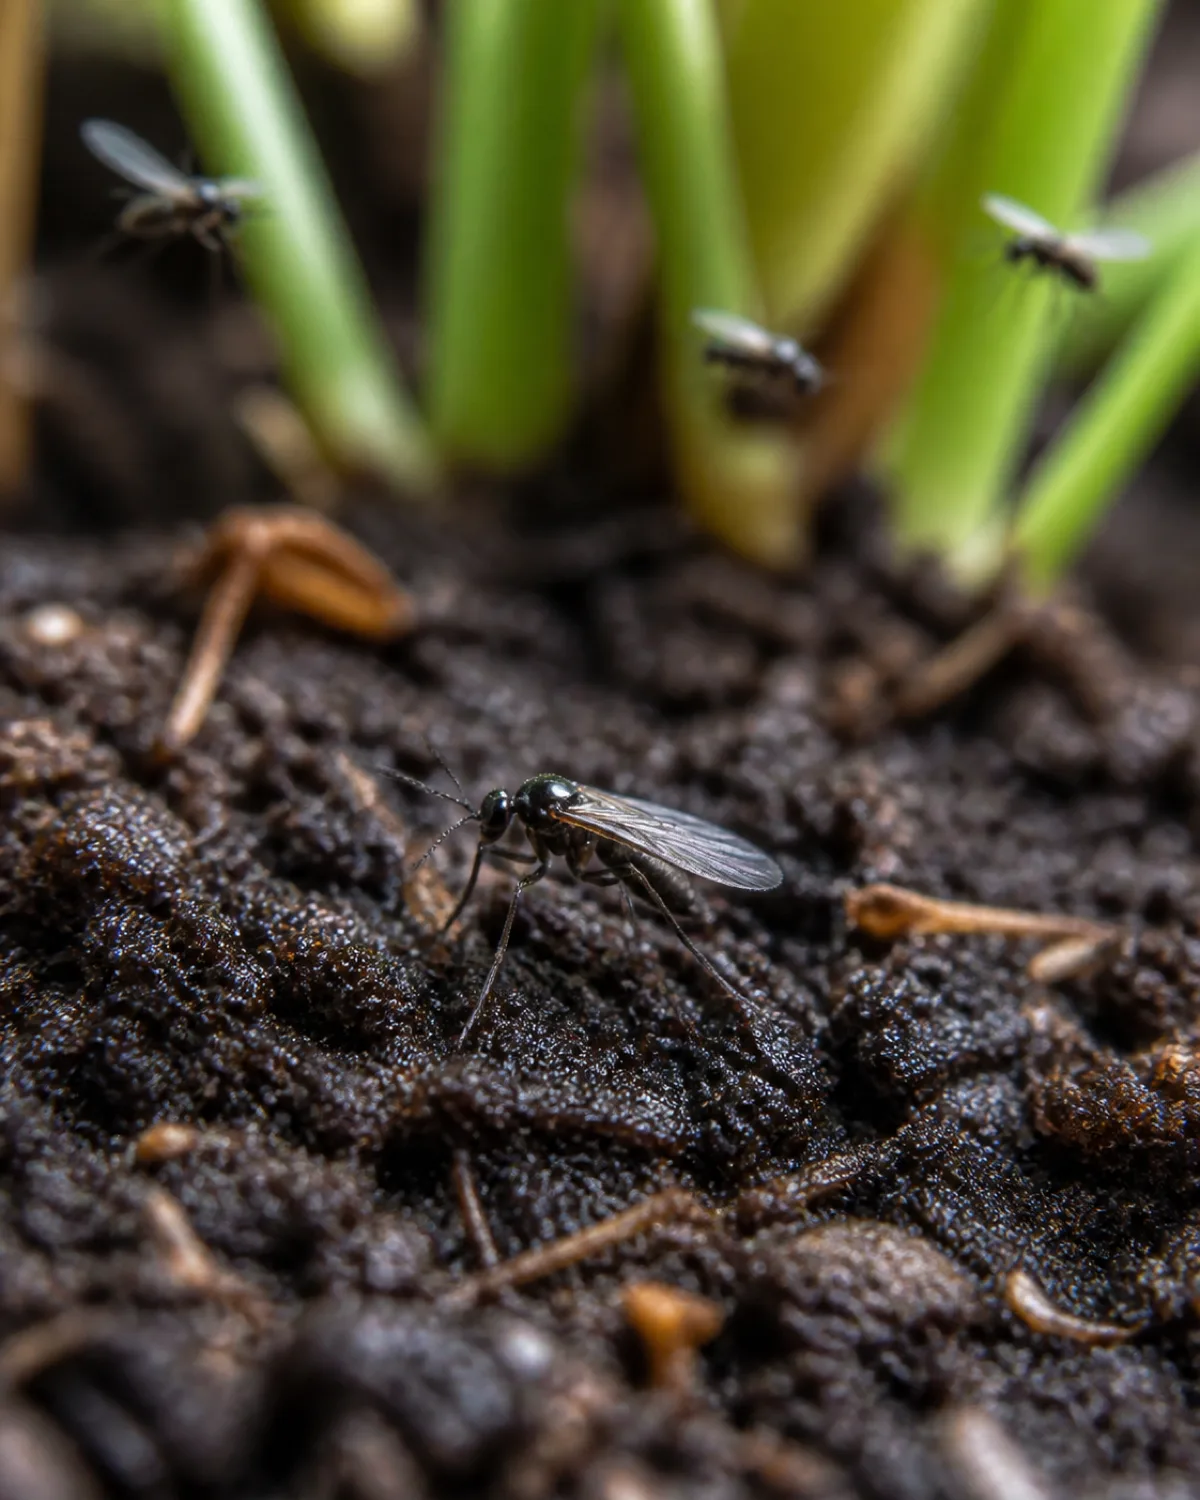
Fungus gnats belong to the family Sciaridae, and the species that infest houseplants are almost always in the genus Bradysia. The adults are small — one to three millimeters — with dark gray or black bodies, long legs, and a single pair of wings. They look like tiny mosquitoes, but they do not bite, sting, or feed on anything at all as adults.
The adults are annoying but harmless. They hover around soil, fly into your face, and land on screens and counters. Their entire job is to mate and lay eggs, and they die within a week.
- Larvae are the real problem: translucent white or off-white worms with a shiny black head capsule, roughly four to five millimeters long when fully grown
- Where they live: the top two to three inches of moist potting soil, feeding on fungi, decaying organic matter, and fine root hairs
- Why they pick your pots: indoor potting mix stays warm, moist, and full of organic material year-round — the exact environment their life cycle requires
A single adult female lays up to two hundred eggs in the soil surface crevices. In warm indoor conditions, those eggs hatch in about four days. That is why a small problem becomes a large one before most people notice.
Fungus Gnat Life Cycle Explained
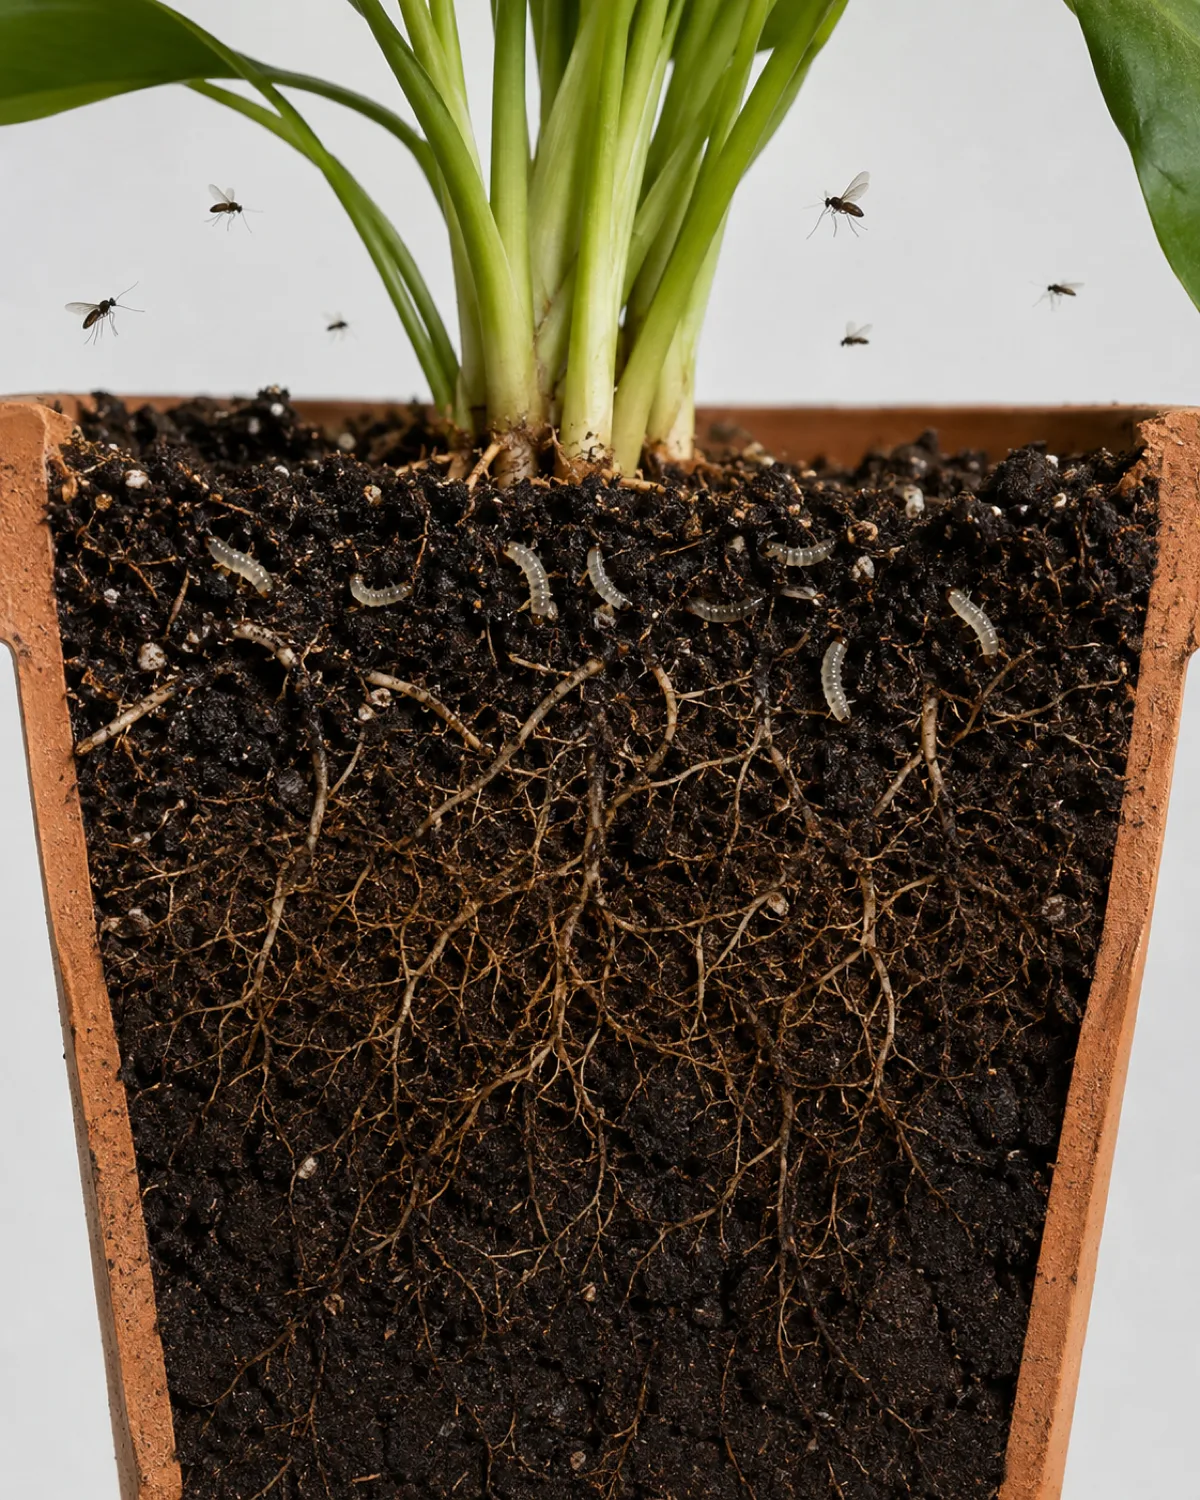
The entire fungus gnat life cycle takes roughly three weeks from egg to adult, and understanding it explains why they are so hard to eliminate with a single treatment.
Egg stage lasts three to six days. Females deposit one hundred to two hundred eggs in moist soil surface crevices. The eggs are tiny, oval, and nearly invisible to the naked eye.
Larval stage runs about fourteen days across four molts (instars). This is the feeding phase and the one that damages plants. Larvae consume decaying organic material, soil fungi, and fine root hairs. In heavy infestations, they hollow out larger roots and tunnel into the base of stems.
- Pupal stage: three to four days in the soil. The larva forms a small silken cocoon just below the surface. No feeding occurs
- Adult stage: seven to ten days of life. Adults do not eat. They mate within hours of emerging, and females begin laying eggs within a day
The overlap is the critical point. At any given time, an infested pot contains eggs, larvae of different instars, pupae, and adults simultaneously. Killing the adults you see does nothing to the hundreds of larvae and eggs underground. Any effective strategy must target at least two life stages over multiple treatment cycles to break the loop.
How to Confirm You Have Fungus Gnats
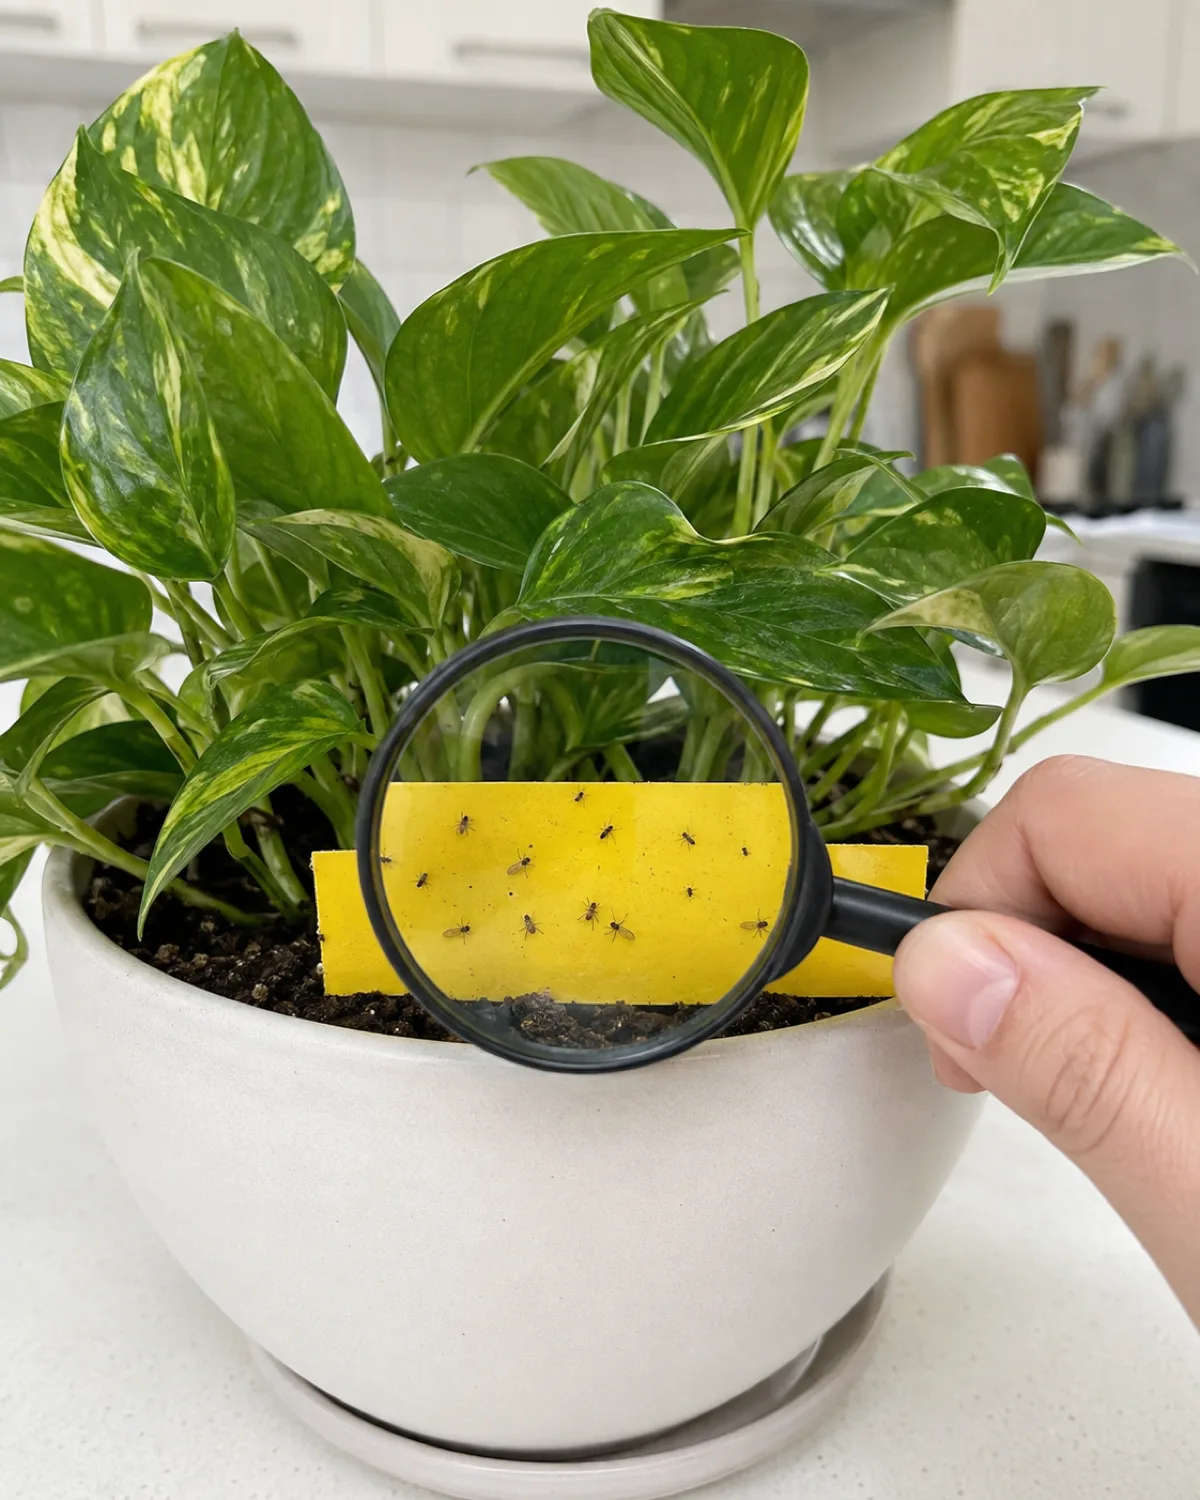
The first step is confirming that the flies around your plants are actually fungus gnats and not one of the other small flies that show up in homes.
Yellow sticky trap test is the fastest and most reliable. Place a yellow sticky card flat on the soil surface of a suspect pot. Fungus gnats are strongly attracted to the color yellow. Check it in twenty-four hours. If you find small dark flies with long legs and transparent wings stuck to the card, you have fungus gnats.
Potato slice test works for confirming larvae. Cut a raw potato into half-inch slices and press them gently onto the soil surface. Leave for forty-eight hours, then flip the slices over. Fungus gnat larvae will have migrated to feed on the potato. You will see tiny translucent worms with black heads on the underside.
- Fungus gnats vs. fruit flies: fruit flies are rounder, more brown or tan, and cluster around overripe fruit and drains. Fungus gnats are darker, thinner, and always near the soil surface
- Fungus gnats vs. drain flies: drain flies have moth-like fuzzy wings and cluster around bathroom drains, not plant pots
- Root check: if a plant is wilting despite adequate watering, unpot it and look at the roots. Healthy white roots that have turned brown and mushy with visible larval feeding channels confirm a severe infestation
Why Overwatering Is the Root Cause
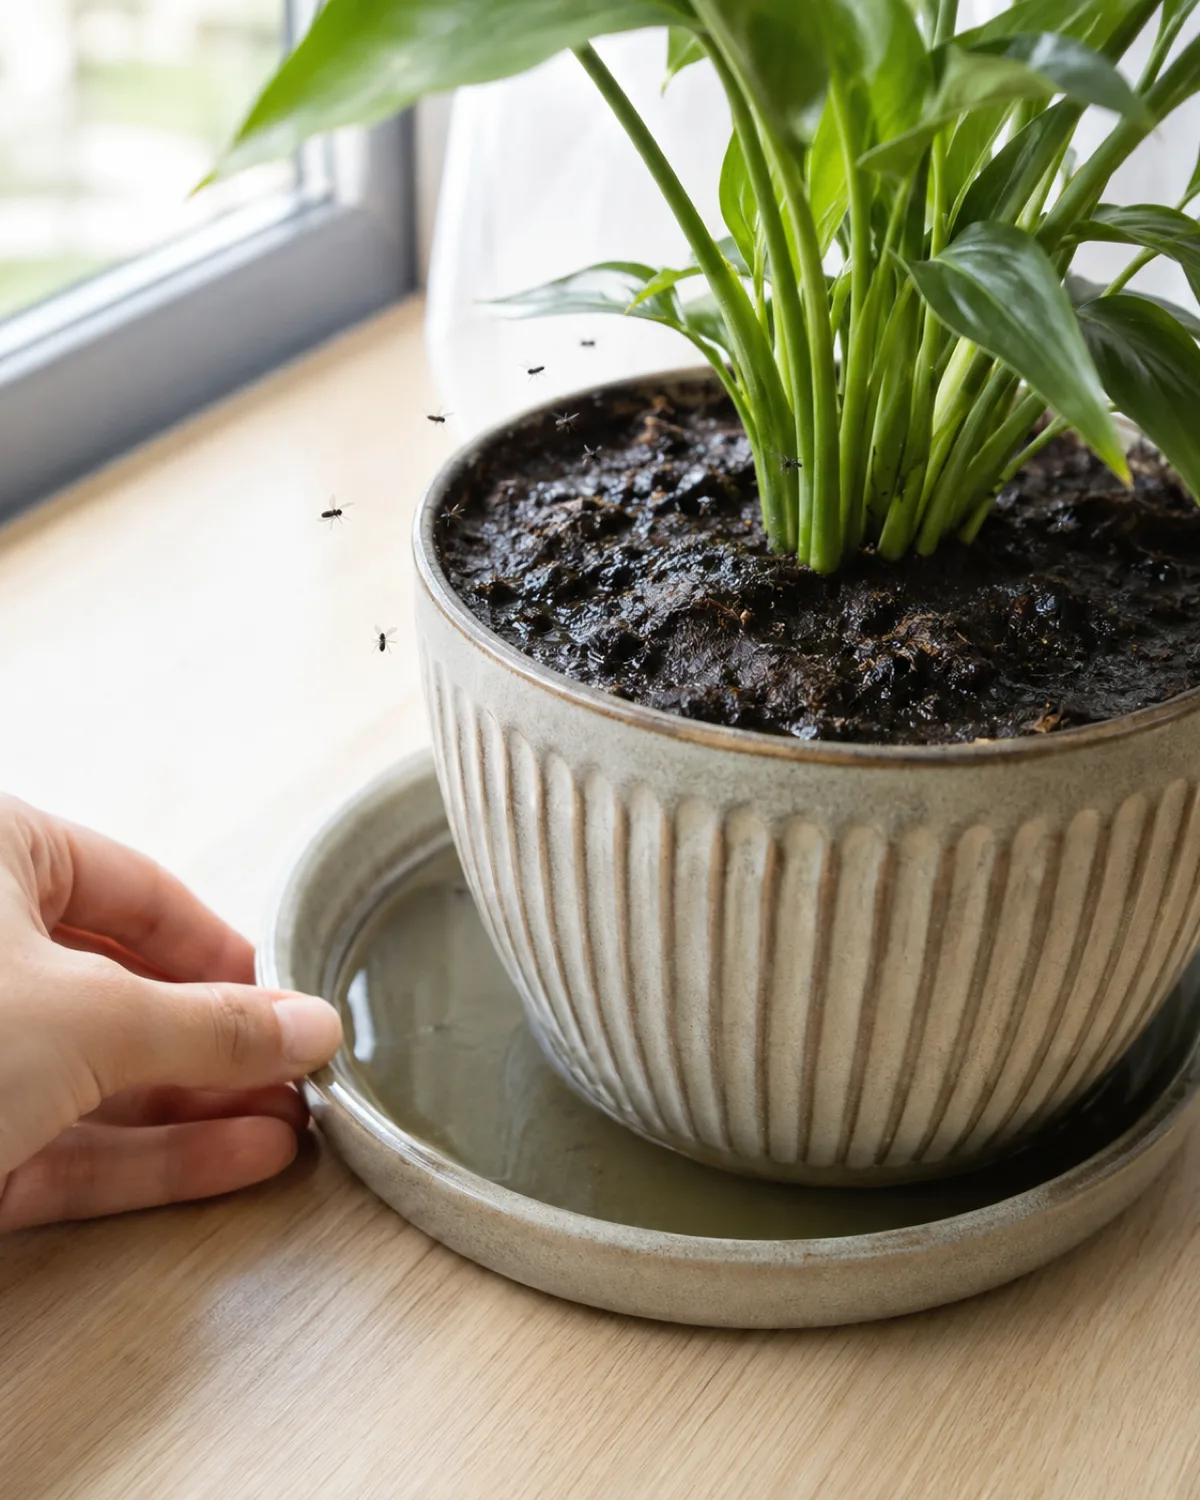
Fungus gnats do not appear at random. They show up because something about the environment invited them, and in almost every case that something is persistent soil moisture.
Female gnats lay eggs exclusively in moist soil. If the surface is dry, they move on. The eggs need moisture to develop. The larvae need moisture to survive — they desiccate and die in dry conditions within a day or two. The fungi that larvae feed on need moisture to grow.
Overwatering creates the entire food chain from the ground up.
- It is not always about watering too often: soil that stays wet between waterings because it drains poorly is just as much of an invitation. A pot with no drainage hole, a saucer that sits full of water for hours, or a heavy peat-based mix that holds moisture for a week are all contributing factors
- Organic surface layers help: decorative moss, uncomposted bark mulch, or thick layers of leaf debris on the soil surface retain moisture and give larvae more food
- Warm indoor temperatures accelerate everything: the 65–75°F range that humans prefer is also ideal for fungus gnat reproduction. Cooler temperatures slow the life cycle but do not stop it
The watering guide covers the general principles. For fungus gnat prevention specifically, the key shift is letting the top layer of soil dry out completely between waterings, not just the top half-inch.
Let the Soil Dry Out Between Waterings
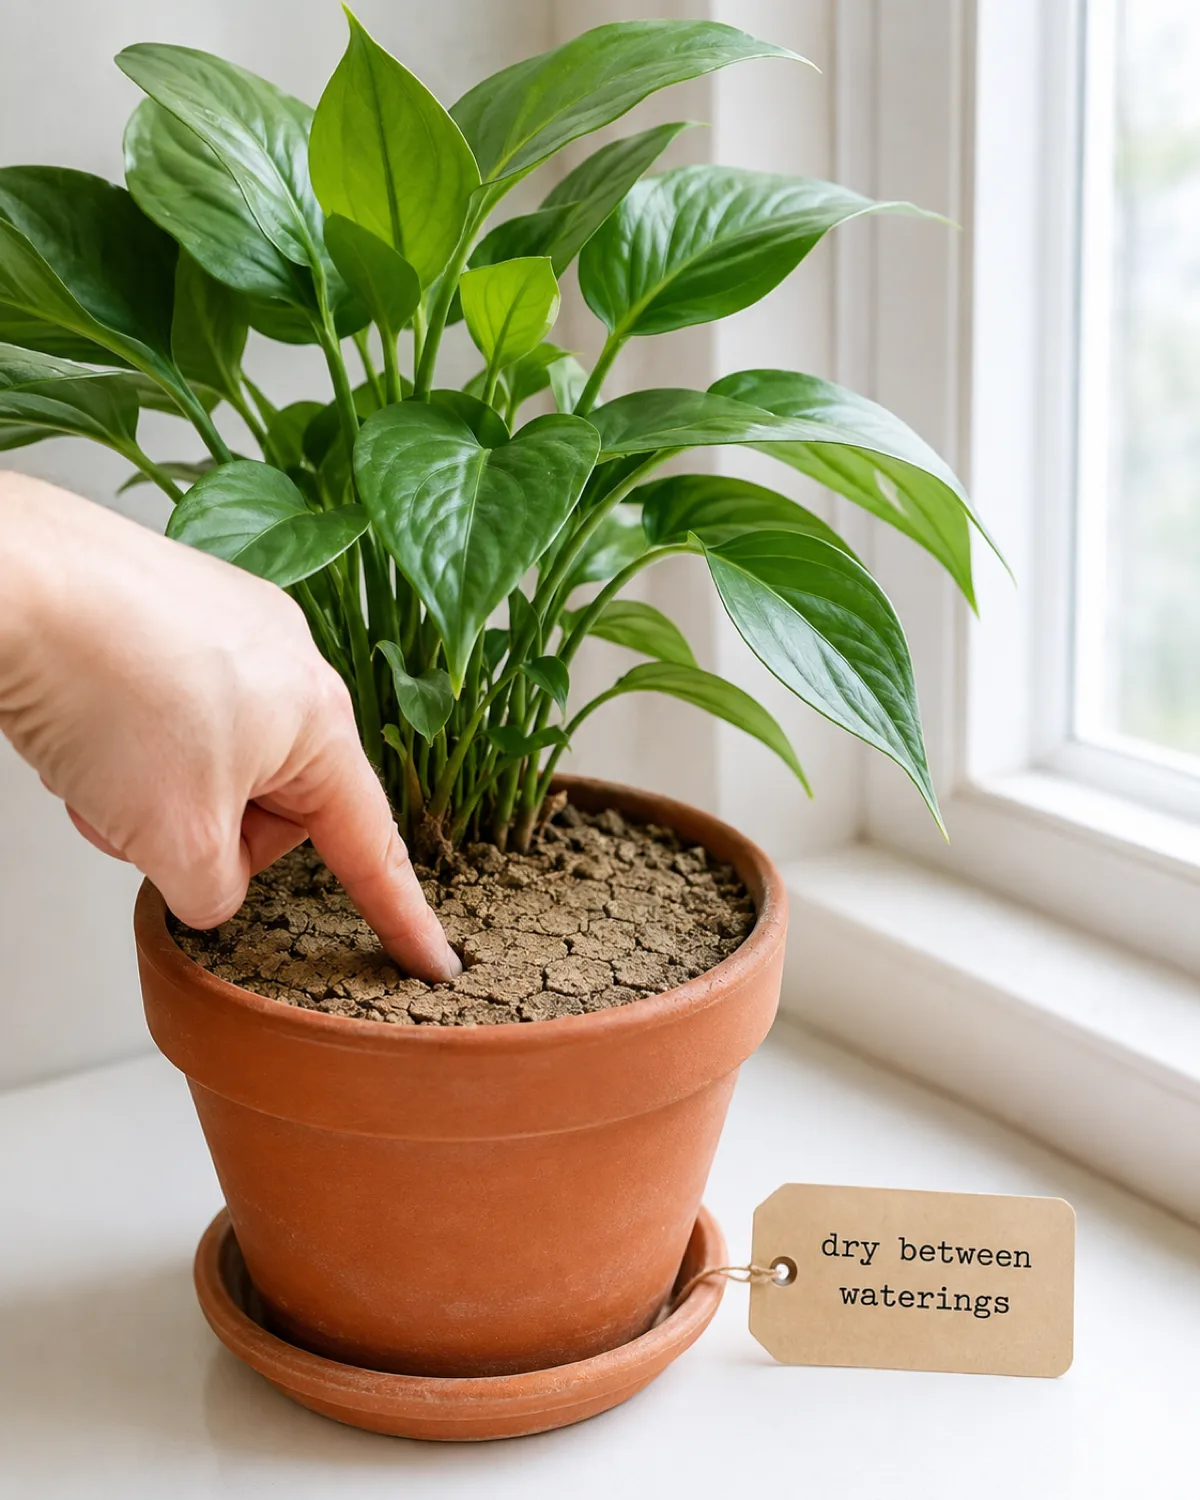
The simplest and most effective first response is to let the soil dry deeper than usual before watering again. Fungus gnat eggs and young larvae in the top inch of soil die when that layer dries out.
For most tropical houseplants, the standard advice is to water when the top inch is dry. For fungus gnat treatment, push that to the top two inches. The eggs and early-instar larvae are concentrated right at the surface, and a few extra days of dryness is enough to kill them.
Bottom watering amplifies the effect. Set the pot in a shallow tray of water and let the soil wick moisture upward through the drainage holes. The root zone gets hydrated while the top layer stays dry — exactly the opposite of what fungus gnats need.
- Plants that tolerate this easily: snake plant, pothos, ZZ plant, succulents, jade plant — these prefer drying out and benefit from the shift
- Plants that struggle with deep drying: ferns, calathea, prayer plant — they need consistently moist soil and will show stress if dried too aggressively. For these, combine lighter drying with BTI or nematode treatments instead of relying on drought alone
- Terracotta pots help: they are porous and wick moisture away from the soil faster than ceramic or plastic, accelerating the drying cycle
This strategy alone resolves mild infestations in two to three weeks. For anything beyond mild, pair it with the active treatments in the next sections.
Yellow Sticky Traps for Adult Gnats
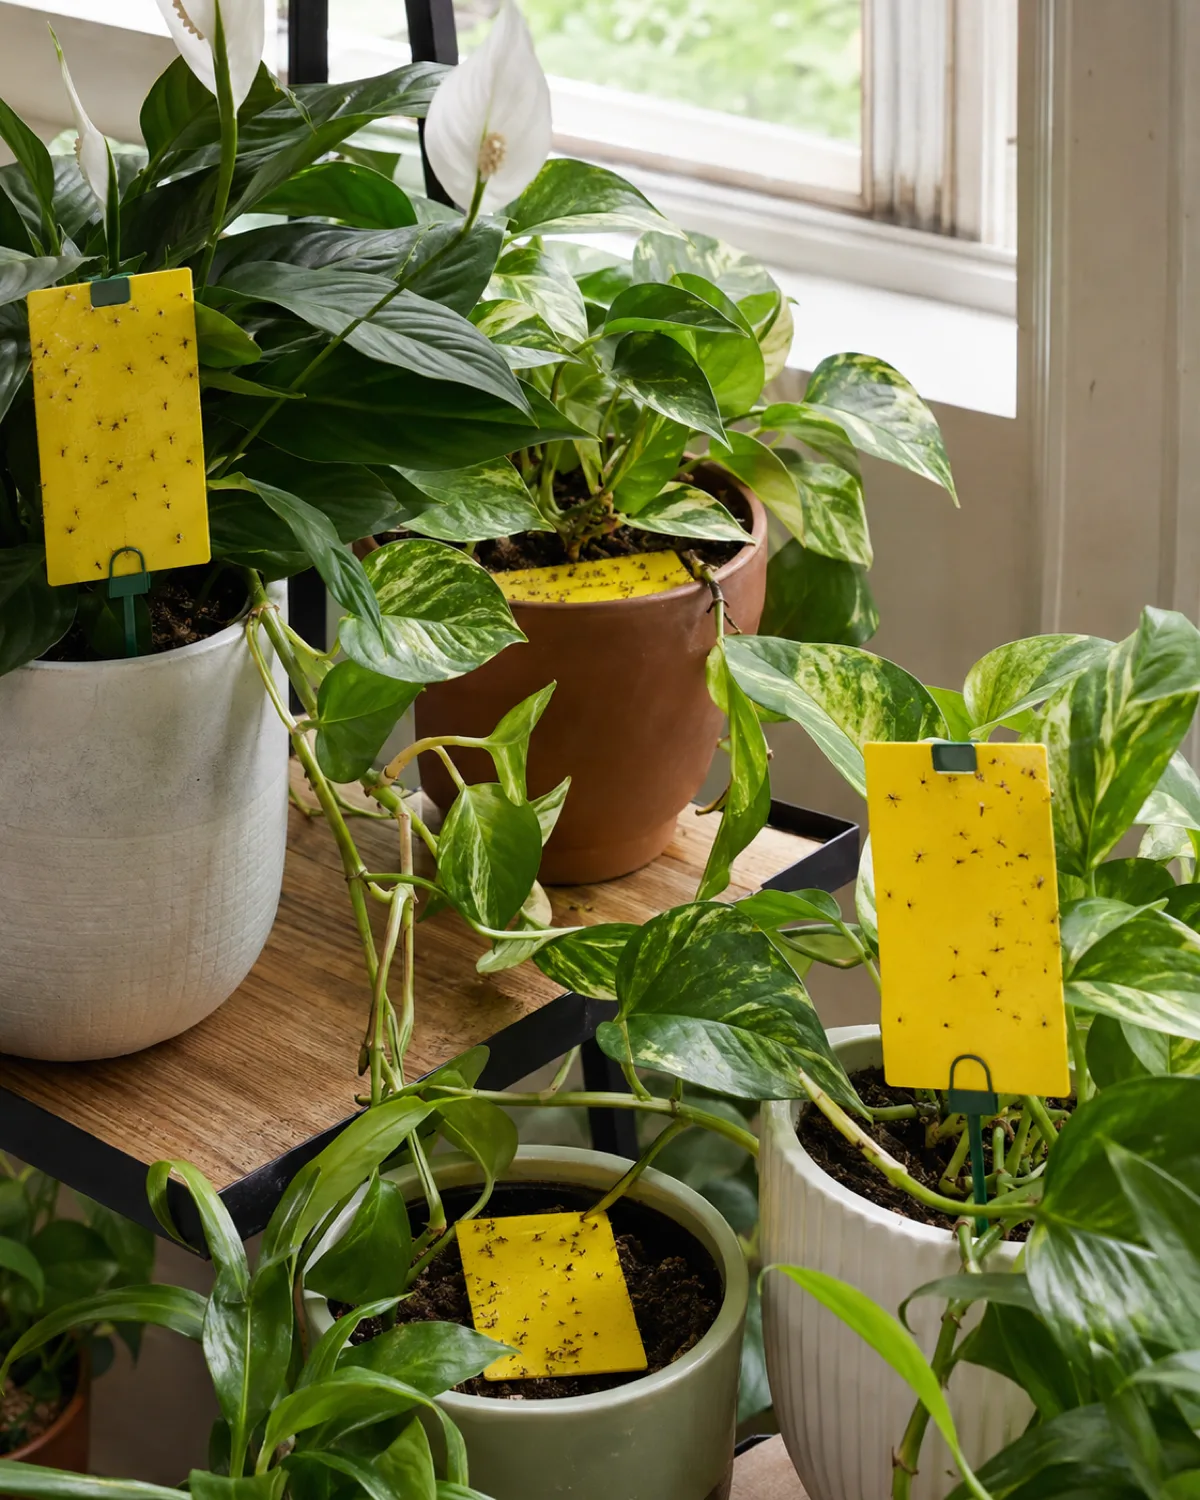
Yellow sticky traps are the workhorse of adult fungus gnat control. The gnats are strongly attracted to the color yellow, and once they land on the adhesive surface they cannot escape.
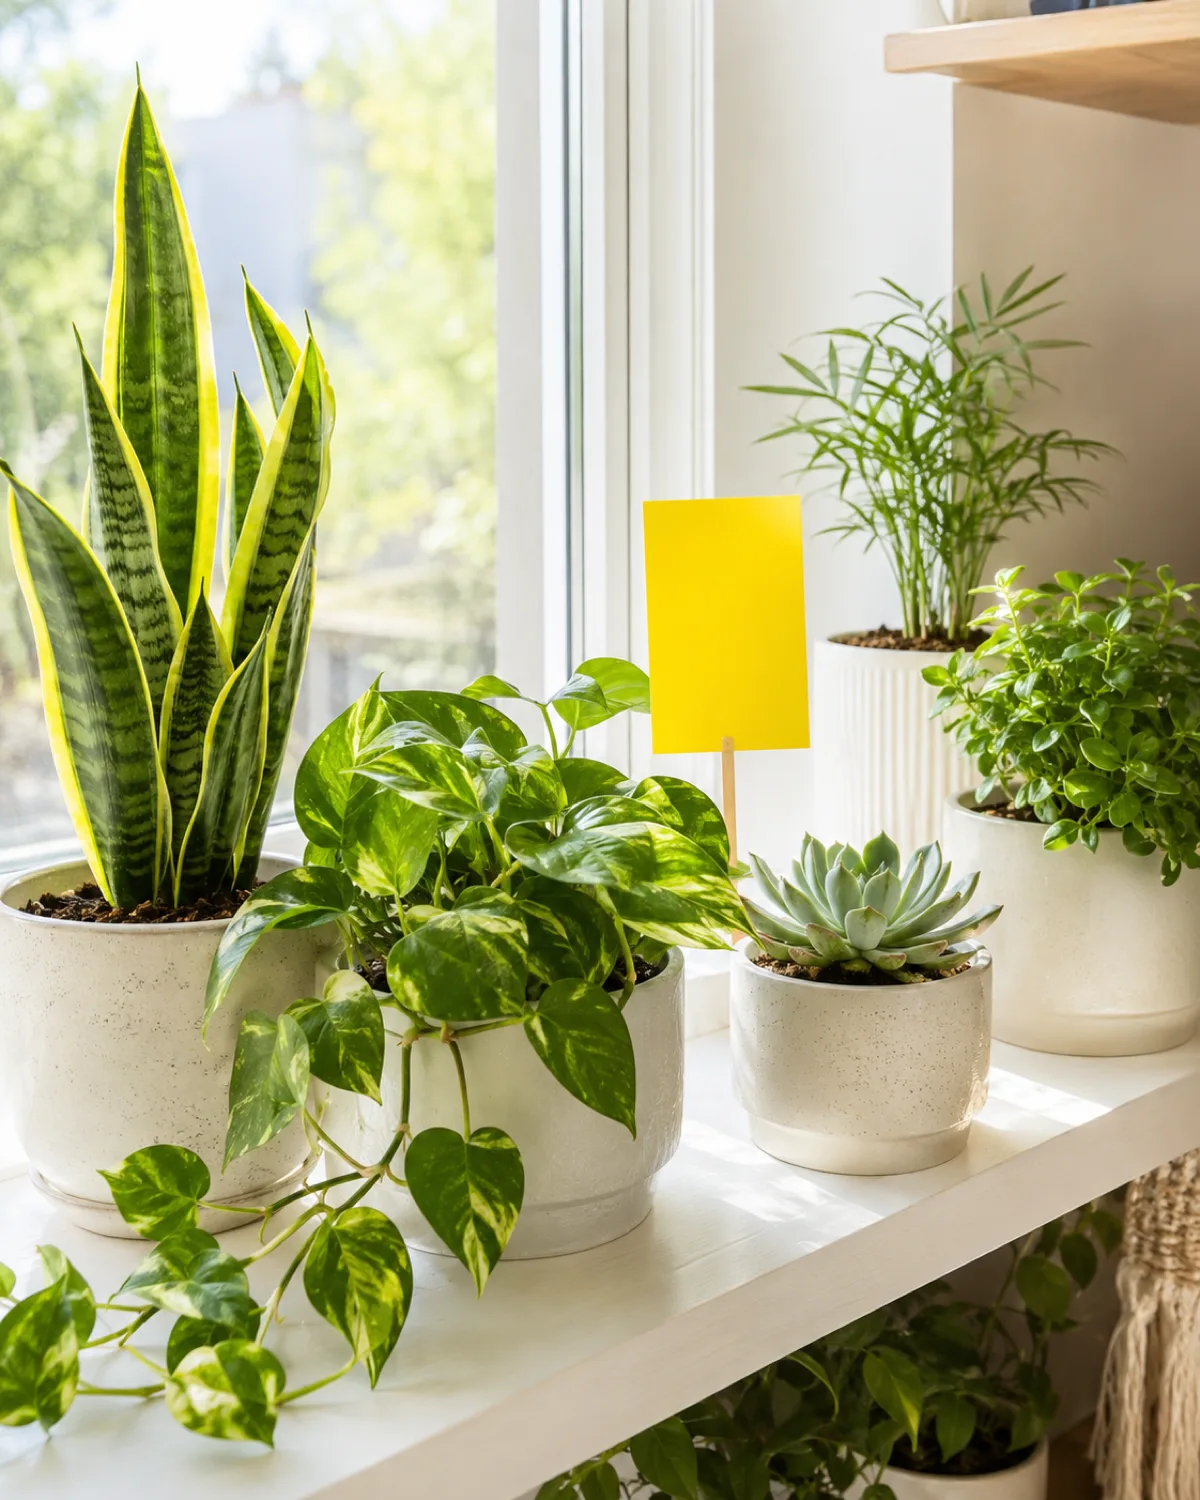
Placement matters more than quantity. A trap lying flat on the soil surface catches far more gnats than one standing upright on a stake, because adults stay close to the soil where they lay eggs. Place one card per pot, or one card between two adjacent pots, right at the surface level.
Sticky traps serve three purposes at once:
- Diagnosis: a trap with zero catches after three days confirms that particular pot is not the source. Move the trap to the next suspect
- Population reduction: every adult caught is one fewer laying two hundred eggs. Traps alone cannot eliminate an infestation, but they reduce the rate of new eggs entering the soil
- Monitoring: after treatment, keep a trap in place for four to six weeks. If catches drop to zero and stay there through two full life cycles, the infestation is broken
Check traps every two to three days and replace when the surface is covered. They are inexpensive and widely available at garden centers, hardware stores, and online. No chemicals, no risk to plants or pets.
The limitation is clear: sticky traps only catch flying adults. They do nothing to the larvae, pupae, or eggs underground. They are a critical part of the strategy but never the whole strategy.
Hydrogen Peroxide Soil Drench
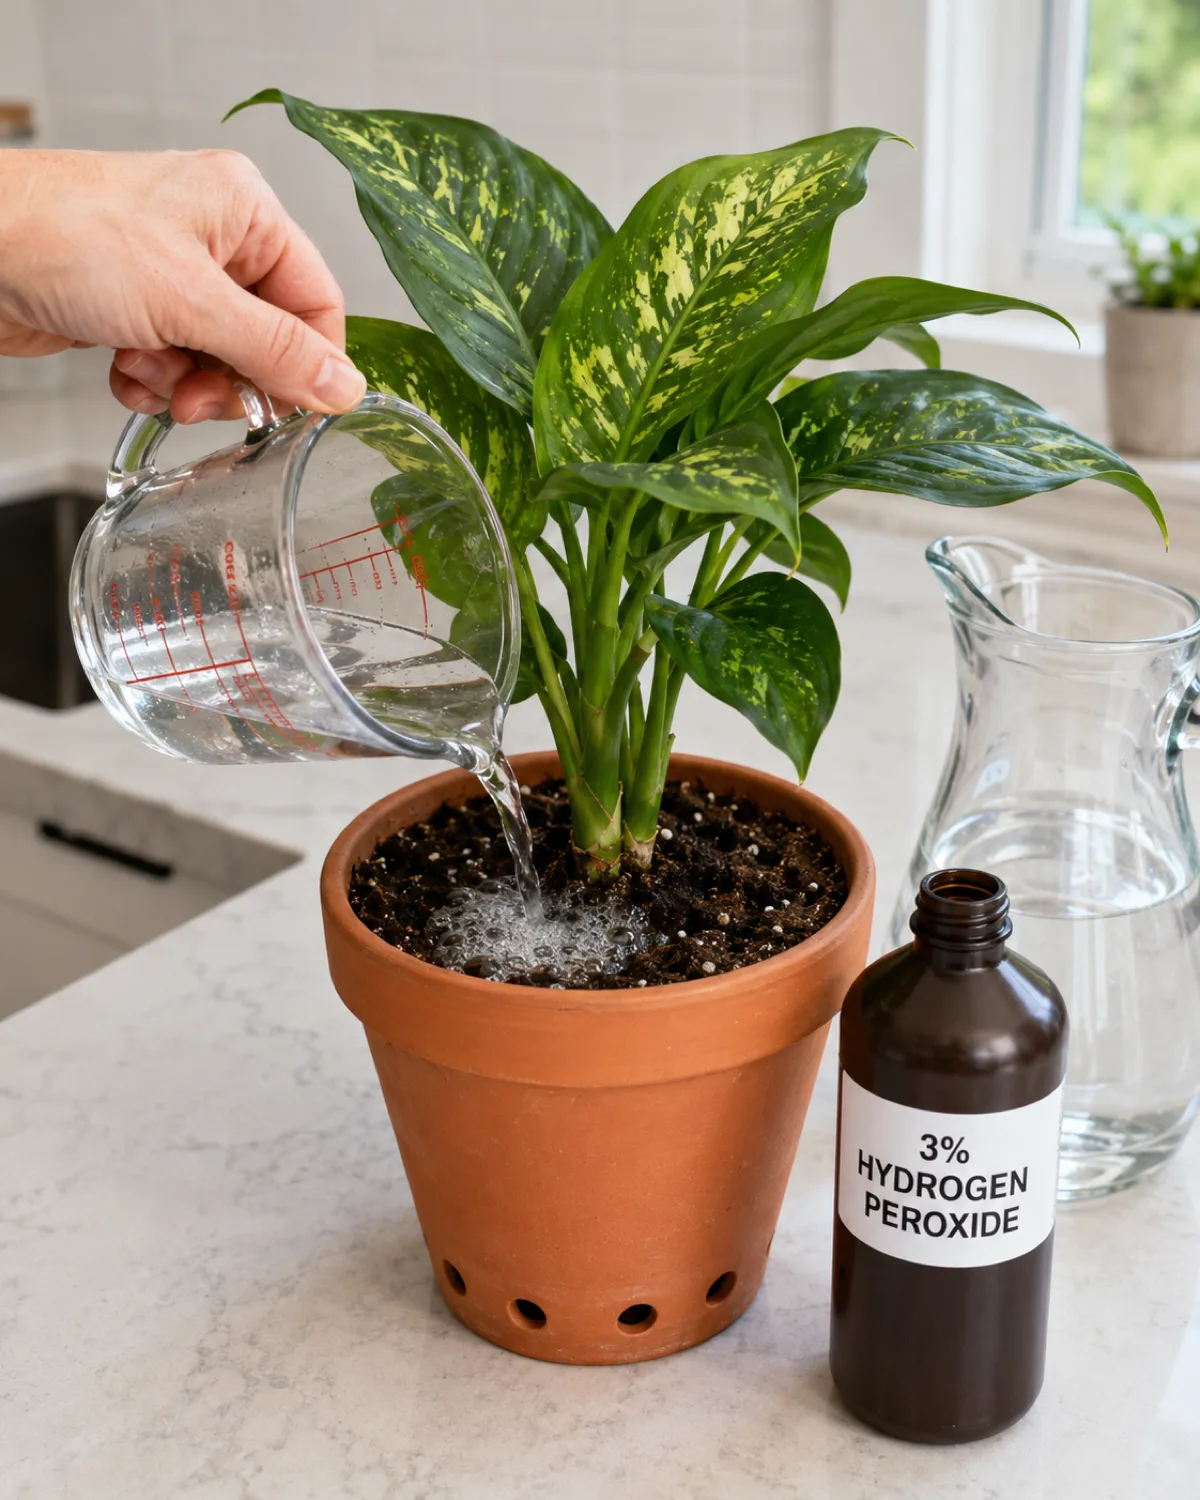
A hydrogen peroxide soil drench kills larvae and eggs on contact without harming plant roots. It is cheap, available at any pharmacy, and works immediately.
The ratio is one part 3% hydrogen peroxide to four parts water. Standard drugstore hydrogen peroxide is already at 3%, so you are diluting it further. Pour the mixture through the soil as you would during a normal watering, until it runs from the drainage holes. The fizzing you see on the soil surface is the peroxide reacting with organic matter and killing larvae.
- How it works: the peroxide releases oxygen on contact with organic material. Larvae and eggs are soft-bodied and rupture. The reaction also aerates the soil, which benefits root health
- Repeat for two to three consecutive waterings: one drench kills whatever is currently in the soil, but eggs laid after the treatment hatch into new larvae. Repeating over three waterings (roughly ten to fourteen days) covers the gap
- No root damage at this concentration: 3% diluted to roughly 0.6% is gentle enough for all houseplants. Do not use higher concentrations or undiluted peroxide
This treatment pairs well with the drying strategy. Let the soil dry out, then when it is time to water, use the peroxide solution instead of plain water. You address moisture management and larval killing in the same step.
One caveat: hydrogen peroxide also kills beneficial soil microbes temporarily. They recover within a few days. For plants that rely on mycorrhizal relationships (most tropical houseplants do to some extent), this is a minor and temporary disruption, not a permanent one.
Beneficial Nematodes and BTI
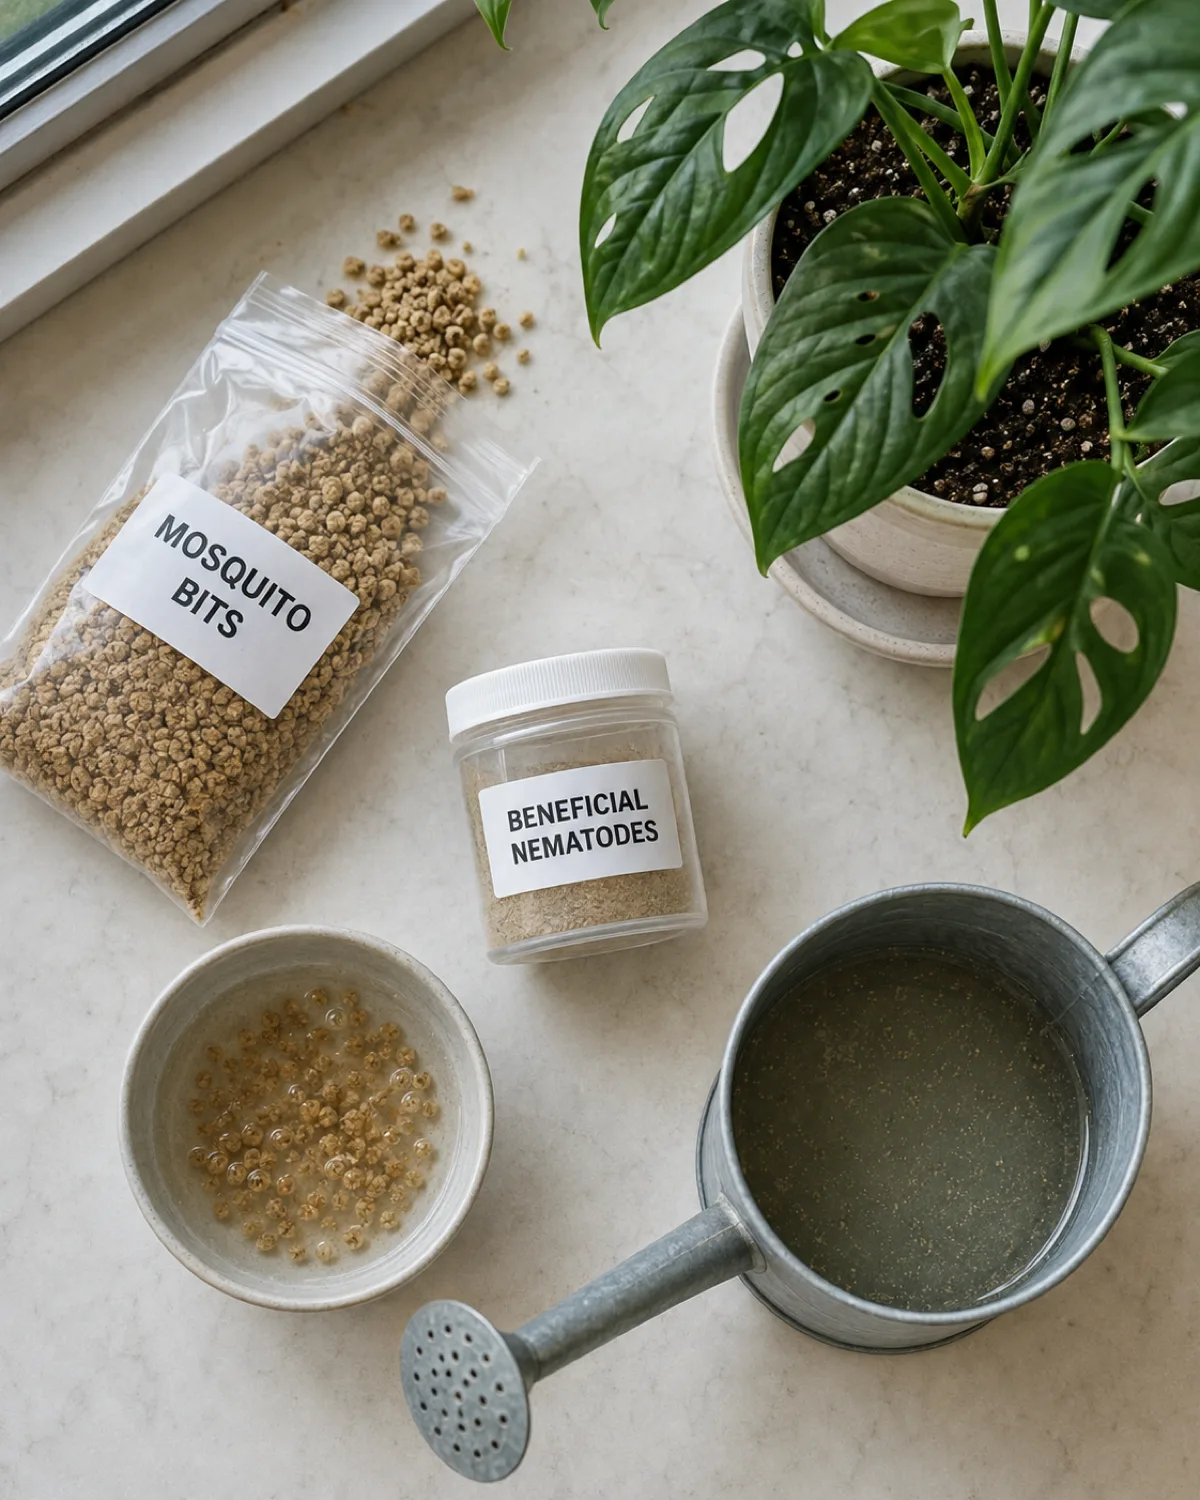
Biological controls are the most effective option for severe or persistent infestations. They target larvae specifically, are non-toxic to everything else, and keep working in the soil for weeks after application.
BTI (Bacillus thuringiensis subspecies israelensis) is a naturally occurring soil bacterium that produces proteins toxic to the larvae of flies and mosquitoes. When fungus gnat larvae ingest BTI, the proteins dissolve their gut lining. Death follows within hours.
- Mosquito Bits: granules soaked in water for thirty minutes, then the water is used to drench the soil. The granules can also be sprinkled directly on the soil surface and watered in
- Mosquito Dunks: larger rings designed for standing water. Break a piece off, soak it in your watering can overnight, and use the infused water for all your plants
- Safety: BTI is harmless to humans, pets, beneficial insects, earthworms, and plants. It targets only the larvae of Diptera (flies and mosquitoes)
Beneficial nematodes (Steinernema feltiae) are microscopic roundworms that actively hunt fungus gnat larvae in the soil. They enter the larva through natural body openings, release a symbiotic bacterium that kills the host, and then reproduce inside the dead larva to produce more nematodes.
- Application: mix nematodes into room-temperature water and drench the soil. Keep soil moist for two weeks after application so the nematodes can move freely
- Storage: nematodes are live organisms and must be refrigerated before use. Order from a reputable supplier and apply promptly
- Coverage: one application can protect plants for four to six weeks as the nematode population reproduces in the soil
Both options work best when combined with sticky traps for the adults. BTI is easier to buy and store. Nematodes are more aggressive against severe infestations.
Top Dressing with Sand or Grit
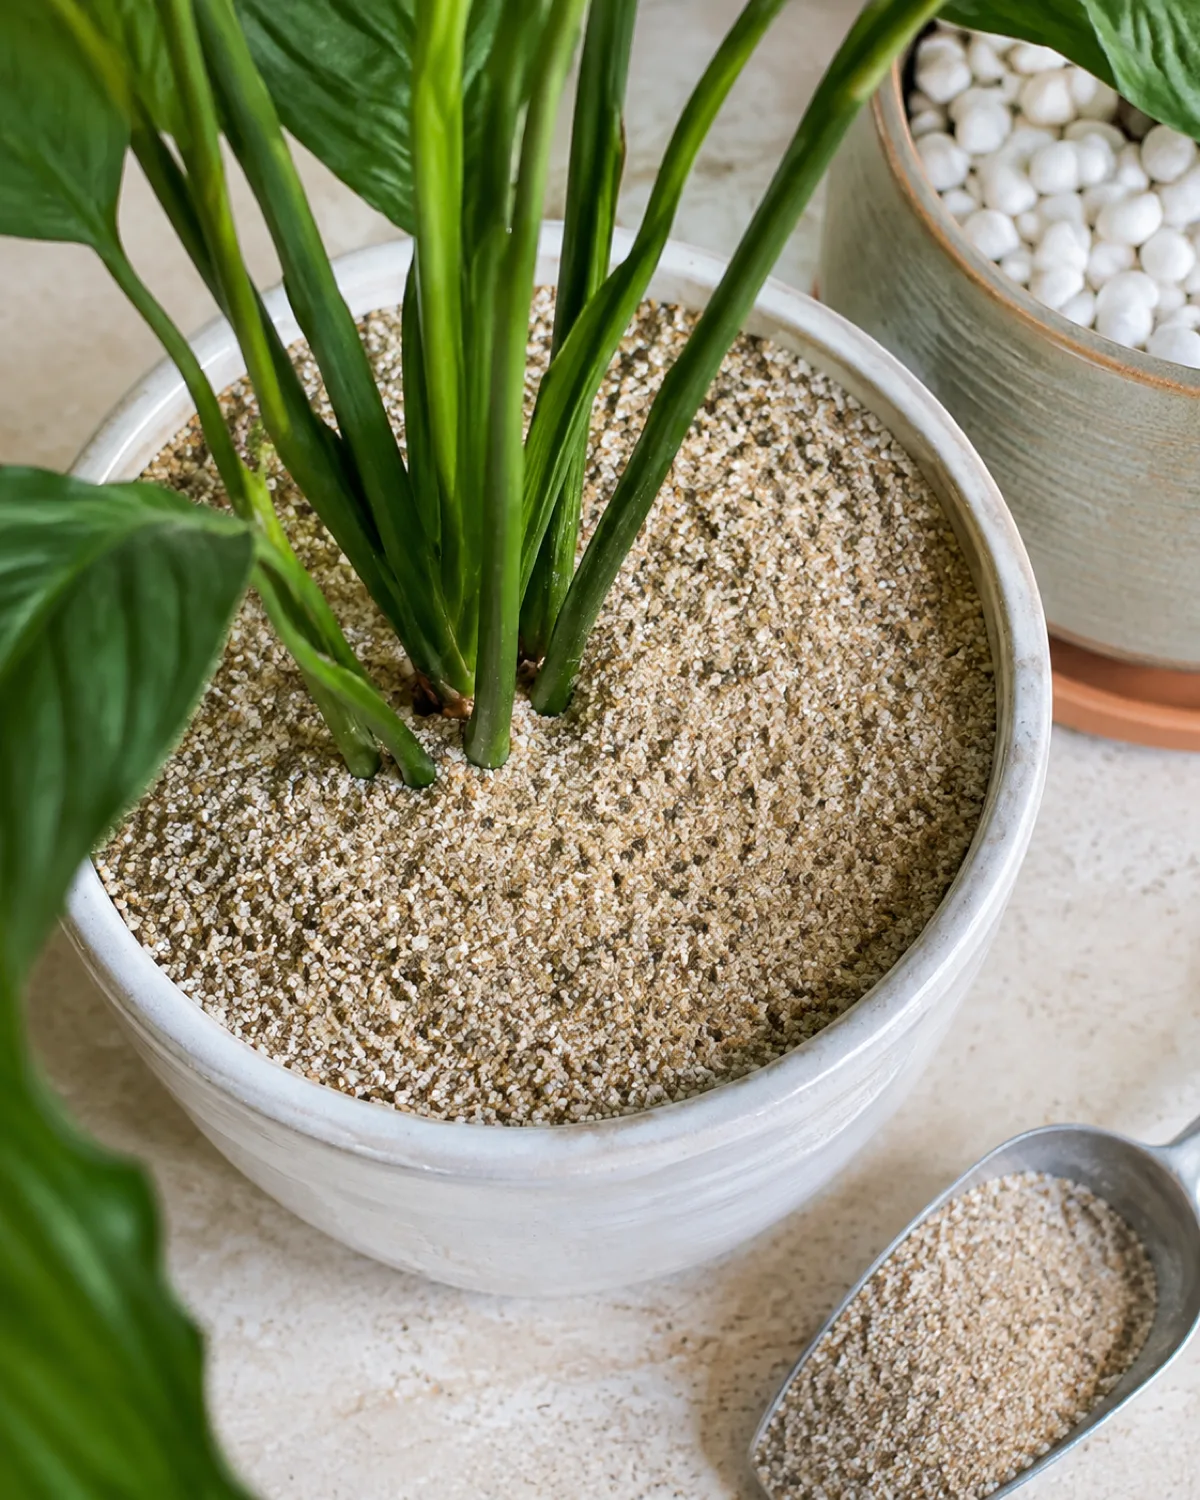
A physical barrier on the soil surface blocks the adult-to-larva cycle from both directions. Adults cannot reach the moist soil to lay eggs, and pupae cannot emerge from the soil to become adults.
Horticultural sand is the standard choice. Spread a half-inch layer over the entire soil surface after watering. The sand drains rapidly and stays dry on top, creating conditions that adult gnats will not land on or lay eggs in.
Important distinctions in material:
- Use coarse horticultural sand or builder's sand, not fine play sand. Fine sand compacts, holds moisture, and defeats the purpose by creating a damp surface layer
- Perlite works as an alternative. It is lightweight, bright white, and drains instantly. The downside is that it floats and shifts during top watering — bottom water if using perlite as a barrier
- Decorative gravel or small stones function the same way. They add weight and look clean. Quarter-inch pea gravel or aquarium gravel both work
- Diatomaceous earth (food grade) is sometimes recommended but loses effectiveness when wet, which happens every time you water
The barrier approach is preventive more than curative. If larvae are already established in the soil below the barrier, they will continue their cycle underground (some pupae may fail to emerge, but larvae already feeding on roots are unaffected). Use this in combination with a drench treatment, not instead of one.
For pots that already have a healthy plant and no active infestation, a permanent sand or grit top dressing is one of the best preventive measures available.
Repotting into Fresh, Well-Draining Mix
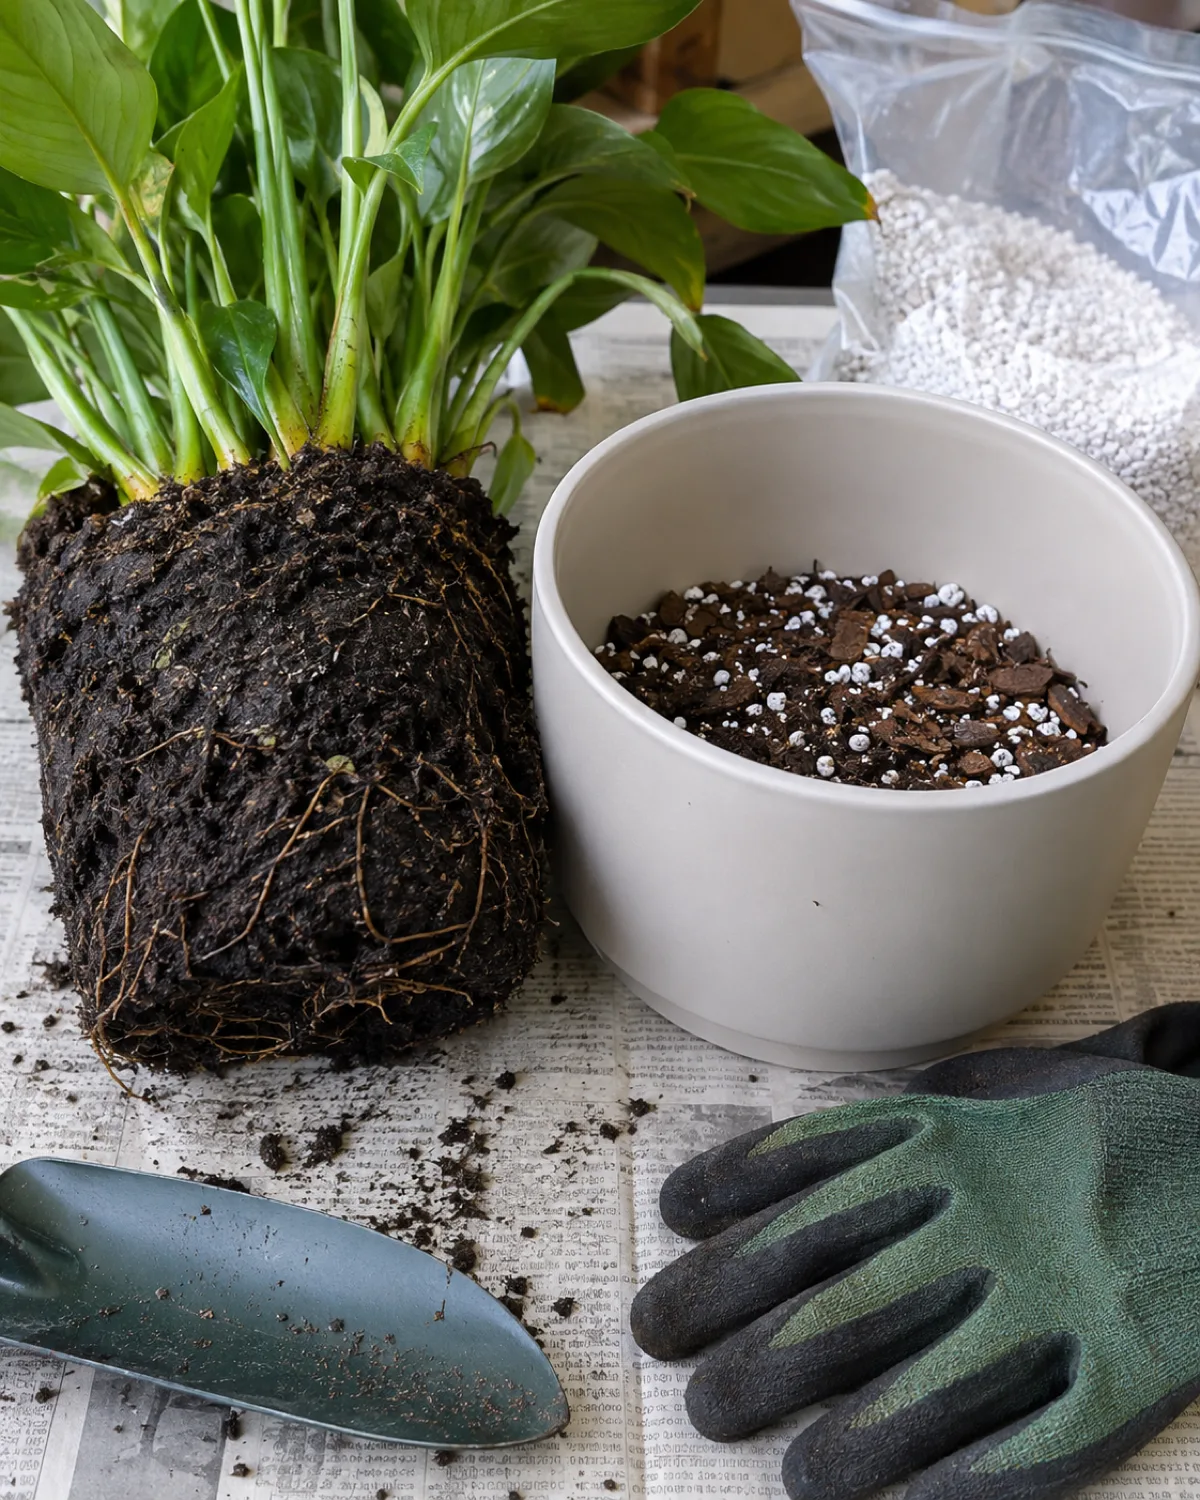
When an infestation is severe — visible larvae on the roots, wilting despite watering, clouds of adults from a single pot — the most direct solution is to remove the plant from the infested soil entirely.
The process:
- Unpot the plant and gently shake or rinse off as much old soil as possible. The goal is to remove the eggs, larvae, and pupae living in that soil
- Inspect the roots. Trim any that are brown, mushy, or visibly damaged by larval feeding. Healthy roots are white or light tan and firm
- Prepare a new pot with drainage holes (no exceptions) and fresh soil mixed for fast drainage
Soil mix adjustment is critical. The standard potting mix that came with the plant is likely peat-heavy and moisture-retentive — the same qualities that attracted fungus gnats. Shift the ratio toward drainage:
- Forty to fifty percent perlite, pumice, or coarse vermiculite
- The remaining fifty to sixty percent standard potting mix or coco coir
- A handful of orchid bark for additional air pockets
This is the same principle behind the chunky mixes used for orchids, bromeliads, and other epiphytes. The mix holds enough moisture for roots but dries out fast enough that fungus gnats lose their breeding ground.
The repotting guide covers the general technique. For a fungus gnat-motivated repot specifically, the key difference is that you are not preserving the root ball or keeping the old soil. You are stripping it away.
Preventing Fungus Gnats from Coming Back
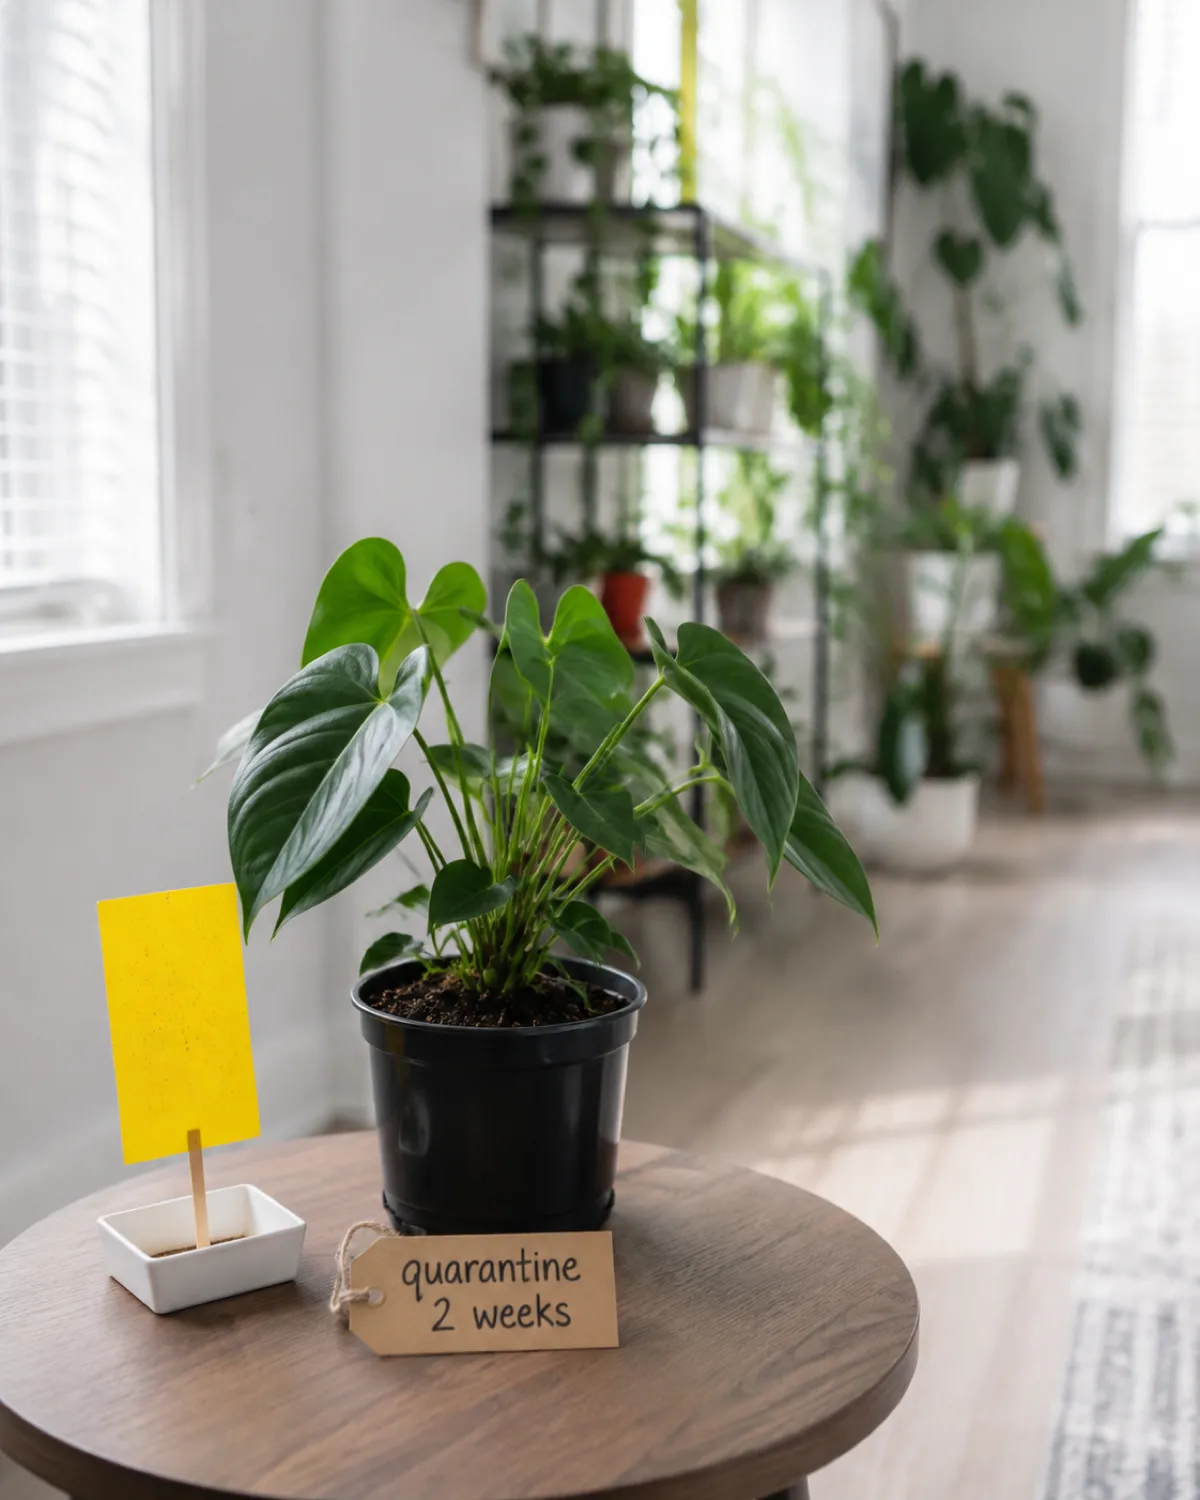
Eliminating an active infestation and preventing the next one are different problems. The treatment strategies above break the current cycle. The habits below keep it broken.
Quarantine every new plant for two weeks. New plants from nurseries, big-box stores, and online sellers are the number one source of introduction. Their soil has been kept warm and moist in greenhouse conditions — ideal for fungus gnats. Set new arrivals in a separate room with a sticky trap, and do not move them near your collection until the trap comes back clean.
Never reuse old potting soil for indoor plants. Used soil from infested pots contains eggs and pupae even after it looks dry. Compost it outdoors or discard it.
More prevention habits:
- Drench new plants with hydrogen peroxide as a precautionary treatment before quarantine ends, even if you see no symptoms. It costs nothing and catches invisible eggs
- Check bagged potting soil before use: cheap peat-based mixes from discount stores are sometimes pre-infested. Open the bag outdoors, spread some on a tray, and look for larvae before bringing it inside
- Empty saucers within thirty minutes of watering: standing water under pots is a moisture reservoir that keeps the bottom soil layer perpetually wet
- Use bottom watering as your default method: it keeps the top layer drier and reduces the conditions adults seek for egg-laying
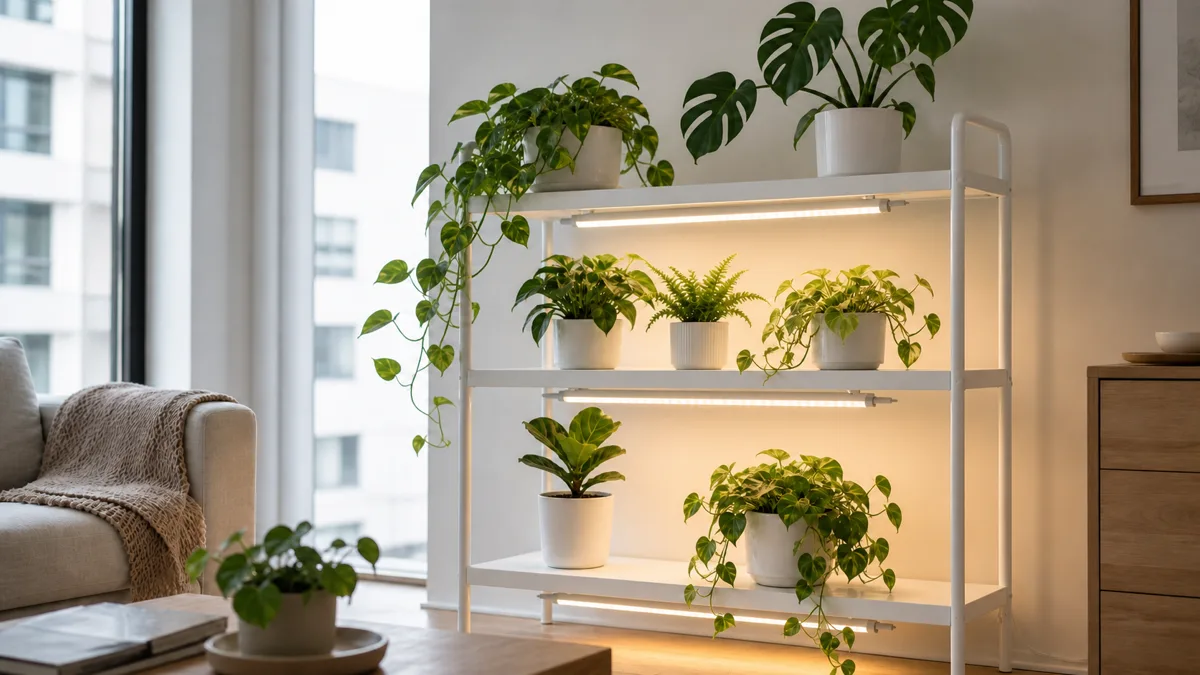
- Keep one sticky trap per shelf as a permanent early warning system: if a trap that has been clean for months suddenly catches a few gnats, you can treat immediately before the population explodes
Prevention is a set of habits, not a one-time action. The plants themselves do not change — the watering practices and quarantine discipline do.
Which Houseplants Are Most Vulnerable
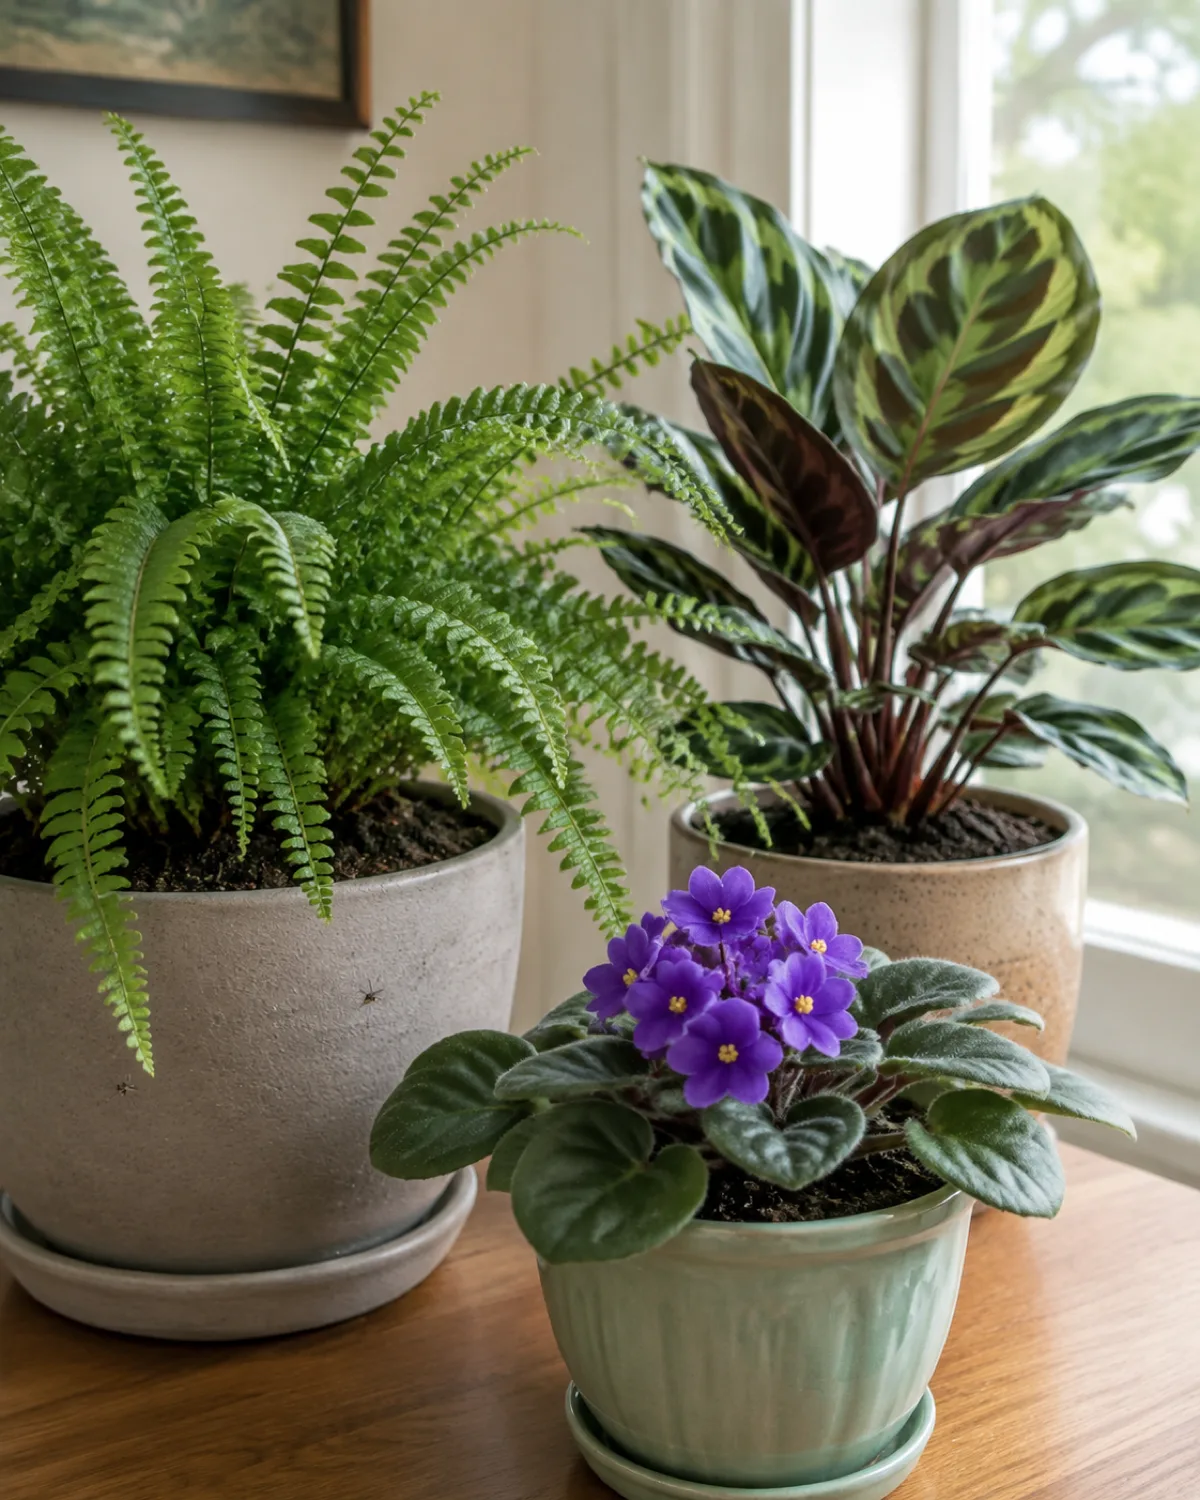
Not all houseplants carry the same risk. The species that need consistently moist soil are the ones fungus gnats target first, because those pots never have the dry period that kills eggs and larvae.
High-risk plants (soil stays moist between waterings):
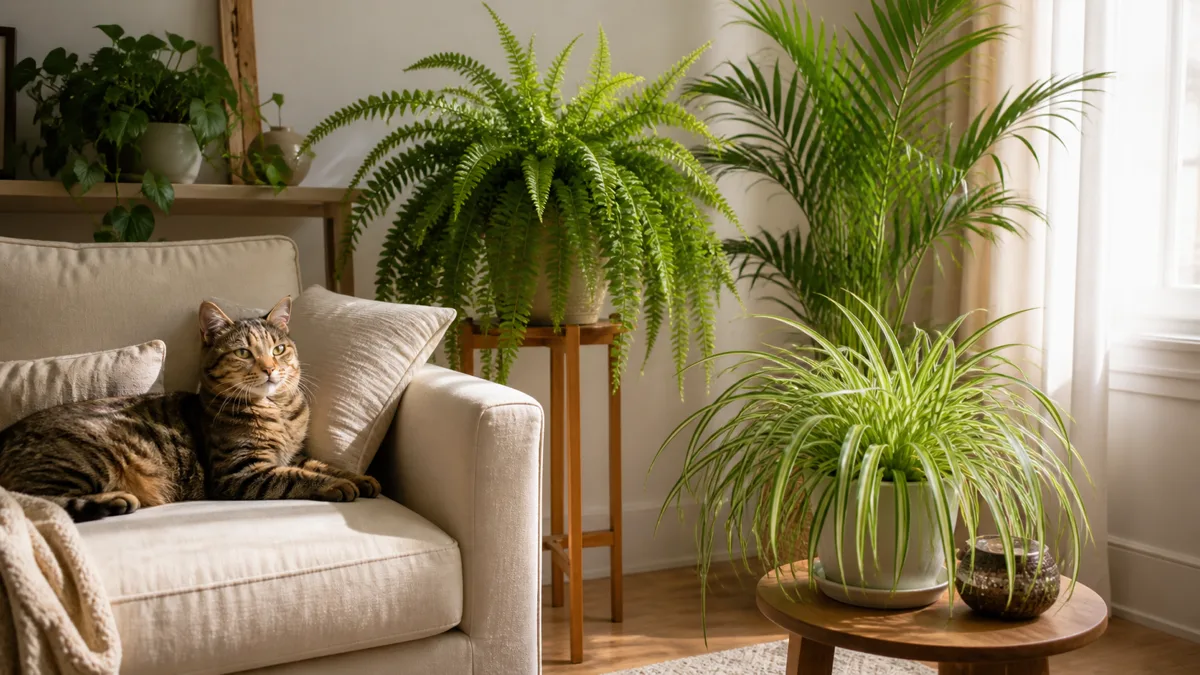
- Ferns (Boston fern, maidenhair fern): need soil that never fully dries. The classic fungus gnat host plant
- Calathea and prayer plant (calathea, prayer plant): sensitive to drying and kept moist, creating a reliable breeding ground
- African violets: often watered from the top with organic-rich soil, and their dense leaf rosettes shade the soil surface keeping it damp
- Seedlings and young plants: thin, tender roots are the most nutritious food source for larvae. A severe infestation can kill seedlings outright
Moderate-risk plants (some moisture retention):
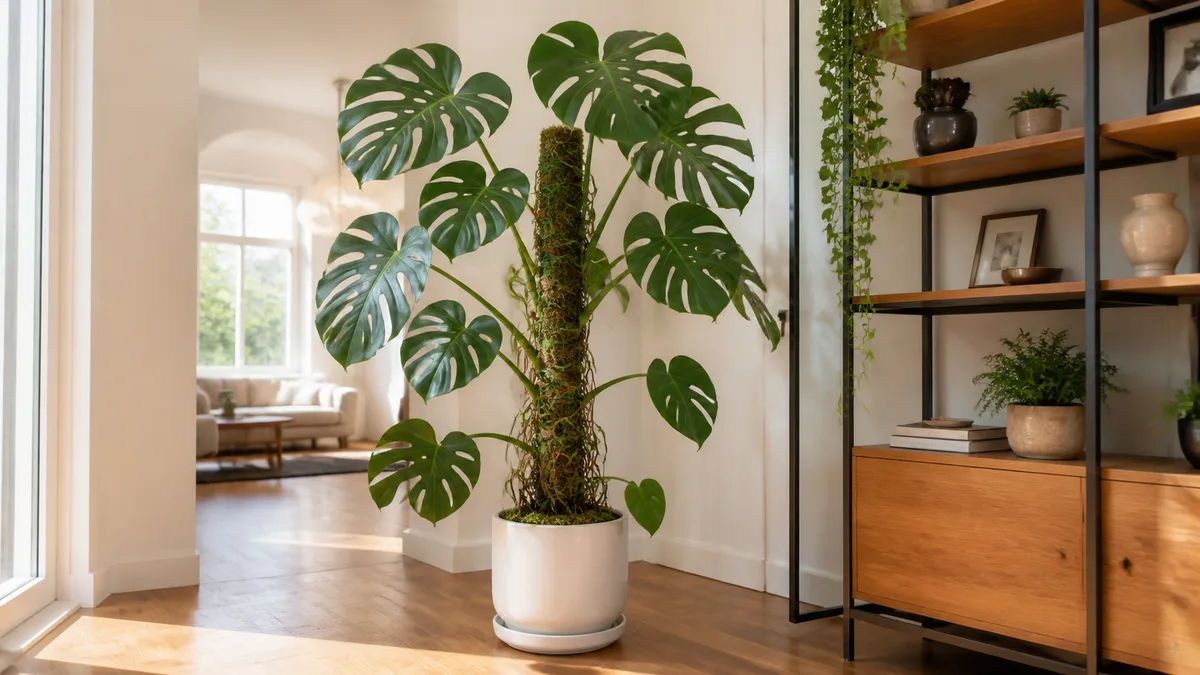
- Tropical aroids (monstera, philodendron, pothos): typically watered when the top inch dries, which gives some dry period but may not be enough during heavy infestations
- Peace lily (peace lily): prefers even moisture and will show fungus gnat activity before drier-kept plants
Low-risk plants (dry soil between waterings):
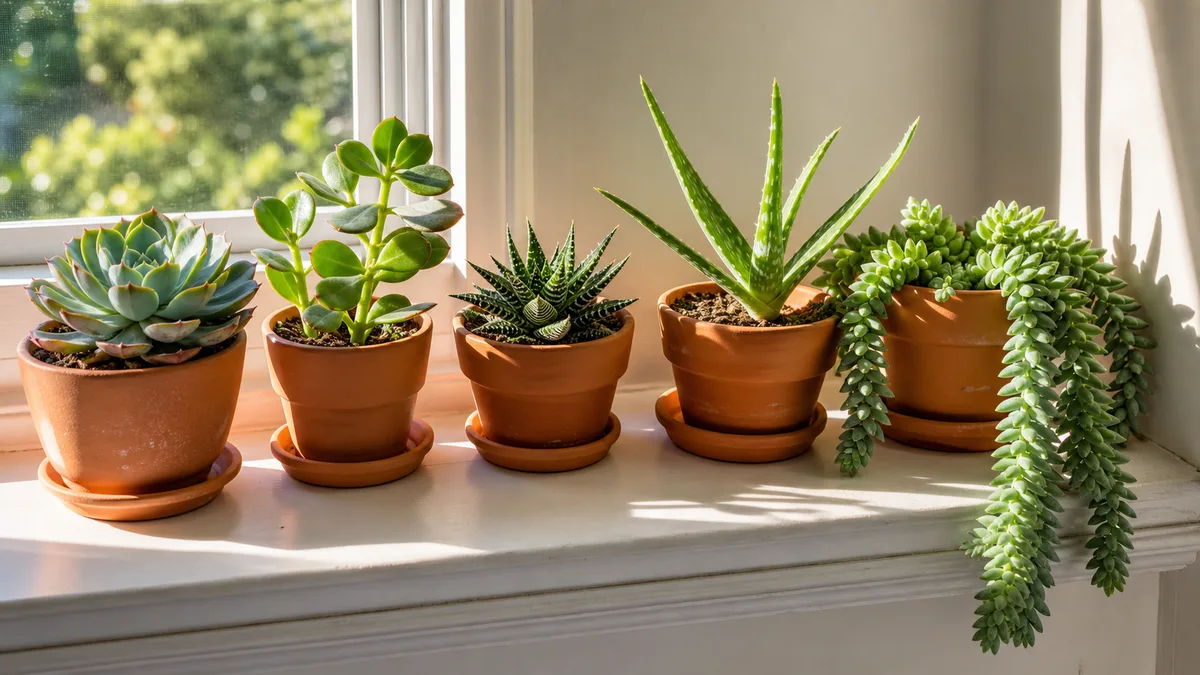
- Succulents and cacti (succulent care, cactus care): their soak-and-dry watering cycle creates extended dry periods inhospitable to fungus gnat reproduction
- Snake plant (snake plant): tolerates weeks of dry soil
- ZZ plant (ZZ plant): rhizome stores water, soil dries thoroughly between waterings
If you have a mixed collection, fungus gnats will almost always appear in the fern or calathea pot first. Sticky traps near those plants serve as your earliest warning system.
The general principles in houseplant pests and diseases cover multi-pest strategies. For fungus gnats specifically, concentrating monitoring effort on the moisture-loving plants catches outbreaks before they spread to the entire shelf.
Fungus Gnat FAQ
Quick-reference answers:
- Do fungus gnats bite? No. Adult fungus gnats lack the mouthparts to bite. They do not feed at all as adults — their only functions are mating and egg-laying
- Can they spread plant diseases? Larvae can introduce soil-borne pathogens like Pythium and Fusarium through the root wounds they create. The gnats themselves are not disease vectors, but the damage they cause opens the door
- How long does it take to get rid of them completely? Plan for six to nine weeks of consistent treatment. That covers two to three complete life cycles and ensures that eggs laid after your first treatment are also eliminated
More common questions:
- Does apple cider vinegar work? Vinegar traps are effective for fruit flies, which are attracted to fermenting fruit acids. Fungus gnats are attracted to moist soil, not vinegar. Some may land in a vinegar trap incidentally, but it is not a reliable control method for this pest
- Should I isolate an infested plant? Yes, immediately. Fungus gnats can fly to neighboring pots and lay eggs in any moist soil. Move the infested plant to a separate area and check all plants that were nearby
- Does cinnamon kill fungus gnats? Cinnamon powder has mild antifungal properties and can reduce the fungal food sources that larvae eat. It is not a direct larvicide. Sprinkling cinnamon on the soil surface may slightly reduce larval survival but should not be relied on as a primary treatment
- Can I just let the soil dry out and skip the treatments? For mild infestations with drought-tolerant plants, yes — extended drying can break the cycle on its own. For severe infestations or moisture-loving plants, drying alone is too slow or too stressful for the plant. Combine drying with at least one active larval treatment
- Are fungus gnats seasonal? Outdoors, yes. Indoors, no. The consistent temperature and humidity of a heated home support fungus gnat reproduction year-round. Most people notice them more in fall and winter because they bring outdoor plants inside or seal windows, reducing ventilation
Save for Later
Fungus Gnats in 13 Takeaways
- 1Adults are harmless, larvae are notThe tiny dark flies are annoying but do not bite or feed. Their larvae eat roots and organic matter underground, weakening plants.
- 2Three-week life cycle loops endlesslyEgg to larva to pupa to adult in roughly twenty-one days. Overlapping generations mean every life stage is present at once.
- 3Yellow sticky traps diagnose and reducePlace flat on the soil surface. Catches confirm the pest, reduce egg-laying adults, and monitor treatment progress.
- 4Overwatering is the root causeFungus gnats cannot reproduce in dry soil. Persistently moist conditions create the entire food chain from fungi to larvae to adults.
- 5Dry the top two inches between wateringsEggs and young larvae in the surface layer die when it dries out. Bottom watering keeps roots hydrated while the top stays dry.
- 6Hydrogen peroxide kills larvae on contactOne part 3% peroxide to four parts water, poured through the soil. Repeat for two to three consecutive waterings.
- 7BTI is the biological heavy hitterMosquito Bits or Dunks soaked in water and used to drench soil. Dissolves larval gut lining. Non-toxic to everything else.
- 8Beneficial nematodes hunt larvae undergroundSteinernema feltiae nematodes actively seek out and kill larvae in the soil. One application protects for weeks.
- 9Sand barrier blocks egg-layingA half-inch of coarse horticultural sand on the soil surface prevents adults from reaching moist soil to lay eggs.
- 10Severe cases need a full repotStrip the old infested soil, trim damaged roots, and replant in a fast-draining mix with forty to fifty percent perlite or pumice.
- 11Quarantine every new plantTwo weeks of isolation with a sticky trap before joining your collection. Nursery soil is the number one source of introduction.
- 12Ferns and calatheas are highest riskPlants that need consistently moist soil never get the dry period that kills eggs and larvae. Monitor them first.
- 13Six to nine weeks to full eliminationTwo to three complete life cycles of sustained treatment ensures every generation is caught. Stopping early invites a comeback.
kultivy.com

Mara Quinn edits Kultivy, where she shares houseplant care, propagation, beginner-friendly plant picks, and plant-styling ideas for anyone who wants their indoor plants to actually thrive. Every guide is image-led and reviewed for clarity, usefulness, image accuracy, and Pinterest-to-page alignment before it goes live. Visit the About page.